
 Pin it
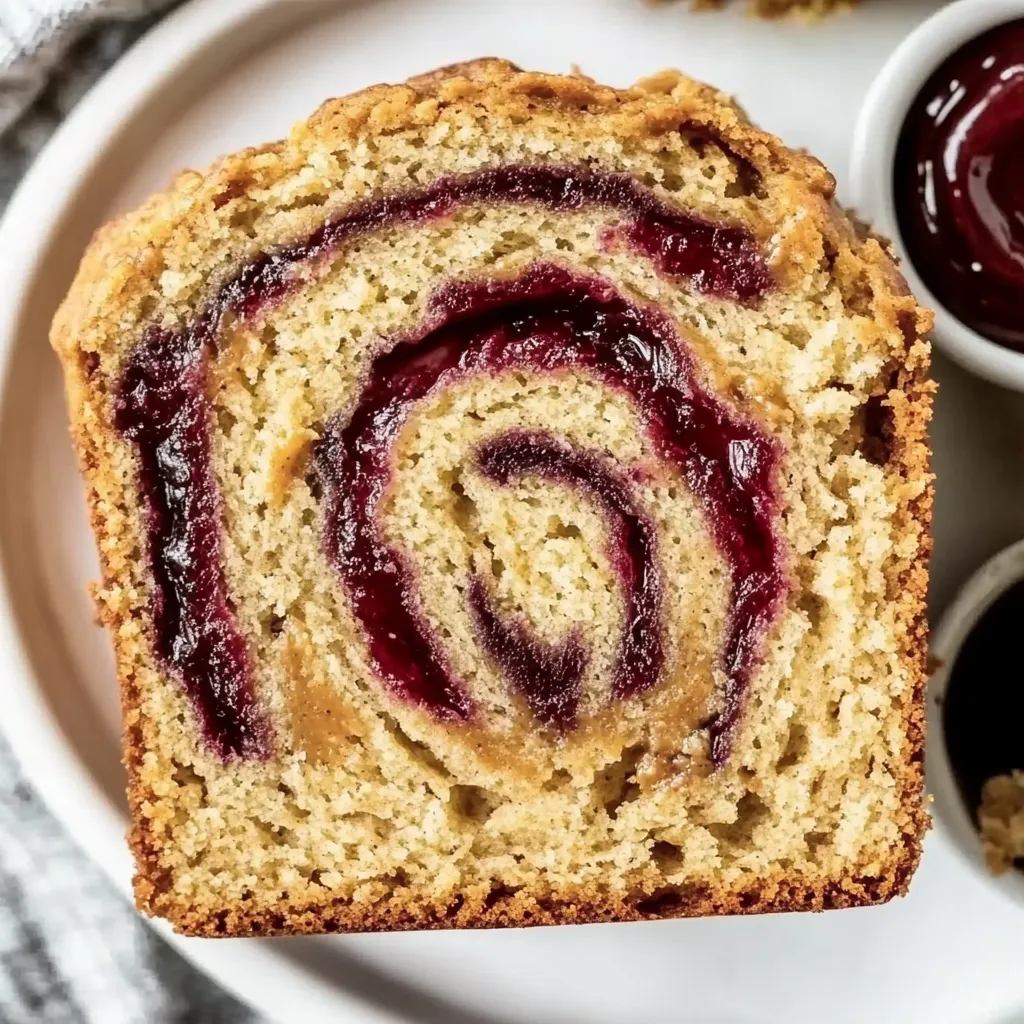
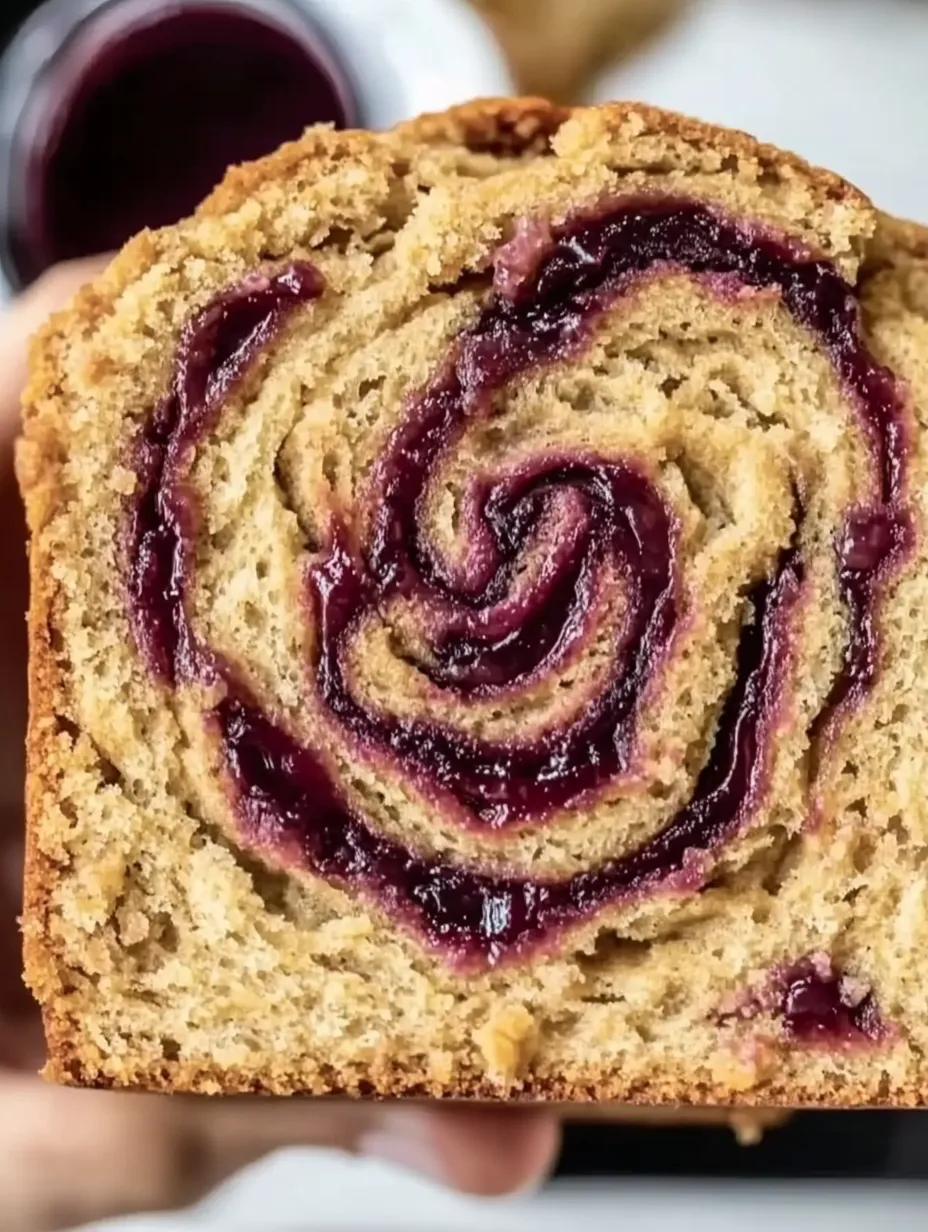
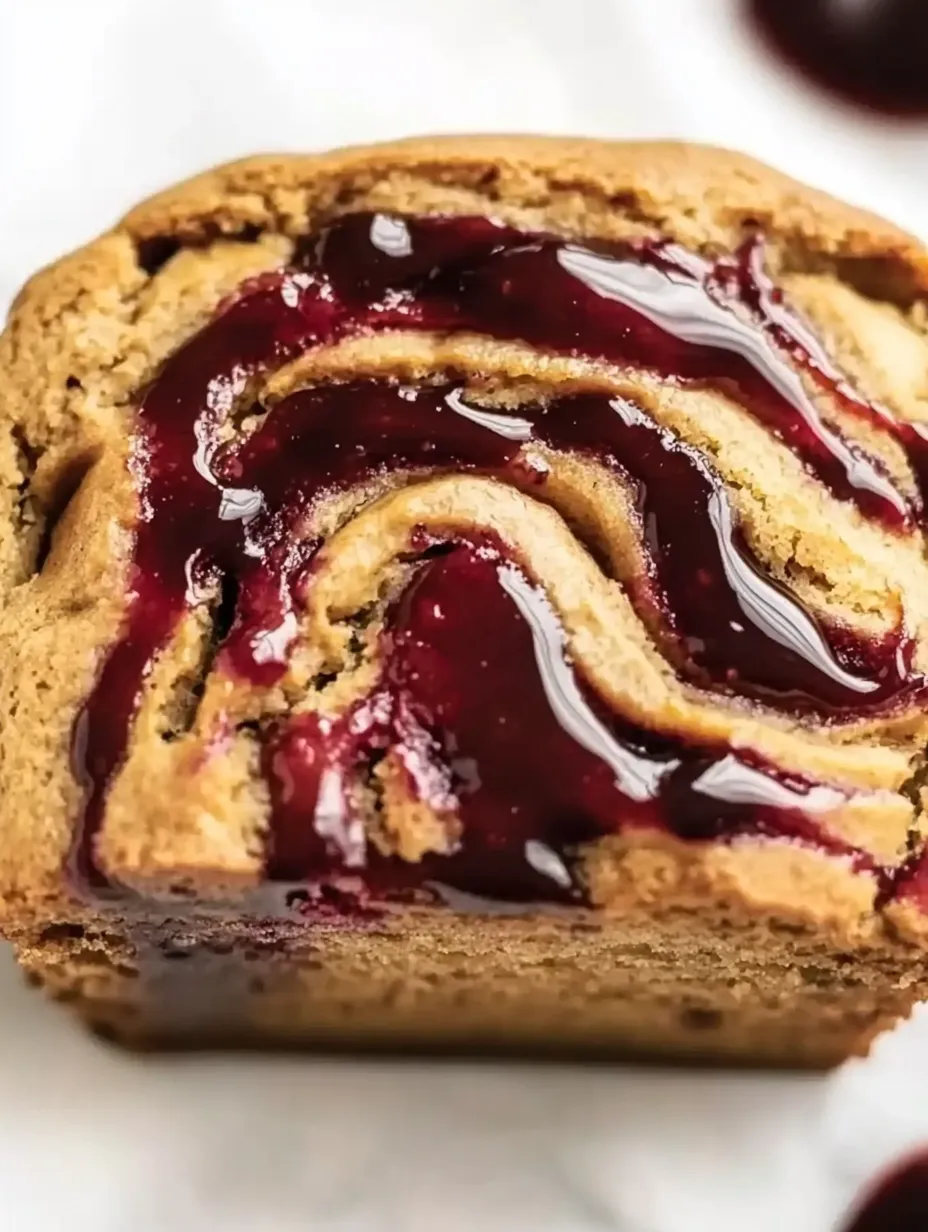
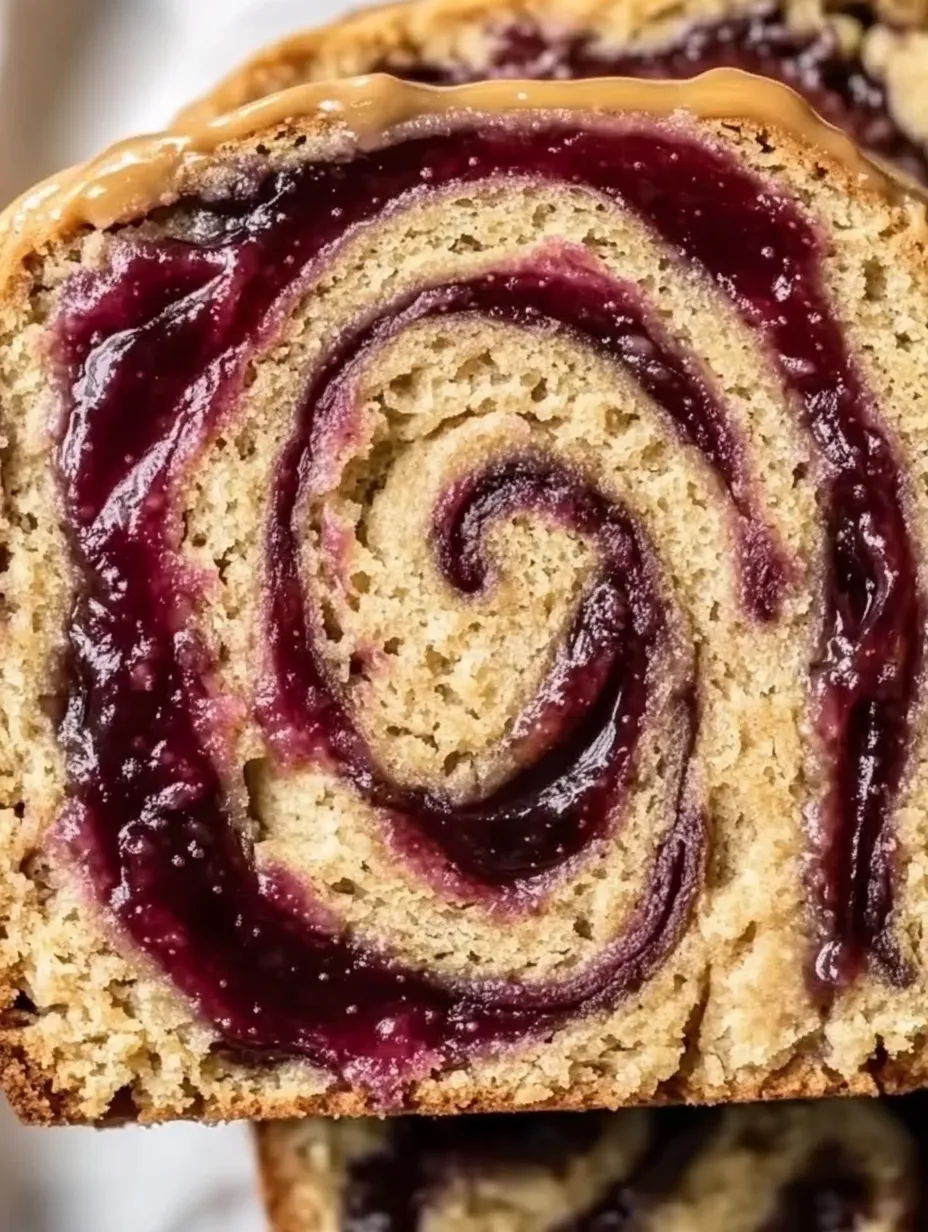
Peanut butter and jelly banana bread merges three beloved flavors into one irresistible loaf. This creative combination transforms ordinary banana bread into something extraordinary by incorporating the nostalgic flavors of your favorite childhood sandwich. The moist, tender crumb carries ribbons of sweet jam that contrast beautifully with rich peanut butter notes, while ripe bananas provide natural sweetness and perfect texture.
Last month when I served this at a neighborhood brunch, conversations immediately turned to childhood lunchbox memories. One friend confessed she'd never considered combining these flavors in bread form, then asked for the recipe before leaving. Now she makes it regularly for her children, creating their own new tradition.
Essential Ingredient Selection
Banana Foundation
- Thoroughly ripened bananas with abundant brown spots: provide superior sweetness
- Fresh bananas: mash more consistently than previously frozen ones
- Room temperature fruit: incorporates more smoothly into batter
Peanut Butter Elements
- Creamy peanut butter: creates uniform texture throughout loaf
- Natural peanut butter: offers more authentic flavor despite requiring additional mixing
- Room temperature peanut butter: blends more effectively with other ingredients
Jam Components
- Thicker preserves: create more distinct swirls throughout bread
- Seedless varieties: prevent texture disruption in finished loaf
- Grape or strawberry: provides classic flavor profile
 Pin it
Through considerable experimentation, I discovered that allowing bananas to ripen until deeply speckled makes an extraordinary difference in the final flavor. My grandmother always insisted bananas weren't ready for bread until they looked "past their prime." Her wisdom proved accurate, as properly ripened bananas need minimal added sugar while providing perfect moisture.
Precise Method
Initial Preparation
Preheat oven to 350°F ensuring proper temperature is reached before baking begins. Generously grease standard loaf pan using butter or baking spray, paying special attention to corners where sticking commonly occurs. Gather ingredients at room temperature for optimal mixing results.
Banana Foundation
Place peeled ripe bananas in large mixing bowl. Mash thoroughly using fork or potato masher until smooth consistency appears with minimal lumps remaining. Small banana pieces are acceptable but large chunks should be eliminated for texture consistency.
Wet Ingredient Incorporation
Add room temperature peanut butter to mashed bananas, stirring until completely combined. Introduce sugar, melted butter, vanilla extract, and egg, mixing between each addition until batter appears smooth and uniform. The mixture should look creamy with consistent color throughout.
Dry Ingredient Addition
In separate bowl, whisk together flour, baking soda, and salt ensuring even distribution of leavening agent. Add dry ingredients to wet mixture in two additions, folding gently with spatula until just combined. Avoid overmixing which develops gluten and creates tough bread.
Assembly Process
Transfer half of prepared batter to greased loaf pan, spreading evenly to corners. Dollop teaspoons of jam across surface, then swirl gently using butter knife or skewer. Add remaining batter carefully over jam layer. Create final jam swirl on top surface, pulling knife through batter in figure-eight motion for marbled effect.
Baking Technique
Place pan in center rack of preheated oven. Bake approximately 55-60 minutes until toothpick inserted in center emerges with few moist crumbs but no wet batter. Tent with foil during last 15 minutes if top browns too quickly. Allow cooling in pan for 15 minutes before transferring to wire rack.
 Pin it
My initial attempts at this bread resulted in jam sinking completely to the bottom during baking. A pastry chef later explained that slightly freezing the jam before dolloping it into the batter helps maintain distinct swirls. This simple technique transformed the visual appeal and eating experience, creating beautiful ribbons of fruit throughout each slice.
Professional bakers often emphasize the importance of ingredient temperature when creating quick breads. While developing this recipe, I found that allowing all ingredients to reach room temperature created noticeably better incorporation and texture, proving that this simple preparation step significantly impacts results.
Perfect Pairings
Morning Accompaniments
Serve alongside fresh fruit for balanced breakfast. Consider Greek yogurt for protein-rich addition. Offer coffee with cream for complementary richness.
Snack Components
Pair with cold milk for classic combination. Match with apple slices for fresh contrast. Consider cheese cubes for savory balance.
Dessert Enhancements
Top warm slice with vanilla ice cream for indulgent treat. Drizzle with honey for additional sweetness. Serve with whipped cream for special occasions.
Creative Variations
Spread Alternatives
Substitute almond butter for more delicate flavor profile. Try cookie butter for dessert-like variation. Consider sunflower seed butter for allergy-friendly option.
Jam Options
Experiment with blackberry preserves for deeper berry notes. Try apricot jam for bright, tangy contrast. Consider marmalade for sophisticated citrus addition.
Mix-In Possibilities
Add chocolate chips for indulgent twist. Incorporate chopped nuts for textural contrast. Consider coconut flakes for tropical variation.
Storage Success
Counter Preservation
Keep well-wrapped at room temperature up to three days. Wrap in parchment then foil for optimal freshness. Store cut-side down on cutting board to preserve moisture.
Refrigeration Method
Extend shelf life to one week through refrigeration. Allow returning to room temperature before serving. Consider light toasting to refresh texture after chilling.
 Pin it
Freezing Protocol
Wrap individual slices in plastic then foil for freezer storage. Freeze up to three months without quality loss. Thaw at room temperature or toast from frozen state.
The most valuable discovery while perfecting this recipe came through a conversation with an elderly neighbor who had baked banana bread for decades. She insisted that bananas should never be mashed with electric mixers, only by hand. "The mixer breaks down the fruit too much," she explained. "Hand-mashing keeps some texture that makes the bread special." Following her wisdom created distinct banana flavor pockets throughout the loaf, proving that sometimes the simplest techniques produce the most remarkable results.
Frequently Asked Questions
- → What jam works best?
- Thicker jams like grape or strawberry create the best swirl patterns.
- → Can I use crunchy peanut butter?
- Yes, for added texture, though creamy gives the smoothest result.
- → How ripe should bananas be?
- Very ripe with brown spots for best flavor and moisture.
- → How do I store this bread?
- Keep in airtight container at room temperature up to 3 days or refrigerate up to a week.
- → Can I freeze this bread?
- Yes, wrap well and freeze up to 3 months. Thaw at room temperature.