
 Pin it
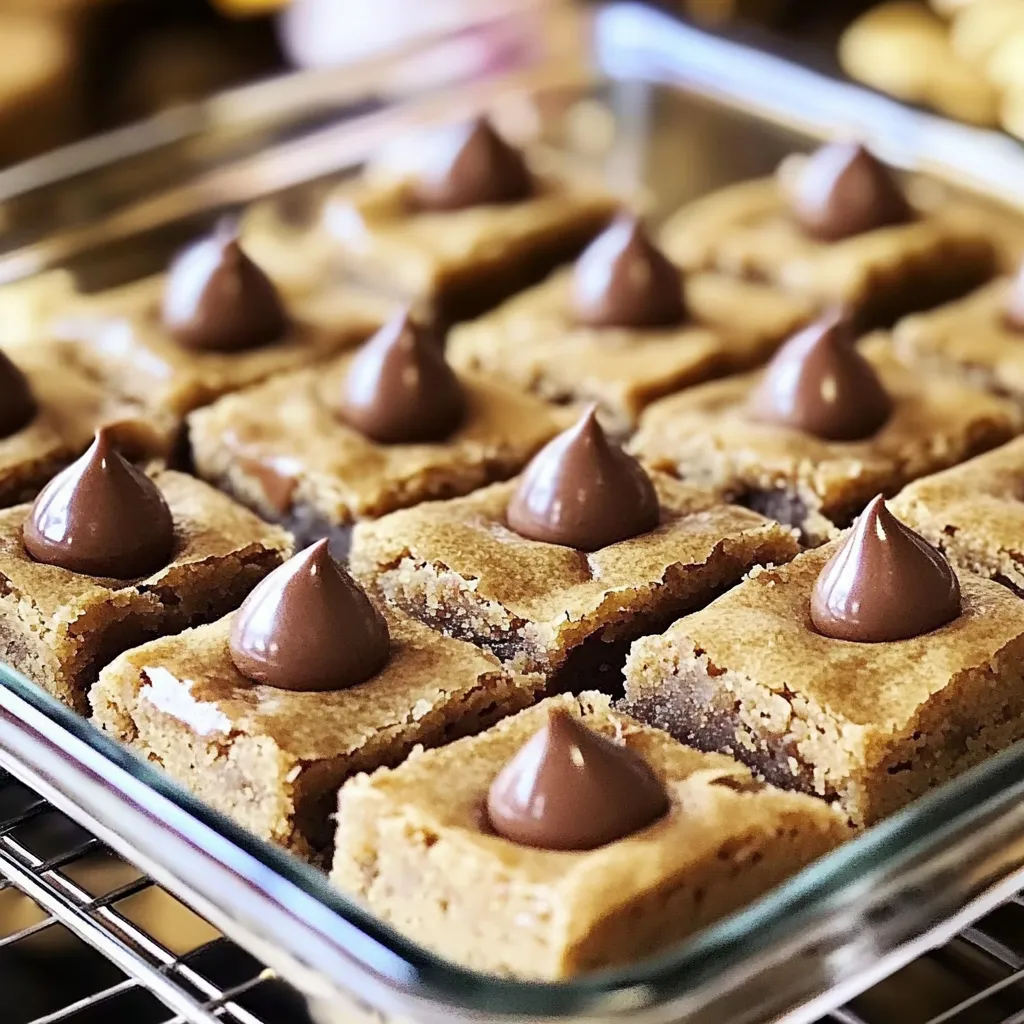
Transform traditional peanut butter blossoms into irresistible bars with this simplified version that maintains all the nostalgic flavors. Through countless batches perfecting this recipe, I've discovered that the secret lies in proper ingredient temperature and timing, creating bars that perfectly balance chewy peanut butter base with melty chocolate kisses.
Last Christmas, I watched my family's faces light up as they bit into these bars. The way the chocolate kisses melted slightly into the warm peanut butter base reminded me why this recipe has become our holiday tradition.
Essential Ingredient Selection
- Peanut butter: Choose creamy style for best texture
- Unsalted butter: Room temperature crucial
- Brown sugar: Creates perfect chewiness
- Fresh eggs: Room temperature for better mixing
- Quality flour: Creates perfect structure
- Hershey's Kisses: Essential for classic look
Creating Perfect Bars
- Proper Mixing:
- Cream butter and sugars until light and fluffy.
- Even Spreading:
- Press dough carefully into prepared pan.
- Careful Timing:
- Watch edges for perfect golden brown.
- Kiss Placement:
- Add chocolates while bars are hot.
 Pin it
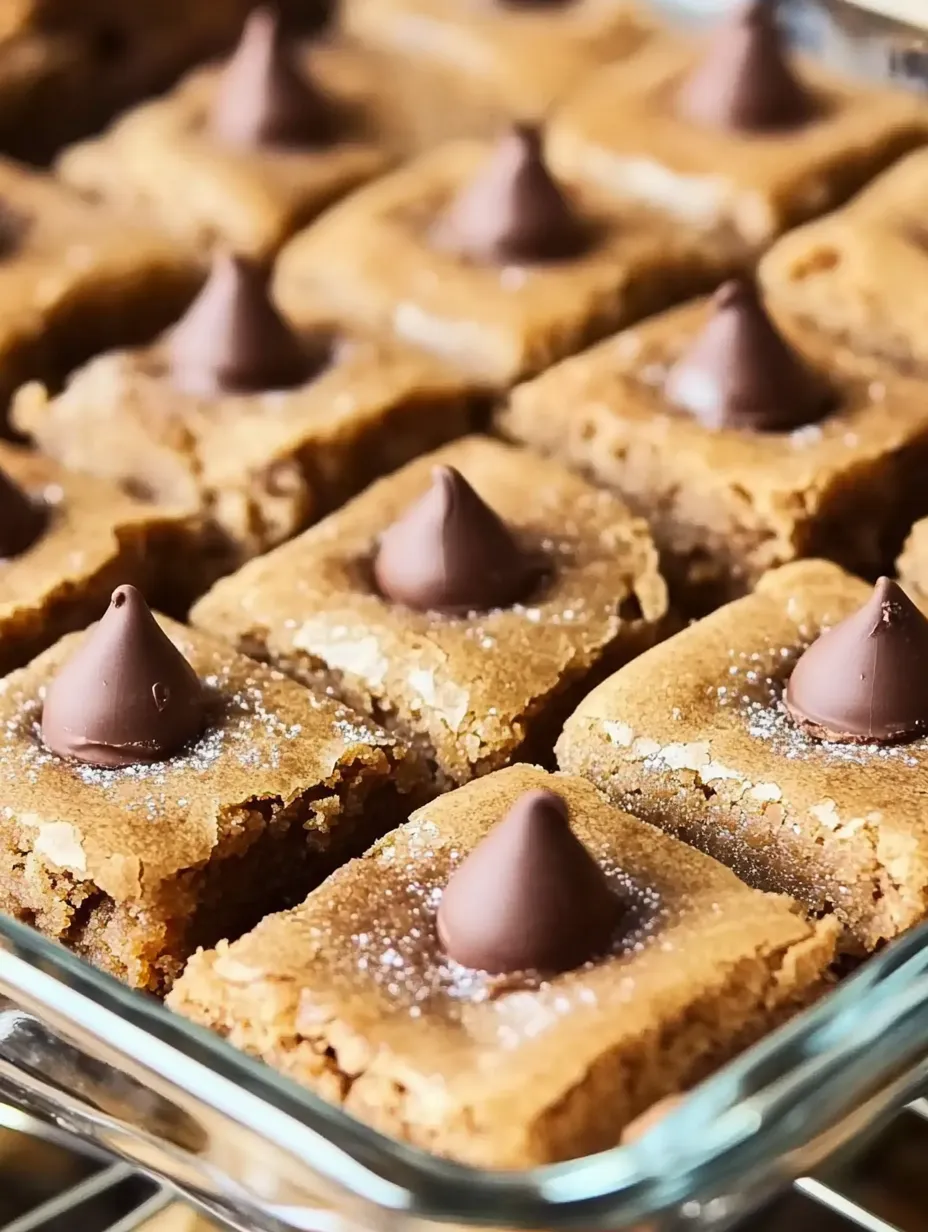
My grandmother always said patience makes perfect peanut butter bars. After years of making these, I understand exactly what she meant. Each step needs its own time.
Delicious Serving Ideas
Transform these bars into an elegant dessert by cutting into precise squares. Create beautiful presentation with a dusting of powdered sugar. Consider serving slightly warm so chocolate stays soft. The classic combination of peanut butter and chocolate deserves thoughtful presentation.
Creative Variations
Create loaded version by adding chopped peanuts. Transform with different chocolate candies like peanut butter cups. Add swirl of jam before baking. Each variation maintains the chewy texture while offering new flavor experiences.
Storage Solutions
Keep bars in airtight container for up to five days. Layer with wax paper to prevent sticking. Freeze for up to three months if needed. For best results, enjoy within first few days when chocolate is perfectly set.
 Pin it
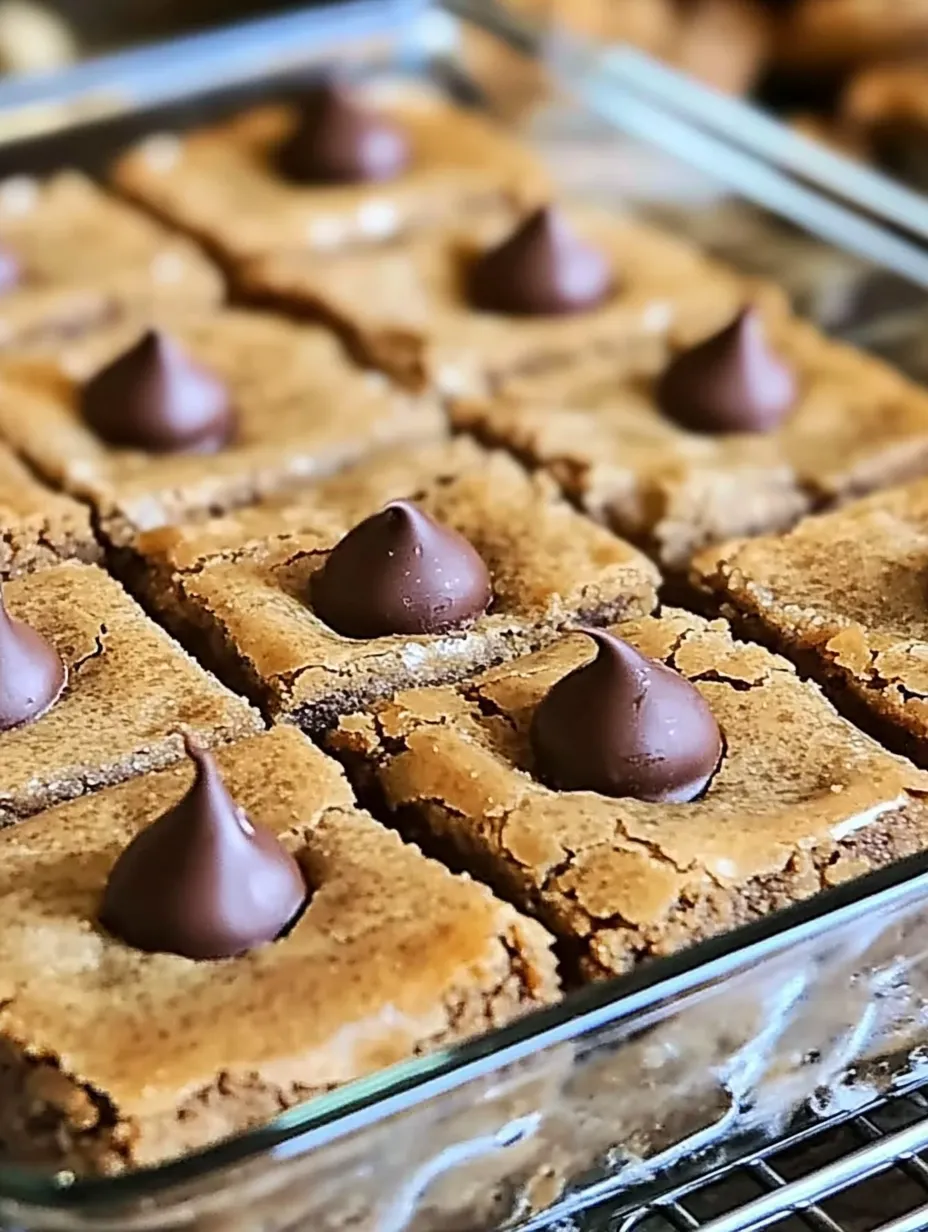
During my years of baking, I've learned that proper pan preparation makes all the difference. Taking time to line the pan ensures perfect squares every time.
Make-Ahead Magic
Prepare dough day before baking. Store wrapped in refrigerator. Bring to room temperature before baking. This preparation makes holiday baking easier.
Temperature Success
Understanding oven temperature ensures perfect bars. Watch edges carefully for browning. Check center for doneness. These details create perfectly baked bars.
Cutting Mastery
Create clean cuts by chilling slightly. Use sharp knife dipped in hot water. Wipe blade between cuts.
 Pin it
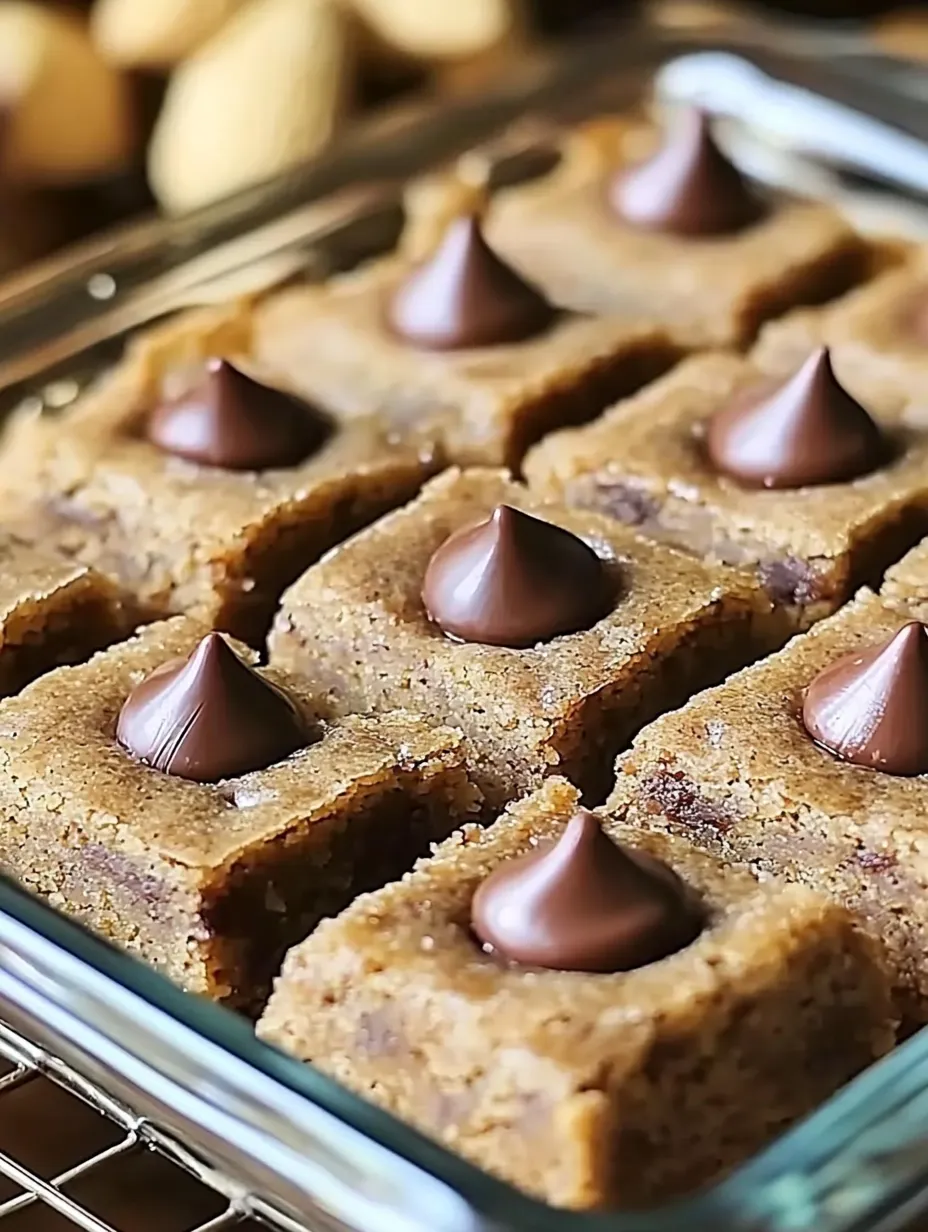
After countless times making these bars, I've learned that attention to detail creates the most memorable results. Whether serving them for holiday gatherings or family dessert, these peanut butter kiss bars bring joy to every occasion. The combination of chewy peanut butter base and chocolate kisses creates a treat that everyone remembers.
Frequently Asked Questions
- → Can I freeze these bars?
- Yes, wrap well and freeze up to 3 months. Thaw at room temperature.
- → Why are my bars crumbly?
- Let them cool completely before cutting. Hot bars will crumble easily.
- → Can I use natural peanut butter?
- Regular creamy peanut butter works best for consistent texture.
- → How do I store leftovers?
- Store in airtight container at room temperature up to 3 days.
- → Can I skip the chocolate chips?
- Yes, they're optional. The Hershey's Kisses provide plenty of chocolate flavor.