
 Pin it
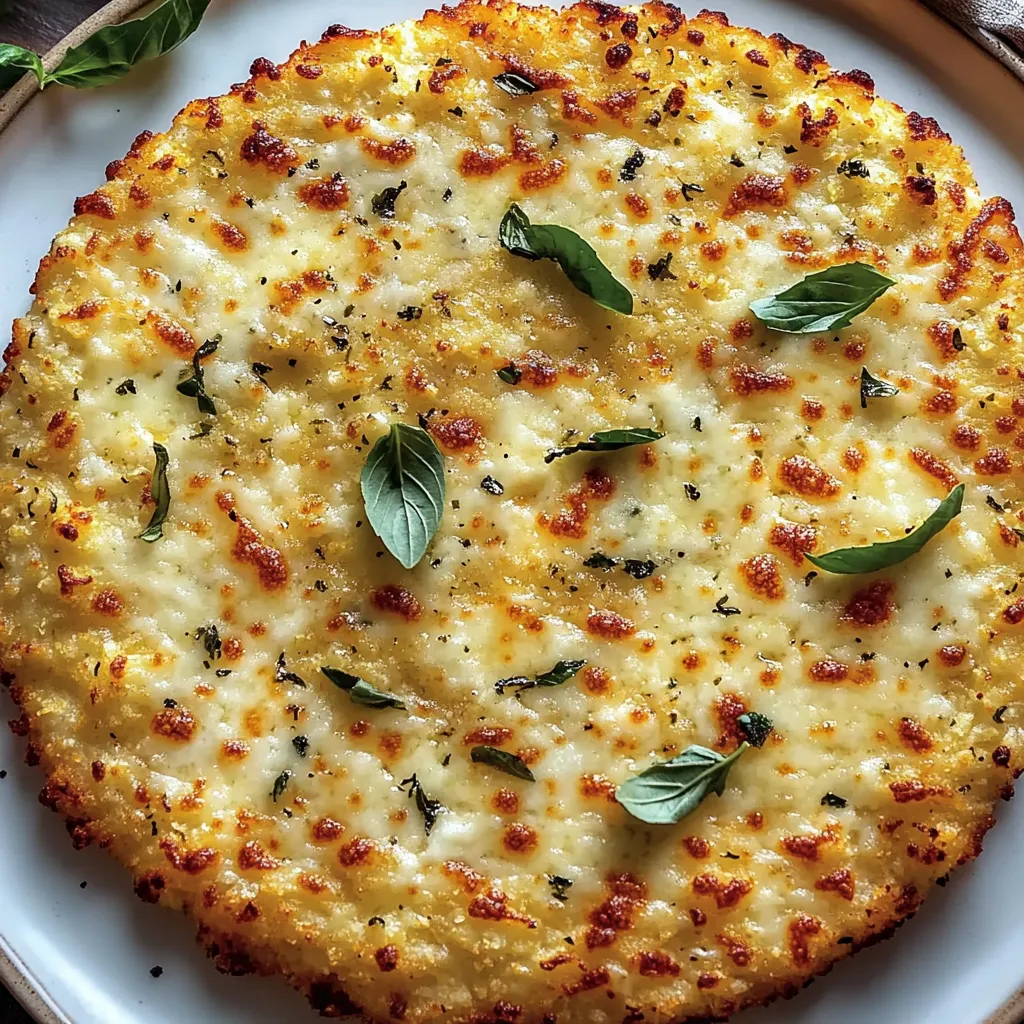
This crispy cauliflower pizza crust has completely changed my Friday night dinner routine, making it possible to enjoy pizza while keeping things light and nutritious. The secret is in properly squeezing out the moisture, which creates that satisfying crunch you crave from a good pizza base.
The first time I made this for my skeptical family, they couldn't believe it was cauliflower. Now it's become our standard pizza night option, and even my veggie-resistant nephew asks for seconds.
Ingredients
- Cauliflower: Serves as the miracle base that creates a texture surprisingly similar to traditional dough when properly prepared
- Mozzarella cheese: Provides stretch and that authentic pizza experience
- Parmesan cheese: Adds savory depth and helps with browning
- Egg: Works as the essential binder that keeps everything together
- Garlic powder: Infuses the crust with classic Italian flavor
- Dried oregano: Brings authentic pizza parlor taste
- Salt: Enhances all the flavors and balances the natural sweetness of cauliflower
- Black pepper: Adds a subtle heat that complements the other ingredients
Step-by-Step Instructions
- Preheat Oven:
- Set your oven to 425°F and position a rack in the middle. Line your baking sheet with parchment paper for easy removal later. A pizza stone works wonderfully if you have one as it helps create an extra crispy bottom.
- Rice the Cauliflower:
- Cut your cauliflower into small florets removing the tough center stem. Pulse in batches in your food processor using short pulses until it resembles small rice grains. Stop before it becomes mushy. You should end up with approximately 4 cups of cauliflower rice.
- Cook the Cauliflower:
- Place your riced cauliflower in a microwave safe bowl and heat for 5 to 6 minutes without adding any water. The cauliflower will steam in its natural moisture. Allow it to cool for at least 5 minutes so you can handle it without burning yourself.
- Remove Moisture:
- This is the most crucial step. Transfer your cooked cauliflower to a clean kitchen towel and twist tightly to squeeze out every possible drop of moisture. Keep squeezing until no more water comes out. The drier your cauliflower the crispier your crust will be.
- Make the Dough:
- Combine your squeezed cauliflower with both cheeses ensuring they are evenly distributed. Add the egg and seasonings and mix thoroughly until you have a cohesive dough that holds together when pressed.
- Shape the Crust:
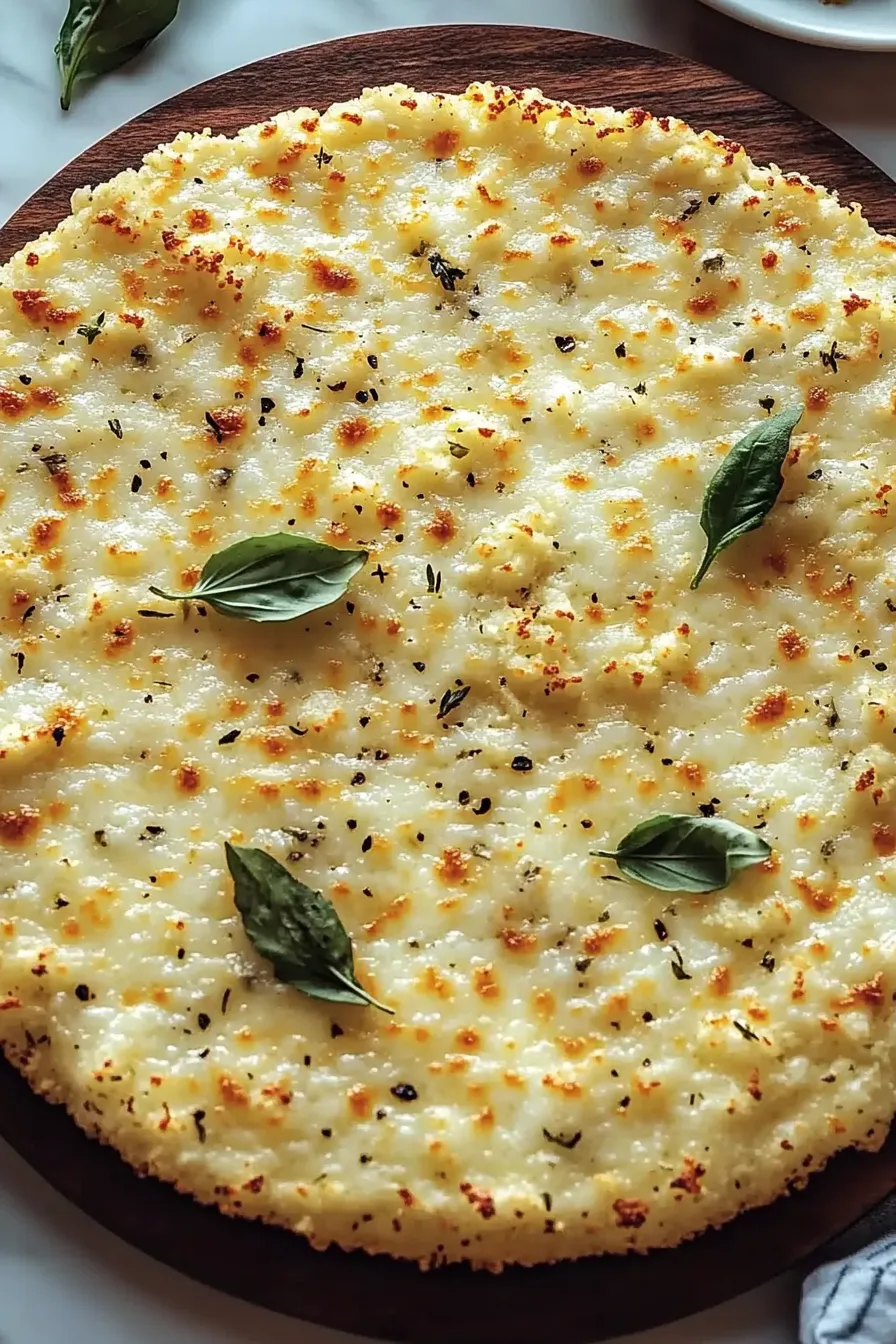
- Transfer your dough to the prepared baking sheet and press it out into a circle approximately 10 inches in diameter. Make the edges slightly thicker than the center and press firmly to ensure the crust holds together during baking.
- Bake the Crust:
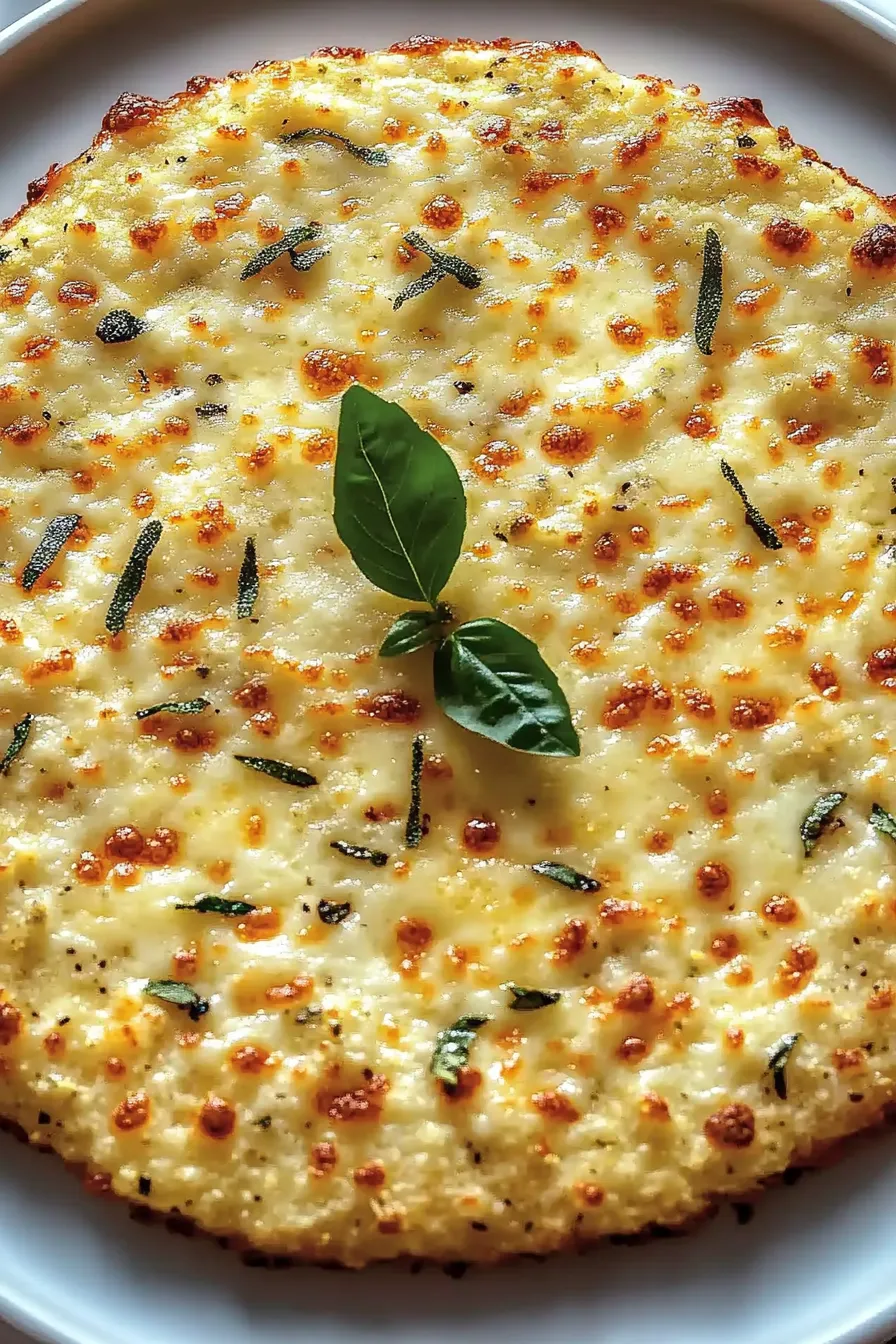
- Place your shaped crust in the preheated oven and bake until it becomes golden brown around the edges. The crust should feel firm to the touch and be able to hold its shape when lifted with a spatula.
- Add Toppings and Finish Baking:
- Once your crust is golden add your favorite toppings but avoid overloading. Return to the oven until the cheese is bubbly and any toppings are cooked through. Let it rest for 2 minutes before slicing for the cleanest cuts.
 Pin it
This recipe transformed my relationship with weeknight cooking. The first time I served it to my husband without telling him what it was he asked for seconds and was shocked to learn he was eating vegetables. The parmesan cheese is my secret weapon here it adds a nutty complexity that makes the crust taste special.
Storing Your Cauliflower Crust
The baked crust keeps wonderfully in the refrigerator for up to 3 days when wrapped tightly in plastic wrap. For longer storage freeze the baked unfropped crusts with parchment paper between each layer. When ready to use simply place the frozen crust directly in a preheated oven for about 5 minutes to reheat before adding toppings.
Common Mistakes to Avoid
Skipping the squeezing step is the number one cause of soggy cauliflower crusts. Spend the extra few minutes getting as much water out as possible. Another frequent issue is making the crust too thick which prevents it from crisping properly. Aim for about 1/4 inch thickness throughout except for slightly thicker edges.
 Pin it
Perfect Pairings for Your Cauliflower Pizza
While traditional tomato sauce and mozzarella are always delicious try experimenting with white sauce garlic oil or pesto as your base. For toppings lightweight options work best roasted vegetables grilled chicken and fresh herbs complement the delicate flavor of the cauliflower without weighing down the crust.
The Nutritional Edge
Cauliflower crust offers impressive nutritional benefits beyond just being low carb. Each serving provides nearly 30% of your daily vitamin C plus meaningful amounts of vitamin K fiber and antioxidants. The egg and cheese add protein making this a more balanced meal option than traditional pizza dough.
Frequently Asked Questions
- → How do I ensure the crust stays firm?
Make sure to squeeze out as much moisture as possible from the riced cauliflower before mixing. This helps achieve a firm crust.
- → Can I freeze the cauliflower crust?
Yes, you can freeze the baked crust. Allow it to cool completely, wrap tightly, and freeze for up to 2 months. Add toppings and bake directly from frozen.
- → What toppings work best with this crust?
Any toppings you enjoy will work! Popular options include mozzarella, marinara, vegetables, meats, and fresh herbs.
- → Do I need a food processor to rice cauliflower?
No, a box grater can also be used to rice cauliflower if a food processor is unavailable.
- → Can I use pre-riced cauliflower?
Yes, store-bought riced cauliflower works just fine. Be sure to remove excess water after cooking.