
 Pin it
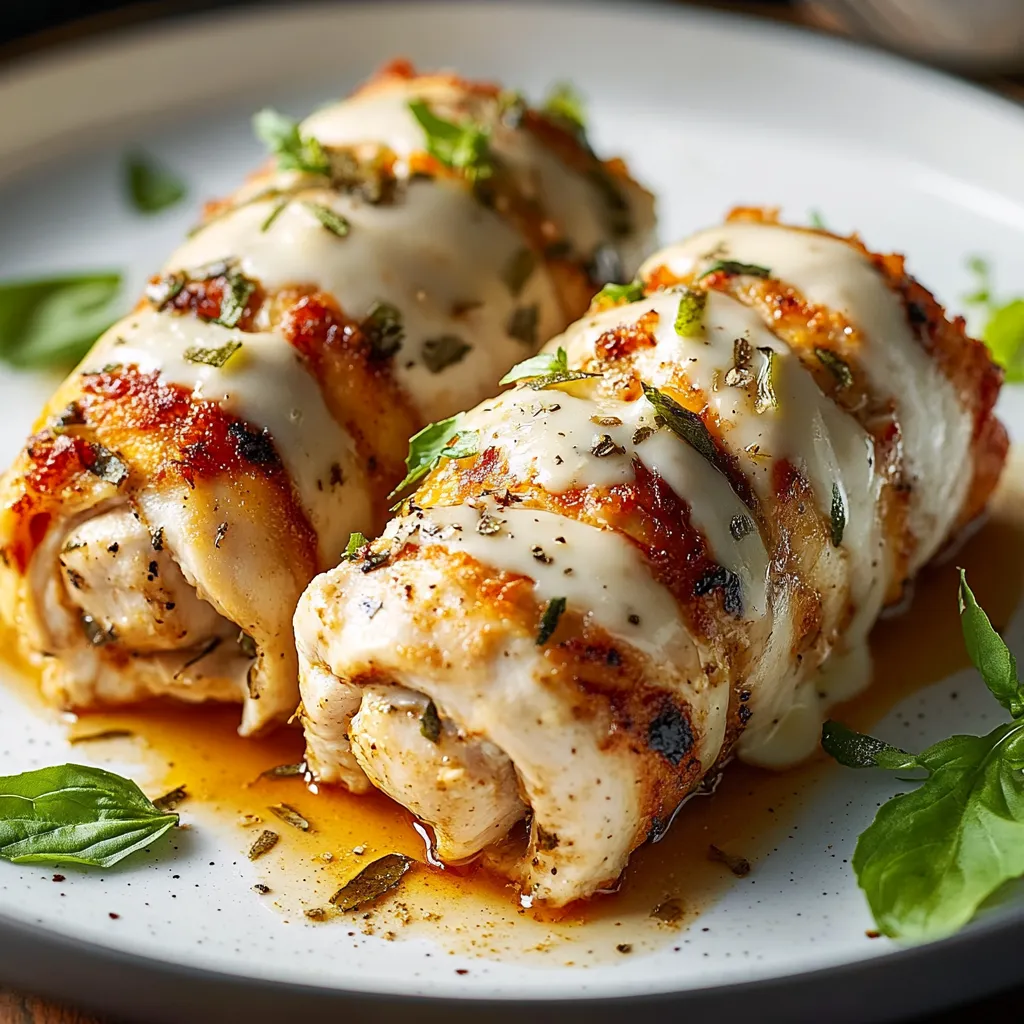
This stuffed Chicken Rollatini has been our trusted fancy-but-doable dinner for so long. When you wrap juicy chicken around a rich cheese mix, you get a meal that looks like it came from a fancy place but was totally whipped up right in your kitchen.
I started making this when I wanted to copy my favorite dish from the local Italian spot. After playing around with the method a few times, it turned into our special occasion go-to that even the fussiest eaters in my house ask for by name.
Ingredients
- 4 boneless skinless chicken breasts: Look for ones that are about the same size so they cook evenly and flatten well
- 1 cup shredded mozzarella cheese: Gives you that wonderful stringy pull when it's hot
- ½ cup ricotta cheese: Makes the filling super smooth throughout
- ¼ cup grated parmesan cheese: Brings a nice sharp flavor to the mix
- 1 cup fresh spinach sautéed and chopped: Sneaks in some greens
- ½ cup Italian seasoned breadcrumbs: Creates that nice crunchy outside
- 2 large eggs beaten: Helps the breadcrumbs stick all over
- 2 tablespoons olive oil: Grab something flavorful for best results
- 1 teaspoon garlic powder: Adds flavor without chunks of garlic
- 1 teaspoon dried basil: Brings that Italian taste we all love
- Salt and pepper to taste: Don't forget to season everything
- Fresh parsley chopped for garnish: Makes it pretty and adds freshness
- Extra grated parmesan cheese for garnish: Makes it look and taste even better
Step-by-Step Instructions
- Prepare the Chicken:
- Put chicken breasts between plastic wrap sheets. Grab a meat mallet and pound them to ¼-inch thick. Start from the middle and work outward with steady taps to keep from tearing the meat. Getting them all the same thickness helps them cook right and makes rolling way easier.
- Prepare the Filling:
- Mix your ricotta, parmesan, mozzarella, cooled sautéed spinach, garlic powder, dried basil, salt, and pepper in a bowl. Let that spinach cool a bit first so it won't melt your cheese too soon. The mix should be firm enough to spread but not runny enough to leak out when rolled.
- Assemble the Rollatini:
- Spread your chicken breasts out flat. Add a layer of cheese filling on each one, but leave about half an inch around the edges clear. Roll them up from the skinnier end and stick toothpicks in to hold them. Put the toothpicks in the same direction as the roll so they're easier to take out later.
- Coat the Rolls:
- Dunk each roll into beaten eggs, making sure they get coated all over. The egg makes things sticky so the breadcrumbs will stay put. Then roll them in breadcrumbs, pushing gently to cover everything. If you want them extra crunchy, let them sit for 5 minutes before cooking.
- Cook the Rollatini:
- Pick your favorite way to cook:
- Baking Method: Heat your oven to 375°F. Put the rolls in a greased dish with space between them and bake for 25-30 minutes until golden and the inside hits 165°F.
- Pan-Frying Method: Heat olive oil in a pan over medium heat. Cook the rolls for 3-4 minutes on each side until golden. Then finish them in a 375°F oven for 15-20 minutes to cook through.
- Air Frying Method: Set your air fryer to 360°F. Put rolls in without crowding and cook for 10-15 minutes, flipping halfway. You might need to cook in batches.
- Rest and Serve:
- Let the rolls sit for 5 minutes after cooking so the juices settle and the filling firms up. Carefully pull out the toothpicks, sprinkle with fresh parsley and extra parmesan, and serve while warm.
 Pin it
Ricotta cheese is definitely the hidden gem here. While most people just use mozzarella in their rollatini, ricotta makes everything extra creamy and keeps the filling from drying out. My grandma always threw some in, and after trying it without, I can tell you she wasn't wrong.
Make-Ahead Tips
This dish works great for planning ahead. You can put the rolls together up to a day before cooking and keep them covered in the fridge. For the best results, don't add the breadcrumbs until you're ready to cook so they stay nice and crispy. If you need to work even further ahead, you can freeze the rolled but uncoated chicken for up to 3 months. Just thaw it completely in the fridge before adding the coating and cooking.
Filling Variations
The traditional cheese and spinach mix is just the start. You could try adding sun-dried tomatoes and basil for something different, or maybe prosciutto and provolone for a saltier taste. Want something more filling? Toss in some cooked crumbled Italian sausage. If you love mushrooms, add some sautéed ones with a bit of thyme. Each version keeps the creamy cheese base but tastes completely different.
Serving Suggestions
Chicken rollatini can stand alone just fine, but it also goes great with sides. Try spooning some simple marinara sauce over the top for extra flavor and moisture. Serve it with roasted asparagus, garlicky mashed potatoes, or a light arugula salad with lemon and olive oil dressing. For a full Italian dinner experience, start with a small side of pasta tossed with olive oil and herbs.
Troubleshooting Tips
If your rolls keep opening up while cooking, try using more toothpicks or rolling them tighter. Cooling the assembled rolls in the fridge for 15-20 minutes before coating can also help them stay together. To keep the chicken juicy, don't cook it too long. Check it with a meat thermometer for 165°F. If the breadcrumbs start getting too brown before the chicken is done, just cover it loosely with foil.
 Pin it
Frequently Asked Questions
- → What’s the trick for even cooking chicken?
Flatten the chicken breasts to about a ¼-inch thickness to make sure they’ll cook consistently.
- → Can I get these ready ahead of time?
Sure! Put the rolls together and refrigerate them for up to 24 hours. Cook right when you want to serve.
- → What cooking options work for chicken rollatini?
Go for baking, pan-frying, or air-frying. They all give you juicy chicken wrapped in a crispy coating.
- → How can I change up the filling?
Feel free to mix it up! Toss in mushrooms or swap out the spinach for kale or chard.
- → What should I serve alongside this dish?
Pair it with some roasted veggies, pasta, or a fresh salad—it’ll be just right!