
 Pin it
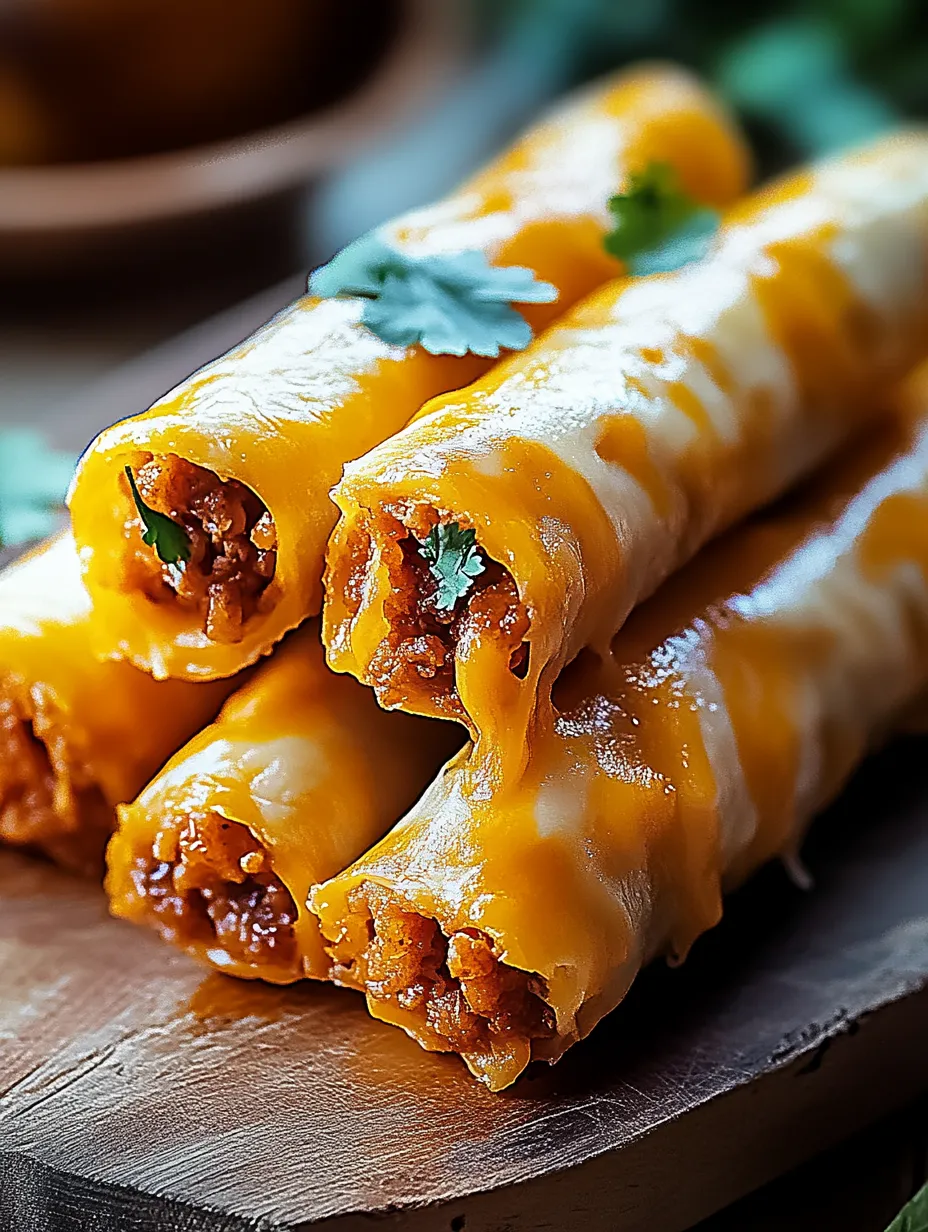
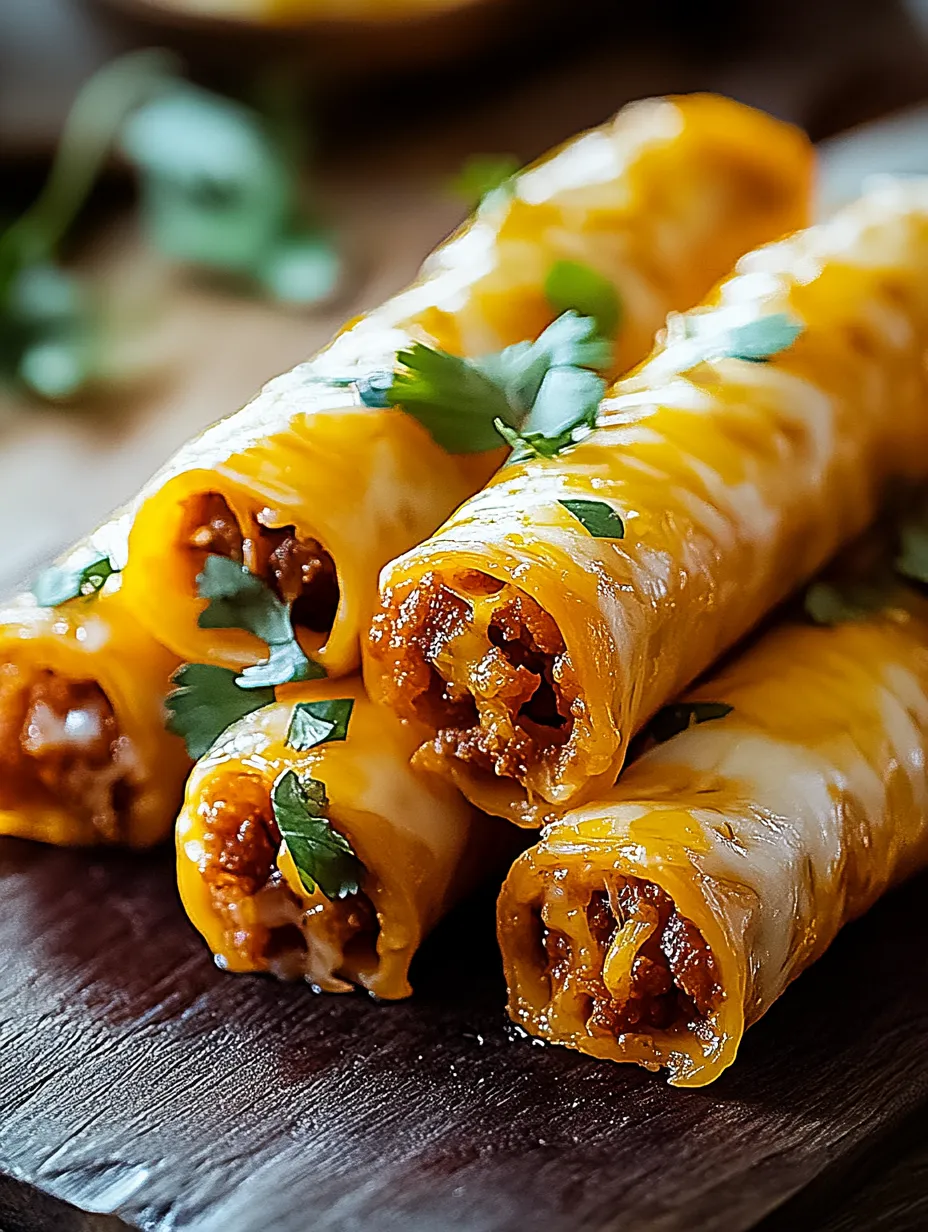
Crispy golden tortillas wrapped around seasoned ground beef and melted cheese create the ultimate handheld meal that satisfies intense cravings with each bite. These cheesy taco sticks transform familiar taco flavors into a convenient form perfect for dipping, sharing, or enjoying as a complete meal. The contrast between the crunchy exterior and gooey cheese filling delivers the perfect textural experience while the seasoned beef provides satisfying substance that keeps everyone reaching for more.
Taco Transformation
During our last neighborhood potluck, I brought these alongside traditional appetizers and watched as they disappeared first. My friend who typically avoids anything remotely spicy somehow managed three servings and asked for the recipe before leaving. Their universal appeal crosses all age groups and dietary preferences.
Flavor Foundation
- Ground beef: This protein foundation provides satisfying substance and carries the taco seasoning perfectly. Select lean ground beef for best results as excessive fat can make the tortillas soggy during baking.
- Taco seasoning: This spice blend instantly transforms ordinary ground beef into something extraordinary. The balanced combination of chili powder, cumin, paprika and other spices creates that distinctive taco flavor profile everyone recognizes and loves.
- Flour tortillas: These flexible wraps become magically crisp during baking while still maintaining enough structure to hold the filling. Their neutral flavor allows the seasoned filling to shine while providing the perfect vehicle for delivering it.
- Cheddar cheese: This melting cheese creates those irresistible stretchy strands when the sticks are pulled apart. Sharp cheddar provides the strongest flavor impact, but mild works beautifully for those preferring less assertive taste.
- Sour cream: This cooling accompaniment balances the seasoned filling perfectly. Its creamy tanginess complements the spices and provides the perfect dipping consistency for each crispy bite.
Preparation Method
- Create Flavorful Foundation
- Begin by browning ground beef in a skillet over medium heat until completely cooked through, breaking it into small, uniform crumbles as it cooks. This consistent texture ensures proper distribution throughout each taco stick for balanced flavor in every bite. Add taco seasoning according to package directions, incorporating water if specified, and allow the mixture to simmer until liquid reduces. This reduction concentrates flavors and prevents excess moisture that would compromise the tortilla crispness.
- Prepare Your Workspace
- While your seasoned beef cools slightly, organize your assembly area with tortillas laid flat on a clean surface and shredded cheese within easy reach. Preheat your oven to exactly 375°F to ensure proper crisping of the tortillas without burning. Line a baking sheet with parchment paper for easy release and minimal cleanup after baking.
- Assemble With Purpose
- Spoon a generous portion of seasoned beef directly down the center of each tortilla, creating a neat line that leaves approximately two inches empty on each side. This careful placement ensures proper rolling and sealing. Sprinkle cheese evenly over the beef, using slightly more than seems necessary as it will melt and compact during baking, creating that perfect cheese pull when eaten.
- Perfect Your Rolling Technique
- Working with one tortilla at a time, tightly roll from one side to the other, enclosing the filling completely. Place each rolled tortilla seam side down on your prepared baking sheet, which helps prevent them from unraveling during baking. Position them with slight space between each to allow for even air circulation and proper crisping on all sides.
- Transform Through Heat
- Bake the assembled rolls in your preheated oven for 10-12 minutes, watching carefully toward the end of cooking time. The perfect taco stick achieves golden brown color with slightly darker edges while maintaining structural integrity. This precise cooking time ensures crisp exterior texture while allowing the cheese inside to melt completely for maximum flavor.
- Prepare For Serving
- While your taco sticks bake, prepare serving plates and accompanying dips. Transfer warm taco sticks directly to cutting boards and slice diagonally into portions if desired, or serve whole for handheld eating. The diagonal cut creates more surface area for dipping while showcasing the appetizing filling inside.
- Complete With Accompaniments
- Arrange your sliced taco sticks on serving platters alongside small bowls of cool sour cream, fresh salsa, and guacamole if desired. These complementary dips add moisture, temperature contrast, and flavor complexity that elevates the entire eating experience beyond simple finger food to memorable appetizer or meal.
 Pin it
My mother always taught me that presentation matters as much as taste. I discovered that letting these taco sticks rest for just two minutes after baking allows the cheese to set slightly, making them easier to slice without the filling spilling out, while still maintaining that perfect warm temperature for serving.
Serving Ideas
Elevate these versatile taco sticks from simple snack to complete meal with thoughtful pairings. Create a Mexican inspired spread by surrounding them with complementary sides like cilantro lime rice, refried beans topped with cotija cheese, and a fresh avocado salad with lime vinaigrette. For casual entertaining, arrange on a large platter alongside various dipping options including traditional sour cream, homemade guacamole, pico de gallo, and queso dip that allow guests to customize their experience. When serving as a main course, balance the richness with a crisp side salad featuring romaine, black beans, corn, and a light chipotle ranch dressing.
Recipe Adaptations
This versatile base recipe welcomes creative modifications to suit different tastes or dietary needs. Create a breakfast version by substituting scrambled eggs, breakfast sausage, and pepper jack cheese for a morning twist. Develop vegetarian friendly taco sticks using seasoned black beans and corn instead of ground beef. Accommodate heat preferences by adding diced jalapeños or chipotle peppers to the filling for spice enthusiasts while keeping some mild for sensitive palates. For a lower carb option, use low carb tortillas or large lettuce leaves as wrappers. Experiment with cheese varieties like Monterey Jack, pepper jack, or Mexican cheese blend for different flavor profiles.
 Pin it
Storage Strategy
Preserve leftover taco sticks properly to enjoy their deliciousness beyond the initial serving. Store completely cooled sticks in airtight containers in the refrigerator for up to three days, separating layers with parchment paper to prevent sticking. Reheat in a 350°F oven for 5-7 minutes until warmed through and crisp again, avoiding microwave reheating which creates sogginess. For make ahead convenience, assemble taco sticks completely, refrigerate uncooked for up to 24 hours, then bake fresh when needed, adding 2-3 minutes to the cooking time to compensate for the chilled filling. Freeze completely cooled taco sticks in single layers, then transfer to freezer bags for storage up to two months, reheating from frozen at 375°F for 15-20 minutes until heated through.
I discovered this recipe during a particularly hectic season when my children's activities had us eating at different times each evening. These taco sticks became our solution since they could be enjoyed hot from the oven or at room temperature, and were substantial enough to feel like a proper meal despite being eaten on the go. They've remained in our regular rotation even after our schedules normalized simply because everyone enjoys them so much.
Frequently Asked Questions
- → Can I make these ahead of time?
- Yes! You can prepare the taco sticks up to the baking stage, then refrigerate for up to 24 hours. When ready to serve, brush with the garlic butter and bake, adding 2-3 extra minutes to the baking time.
- → Can I freeze these taco sticks?
- Absolutely! Freeze them unbaked on a baking sheet until solid, then transfer to a freezer bag. When ready to bake, no need to thaw - just brush with garlic butter and bake at 400°F for about 18-20 minutes.
- → What can I use instead of pizza dough?
- Crescent roll dough works great as a substitute. You can also use refrigerated biscuit dough (flatten each biscuit into an oval) or even flour tortillas folded over like a quesadilla.
- → Can I make a vegetarian version?
- Definitely! Replace the ground beef with plant-based ground meat substitute, black beans, or a mixture of sautéed vegetables like bell peppers, onions, and corn seasoned with taco spices.
- → What dipping sauces go well with these?
- Salsa, guacamole, and sour cream are classics. Ranch dressing, queso dip, or a spicy sriracha mayo also make delicious dipping options that complement the flavors.