 Pin it
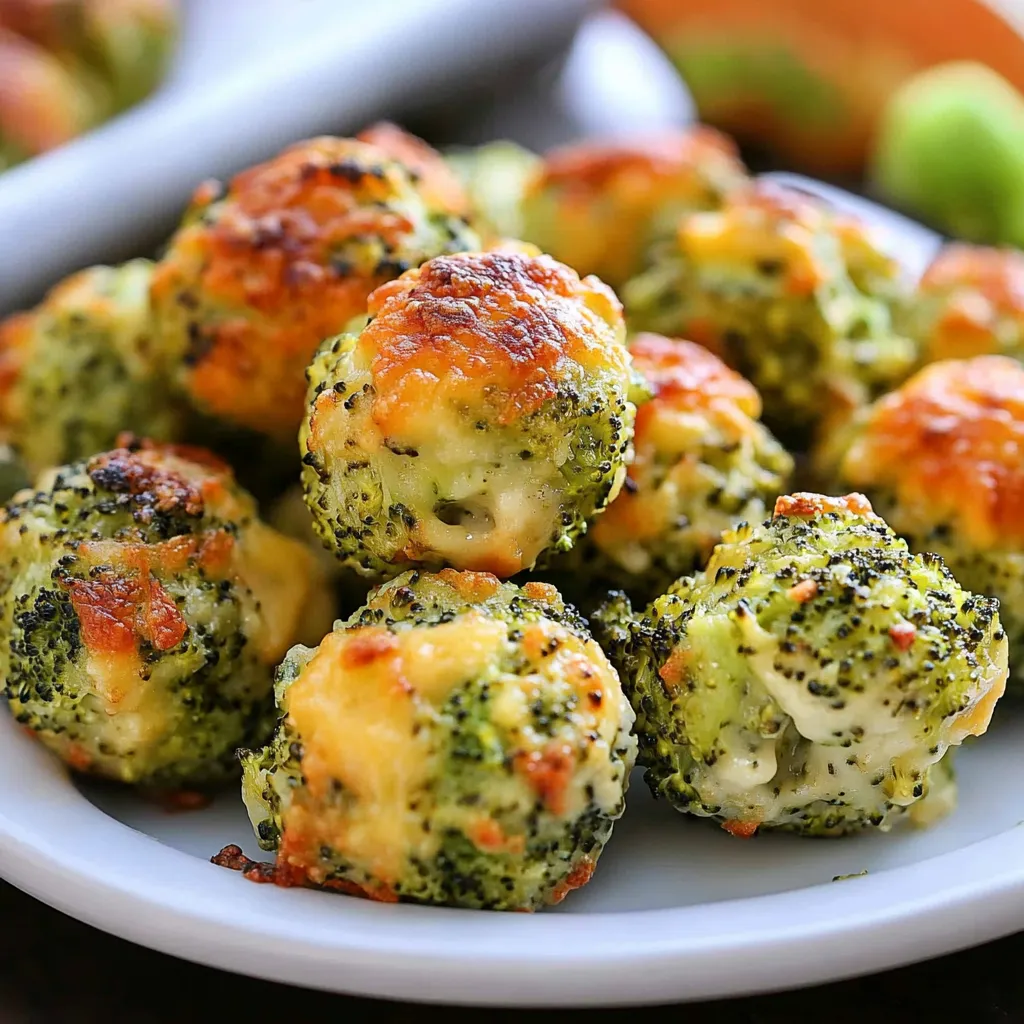
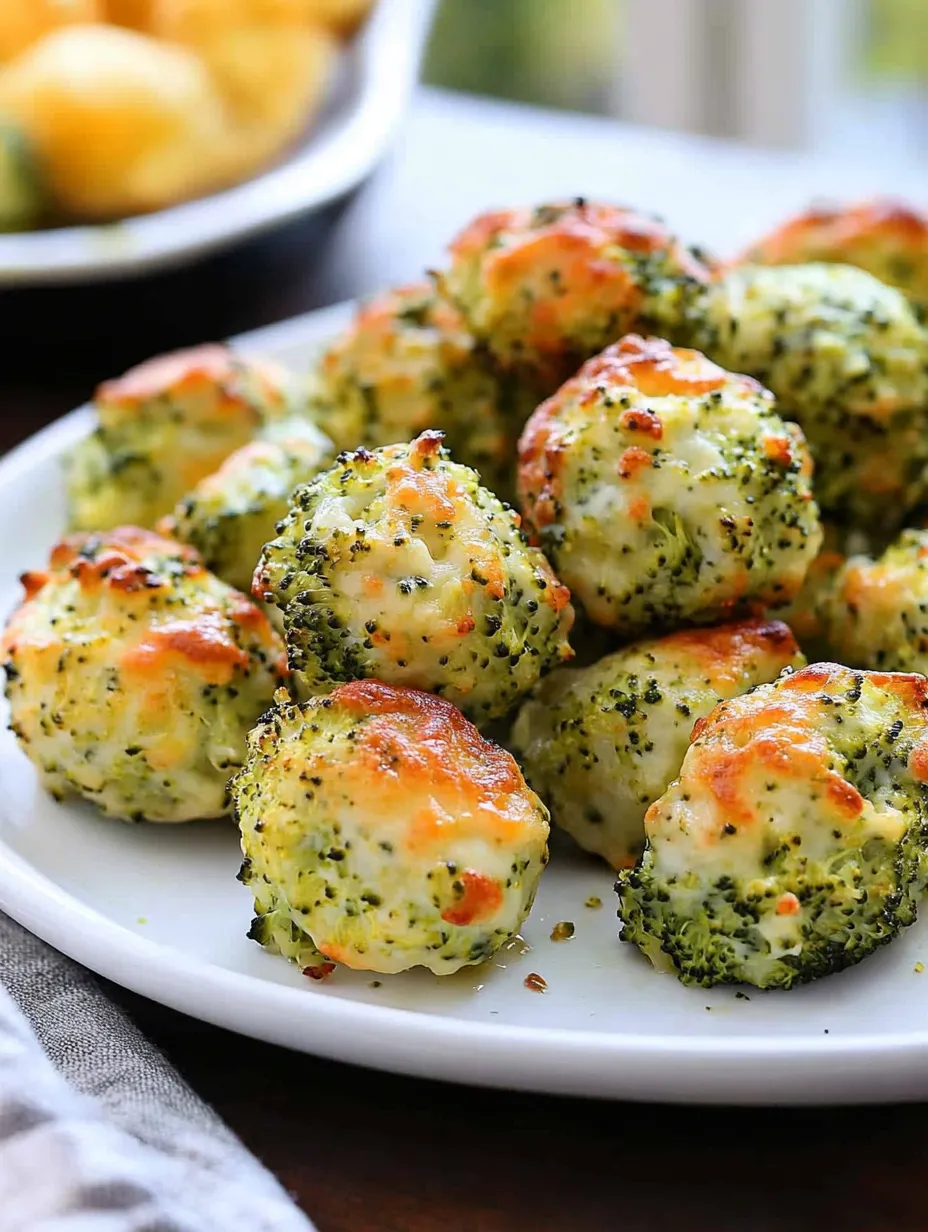
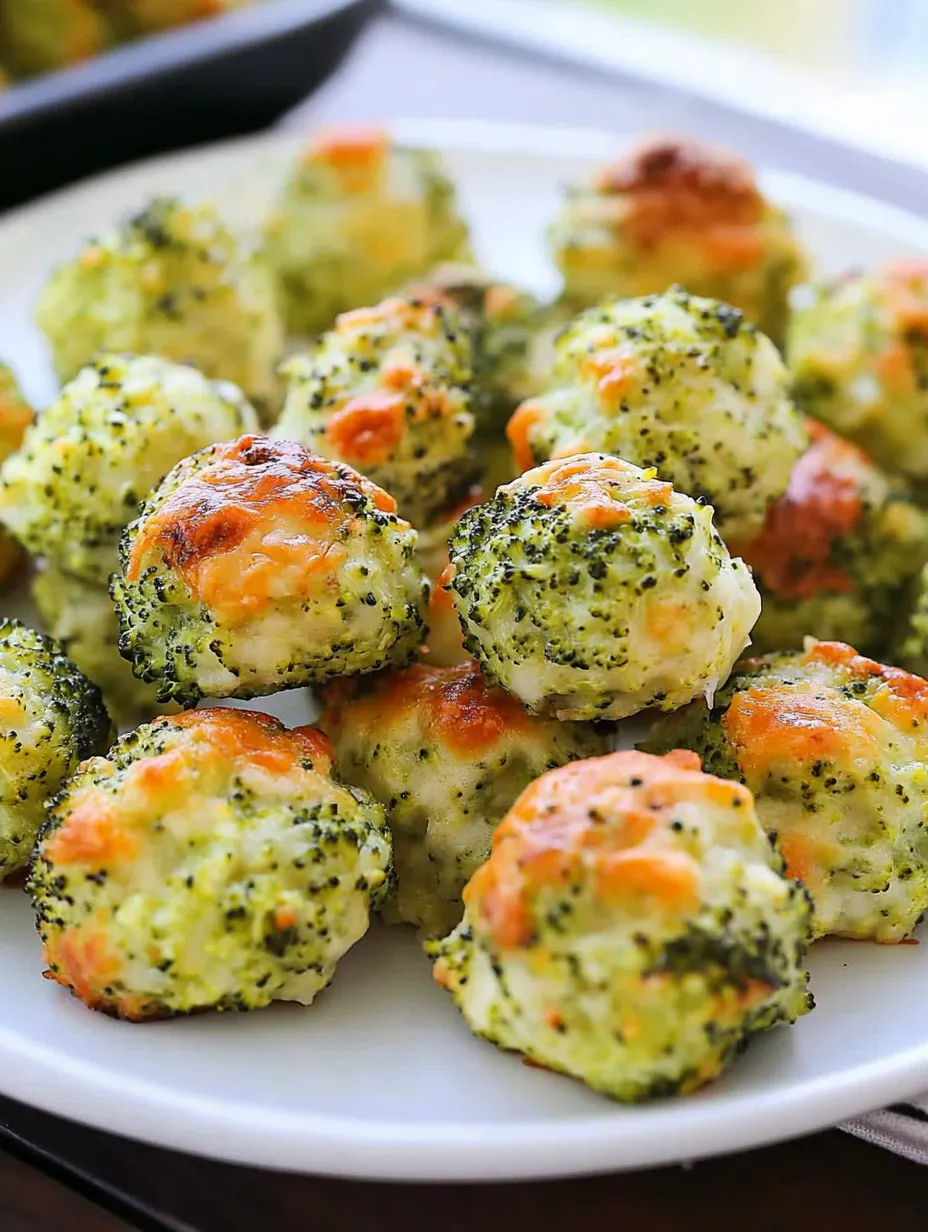
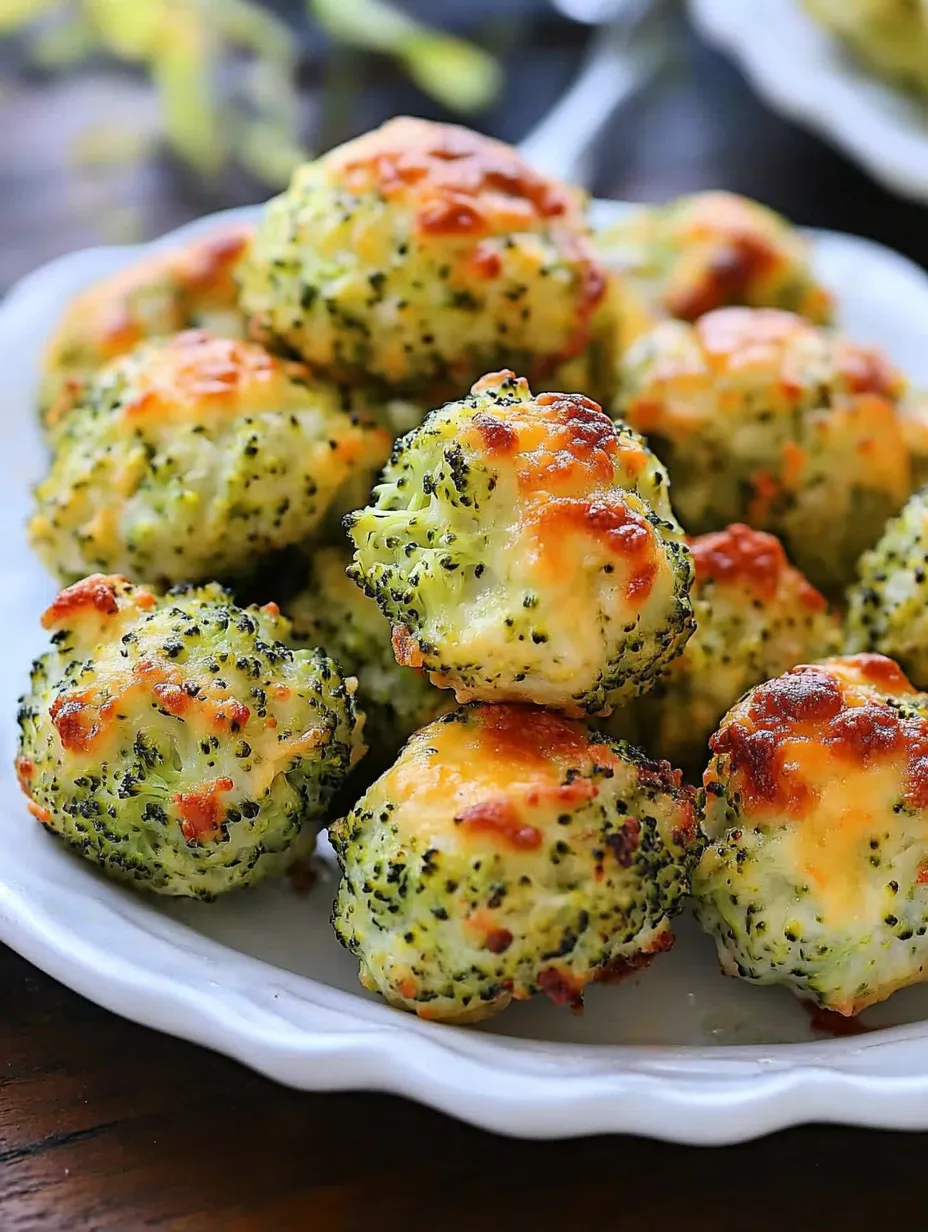
Crispy exterior giving way to a savory, cheese-filled center creates the perfect balance of flavors in these irresistible broccoli cheese balls. Each bite delivers a wonderful combination of nutritious broccoli and rich, melted cheese that transforms ordinary vegetables into something truly craveable. The baking method produces golden, crispy outsides while keeping the centers moist and cheesy without the extra calories of deep frying, making these versatile bites perfect for any occasion from casual family dinners to elegant gatherings.
Last weekend I served these at a neighborhood potluck and watched as both children and adults kept returning to the platter. My friend's five-year-old who "hates all things green" ate four without realizing they contained broccoli, proving their universal appeal across all age groups.
 Pin it
Essential Elements
Foundation Components
- Broccoli florets: These provide beautiful color, nutrition, and texture while absorbing surrounding flavors. Choose bright green heads with tight florets for the freshest flavor and best visual appeal in the finished dish.
- Breadcrumbs: These act as the binding agent that holds everything together while creating that satisfying exterior crunch. Panko delivers the crispiest results, but any style works beautifully depending on your texture preference.
- Cheddar cheese: The primary flavor driver that creates those irresistible gooey pockets throughout each bite. Sharp varieties provide the most pronounced flavor impact, making even small amounts deliver big taste.
- Parmesan cheese: This aged cheese contributes a nutty depth that elevates the entire flavor profile. Its natural umami properties enhance the broccoli's natural sweetness while adding complexity to every bite.
- Eggs: These provide crucial binding power that transforms separate ingredients into a cohesive mixture. They also contribute to the golden exterior during baking for visual appeal.
Preparation Journey
Creation Steps
- Begin With Preparation
- Preheat your oven to precisely 400°F, ensuring it reaches full temperature before baking begins. This high heat environment creates the perfect exterior texture while keeping the centers moist. Line a baking sheet with parchment paper to prevent sticking without adding additional oil to the recipe.
- Transform Your Vegetables
- Steam fresh broccoli florets just until tender-crisp, maintaining their bright green color and nutritional value. This partial cooking ensures they will finish perfectly during baking without becoming mushy or releasing excess moisture into the mixture. Cool them slightly before finely chopping to prevent the hot vegetables from beginning to cook the eggs when mixed.
- Combine Your Elements
- In a spacious mixing bowl, bring together your chopped broccoli, breadcrumbs, shredded cheddar, grated Parmesan, whisked eggs, and flour. This combination creates the perfect balance of structure, flavor, and binding power. Add garlic powder, onion powder, salt and pepper, adjusting quantities to your taste preferences for personalized flavor results.
- Achieve Perfect Texture
- Mix all ingredients thoroughly until they reach that ideal consistency where the mixture holds together when pressed but isn't overly wet or sticky. This texture ensures the balls will maintain their shape during baking while developing a proper crust. If your mixture seems too wet, incorporate additional breadcrumbs one tablespoon at a time until reaching the proper consistency.
- Form Your Creation
- With clean hands, portion the mixture into uniform one-inch balls, applying gentle pressure to ensure they hold their shape without compressing so tightly that they become dense. The size consistency ensures even cooking throughout all pieces, preventing some from overcooking while others remain underdone.
- Arrange For Success
- Place each formed ball on your prepared baking sheet, leaving sufficient space between each to allow hot air circulation that creates even browning on all sides. This proper spacing prevents steaming between pieces that would compromise their crispy exteriors.
- Transform Through Heat
- Bake in your preheated oven for 20-25 minutes until they develop a beautiful golden brown exterior with a firm texture when gently pressed. This cooking duration allows the cheese to melt completely inside while the exterior develops that satisfying crisp texture. For extra crispiness, broil for the final minute while watching carefully to prevent burning.
- Complete The Journey
- Remove from oven and allow to cool just slightly before serving. This brief resting period allows the interior to set while maintaining their perfect serving temperature. Arrange on a serving platter alongside your chosen dipping sauce for a presentation that invites everyone to dive in.
 Pin it
My grandmother always said cheese could make any vegetable irresistible, and these little bites prove her wisdom. I've watched countless vegetable skeptics convert after trying these flavor bombs that showcase how delicious nutrition can truly be.
Serving Ideas
Perfect Pairings
Transform these versatile bites into a complete meal experience with thoughtful accompaniments. Serve alongside a bright marinara sauce for classic Italian flavor notes that complement the cheesy interior. For something unexpected, try a cool yogurt-based dip with fresh herbs that provides temperature and flavor contrast. When creating a party spread, arrange these on a platter surrounded by other finger foods like stuffed mushrooms and vegetable crudités for an impressive display that offers something for everyone.
Creative Adaptations
Flavor Explorations
This flexible recipe welcomes your personal touch through countless variations. Substitute cauliflower for broccoli to create an even milder flavor profile perfect for vegetable-resistant eaters. Experiment with cheese combinations by introducing goat cheese or blue cheese crumbles for sophisticated flavor development. Add texture interest with finely chopped nuts or seeds incorporated into the mixture. For spice enthusiasts, introduce diced jalapeños or red pepper flakes that create pleasant heat throughout each bite.
 Pin it
Storage Solutions
Freshness Preservation
Maintain peak quality by properly storing any leftovers promptly after cooling. Refrigerate in airtight containers for up to three days without significant texture loss. To reheat, place in a 350°F oven for 5-7 minutes until warmed throughout rather than microwaving which can create soggy exteriors. These also freeze beautifully before or after baking. For make-ahead convenience, freeze unbaked balls on a sheet pan, then transfer to freezer bags for storage up to three months, adding 5-7 minutes to baking time when cooking from frozen.
I discovered this recipe during a particularly challenging season with my children's vegetable acceptance. What began as a desperate attempt to increase their nutrition has become a requested favorite that appears regularly at family gatherings. The genuine delight on everyone's faces when these appear on the table reminds me that good food brings people together in ways nothing else can.
Frequently Asked Questions
- → Can I use frozen broccoli for this recipe?
- Yes! Thaw frozen broccoli first, then squeeze out excess moisture before chopping. The texture might be slightly different but the flavor will still be great.
- → How do I store leftover broccoli cheese balls?
- Store cooled leftovers in an airtight container in the refrigerator for up to 3 days. Reheat in a 350°F oven for about 10 minutes to crisp them back up.
- → Can I make these ahead of time?
- You can prepare the mixture and form the balls up to a day ahead. Keep them covered in the refrigerator, then bake when you're ready to serve them.
- → What dipping sauces go well with these?
- Marinara sauce and ranch dressing are classic choices, but honey mustard, sriracha mayo, or a simple garlic yogurt dip also pair wonderfully with these cheese balls.
- → Can I make these gluten-free?
- Absolutely! Just substitute the regular breadcrumbs with gluten-free breadcrumbs and use a gluten-free flour blend instead of all-purpose flour.
