
 Pin it
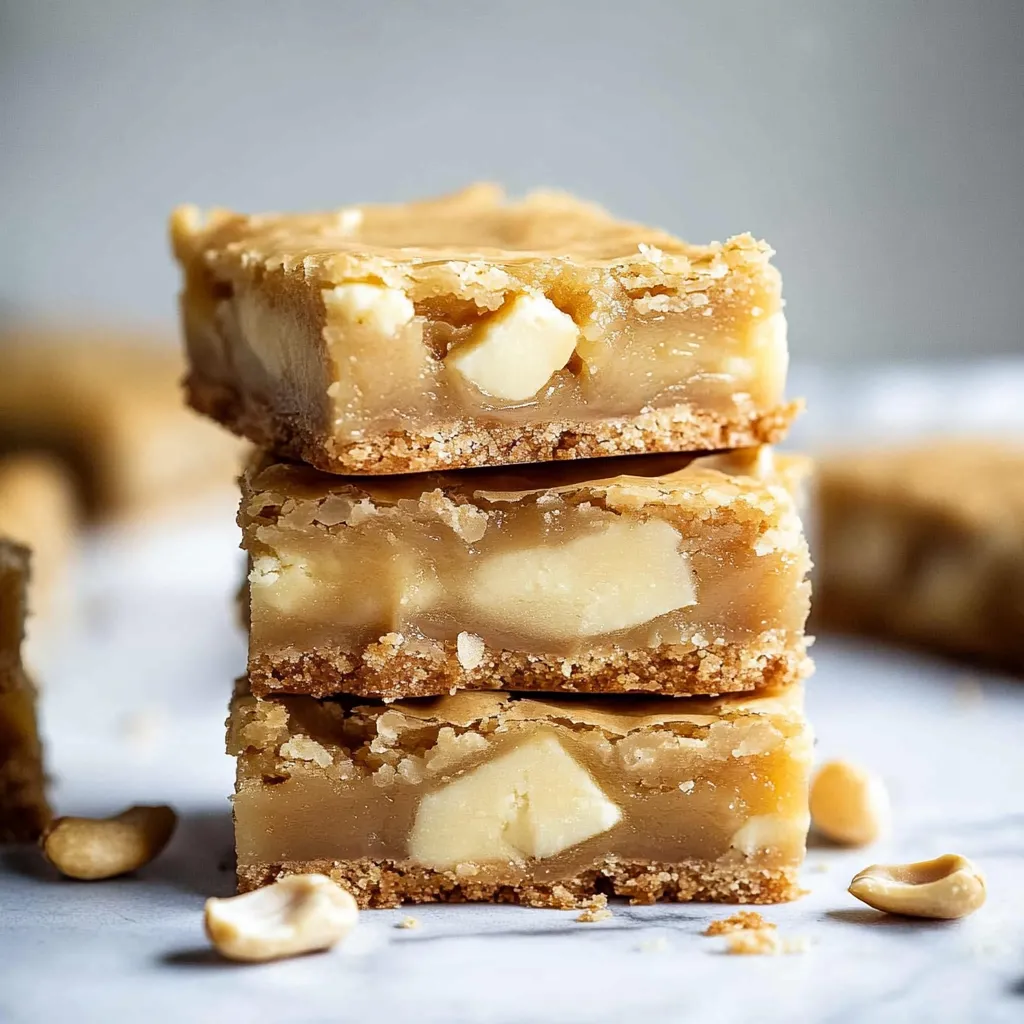
Sink your teeth into these dreamy white chocolate blondies. They come out soft and rich, with a melt-away bite and just the right hint of sweetness. The simple mix of staples comes together into a cozy, go-to dessert everyone falls for instantly.
I whip up these blondies all the time and can’t remember them ever disappointing. Last weekend, I took a batch to a family party. Folks couldn’t believe they weren’t straight from a bakery case.
Irresistible Essentials For Blondies
- Sea Salt: Rounds out the flavors and keeps them from being too sugary
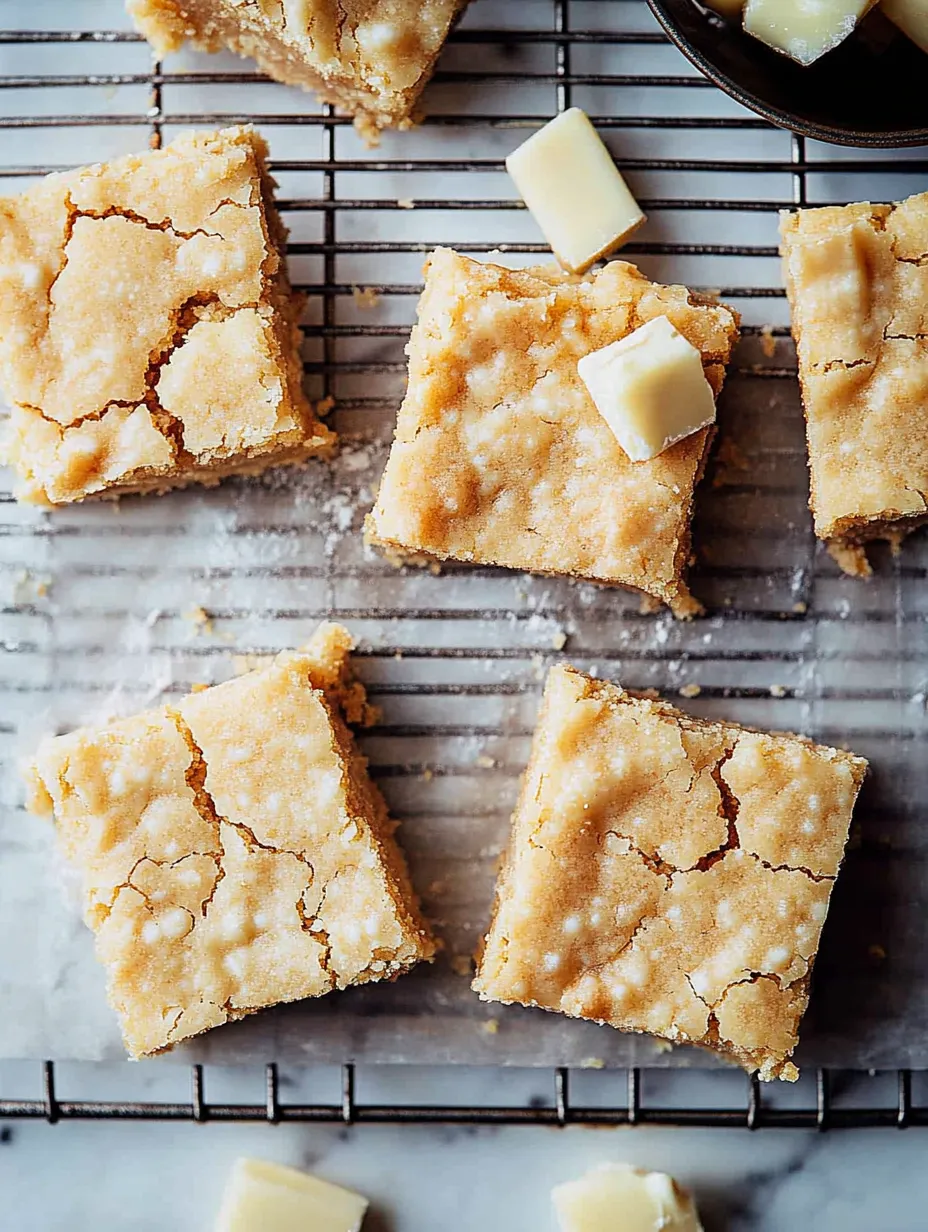
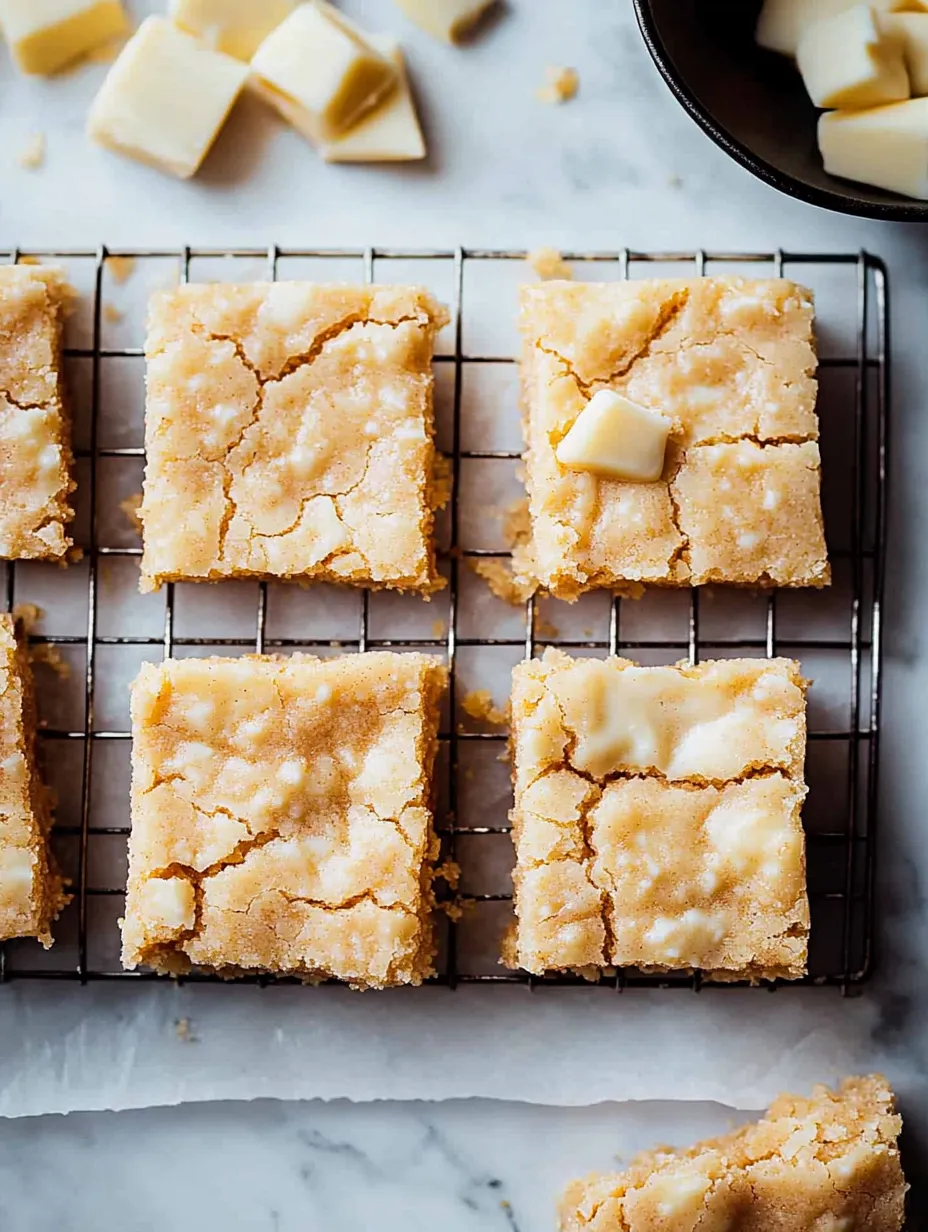
- White Chocolate Chips (100g): You’ll get luscious melty bites through every piece
- All-Purpose Flour (285g): Keeps them soft but helps them hold their shape
- Eggs (2 large): Brings everything together and adds that chewy pull
- Brown Sugar (340g): Adds moisture plus a delicate caramel flavor you can’t miss
- Butter (225g, melted and cooled): Makes these bars rich and dense
 Pin it
Nailing The Blondie Process
- Final Touches
- Wait until they’re fully cool before slicing. Want a little zing? Sprinkle a pinch of sea salt on top.
- Baking Mastery
- Scoop your batter in, even out the top, and pay attention to the timing so they’re perfectly baked.
- Dry Goods Magic
- Gently stir in the flour, then the white chocolate chips. Don’t overmix if you want them soft!
- Mixing It Up
- Beat brown sugar and eggs together until they’re light. Slowly pour in your melted butter and keep whisking till smooth.
- Prepping Gear
- Pop the oven on and set your baking rack the right way. Use parchment to make lifting them out easy.
My grandma always claimed white chocolate bars were the best, and baking up these blondies together turned into our little family tradition. The creamy melt of white chocolate takes me right back to her kitchen every time.
Elevate Your Sweets Game
Heat up a blondie and top it with a scoop of vanilla ice cream, some fresh berries, or drizzle caramel on top for an extra fancy touch. They go great with afternoon tea or coffee too—totally snack-worthy.
Add Your Own Spin
If you want to experiment, try butterscotch chips or toss in macadamia nuts for a little crunch. Want it festive? Chunk in some dried cranberries or sprinkle crushed candy canes during the holidays. Can’t have gluten? Use a one-for-one gluten-free flour, and you’re good to go.
 Pin it
Keeping Them Fresh
Keep them in a sealed container (layered with parchment so they don’t stick) and they’ll be good on the counter for about five days—but honestly, they vanish fast. Want to store longer? Wrap up single bars in plastic and freeze. Just let thaw on the counter for around an hour before digging in.
I’ve been working on these for years, playing with different ratios and tips along the way. What makes them great? High-quality ingredients and watching the oven like a hawk. Now, these bars are famous at my family get-togethers—everyone asks for them. Biggest tip: Give them time to cool so they’re perfectly chewy!
These bars are what home baking is all about. Even beginners can pull them off, and seasoned bakers still enjoy the flair. If you want comfort and a touch of class, these have your back. The pairing of caramel-flavored brown sugar with creamy white chocolate keeps folks reaching for more.
Sweet Moments Shared: Sharing homemade sweets brings people together like nothing else. These blondies shine at bake sales, fit just right in a holiday treat box, or just make a friend’s day. I’ve seen so many smiles from that first bite. We’ve kept this bake in the family for ages, with everyone putting their own twist while keeping what makes them special.
A Little Blondie Backstory: White chocolate blondies showed up as a lighter take on brownies, but don’t let the pale color fool you—they’re every bit as satisfying. Over time, folks have made them a must-have treat, and they’ve earned a spot in many family collections and handwritten kitchen notes.