
 Pin it
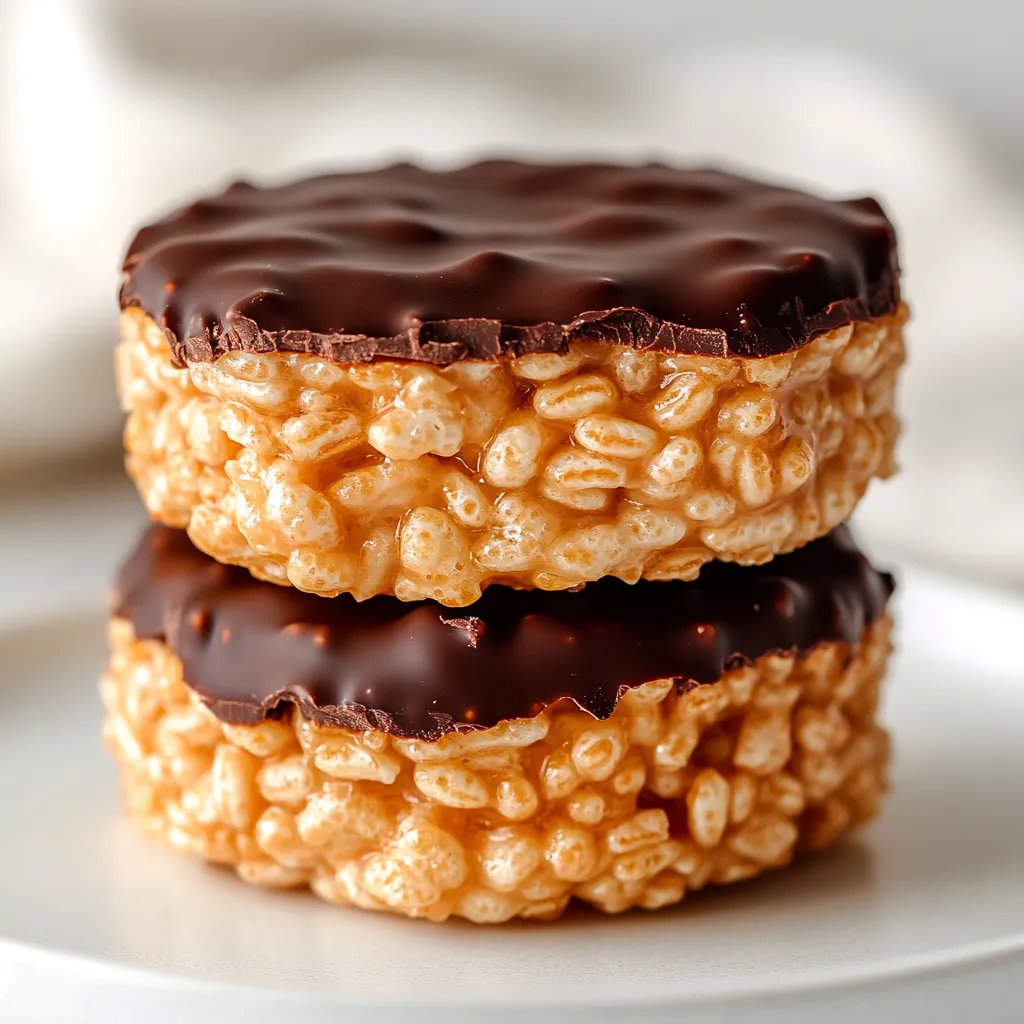
This hearty peanut butter chocolate Rice Krispie treat cups bring together the nostalgic crunch of cereal treats with decadent chocolate and rich peanut butter. A perfect no-bake dessert that satisfies both your inner child and grown-up taste buds.
I first created these treats for my nephew's birthday party when I needed a quick dessert. They disappeared faster than the birthday cake, and now they're requested at every family gathering.
Ingredients
- Rice Krispies cereal: 3 cups provides the signature crunch and light texture that makes these treats irresistible
- Chocolate chips: 1 1/2 cups creates the perfect chocolate layer. Use high-quality chips for best melting and flavor
- Chunky peanut butter: 1 cup adds rich nutty flavor and bits of peanuts for texture contrast
- Honey: 6 tablespoons binds everything together with natural sweetness
- Salt: 1/8 teaspoon enhances all flavors and balances the sweetness
Step-by-Step Instructions
- Prepare muffin tin:
- Line a standard muffin tin with paper or silicone liners. This crucial step ensures your treats will release easily and maintain their cup shape. Press the liners firmly against the sides of each cavity for best results.
- Create peanut butter mixture:
- Warm a saucepan over low heat and combine peanut butter, honey, and salt. Stir continuously for about 3 minutes until the mixture becomes smooth and pourable. Watch carefully to prevent scorching the peanut butter which can happen quickly.
- Mix in Rice Krispies:
- Remove the pan from heat and immediately add the Rice Krispies. Fold gently but thoroughly using a silicone spatula until every piece of cereal is coated with the peanut butter mixture. Work quickly as the mixture will begin to set as it cools.
- Form the cups:
- Spoon the Rice Krispie mixture into the lined muffin cups, filling each about 2/3 full. Use the back of a measuring tablespoon to press down in the center of each cup, creating a depression for the chocolate. This forms the distinctive cup shape.
- Add chocolate topping:
- Melt the chocolate chips in a microwave-safe bowl in 30-second intervals, stirring between each, or use a double boiler for even melting. Spoon the glossy melted chocolate over each Rice Krispie cup, filling the depression completely.
- Chill and set:
- Refrigerate the treats for at least one hour to allow the chocolate to set completely. If you are in a hurry, you can place them in the freezer for about 20 minutes instead. The treats should feel firm to the touch when ready.
 Pin it
My favorite part about these treats is watching people take their first bite. There is always that moment of surprise when they realize these are not just ordinary Rice Krispie treats but something much more special with the peanut butter-chocolate combination.
Make Ahead Options
These Rice Krispie cups are perfect for preparing in advance of busy events. You can make them up to three days before serving and store them in an airtight container with parchment paper between layers. The flavors actually meld and improve slightly after the first day, making them ideal for planning ahead for parties or potlucks.
Ingredient Substitutions
For those with dietary restrictions, this recipe can be easily adapted. Replace honey with maple syrup or agave nectar for a vegan version. Almond or sunflower seed butter works beautifully for those with peanut allergies. If you prefer a smoother texture, use creamy peanut butter instead of chunky, though you will lose some of the delightful textural contrast that makes these treats special.
 Pin it
Serving Suggestions
These treats shine as part of a dessert platter alongside fresh berries and whipped cream. For an elevated presentation, drizzle additional melted chocolate in a zigzag pattern across the tops just before serving, or add a small sprinkle of flaky sea salt to enhance the sweet-savory balance. They pair wonderfully with coffee or milk for an afternoon treat that feels both nostalgic and sophisticated.
Fun Variations
Try adding a layer of jam between the Rice Krispie base and chocolate topping for a PB&J inspired twist. Mini marshmallows folded into the peanut butter mixture add extra gooey pockets of sweetness. During holiday seasons, customize with colored sprinkles or themed decorations pressed into the chocolate while still soft for festive appeal that delights both children and adults.
Frequently Asked Questions
- → Can I use smooth peanut butter instead of chunky?
Yes! Smooth peanut butter will still give you a creamy texture, though chunky adds a bit more crunch and character to the cups.
- → How do I make this treat vegan?
Simply use vegan chocolate chips and substitute honey with maple syrup or agave nectar for an entirely plant-based delight.
- → How long do these cups stay fresh?
Store them in an airtight container in the refrigerator, and they’ll stay fresh for up to a week.
- → Can I freeze these treats?
Yes, you can freeze them. Just store the cups in an airtight container or freezer bag, and they’ll last up to 3 months. Let them thaw before enjoying.
- → What can I use as a liner alternative?
If you don’t have liners, use a greased muffin tin to prevent sticking when forming your cups.