
 Pin it
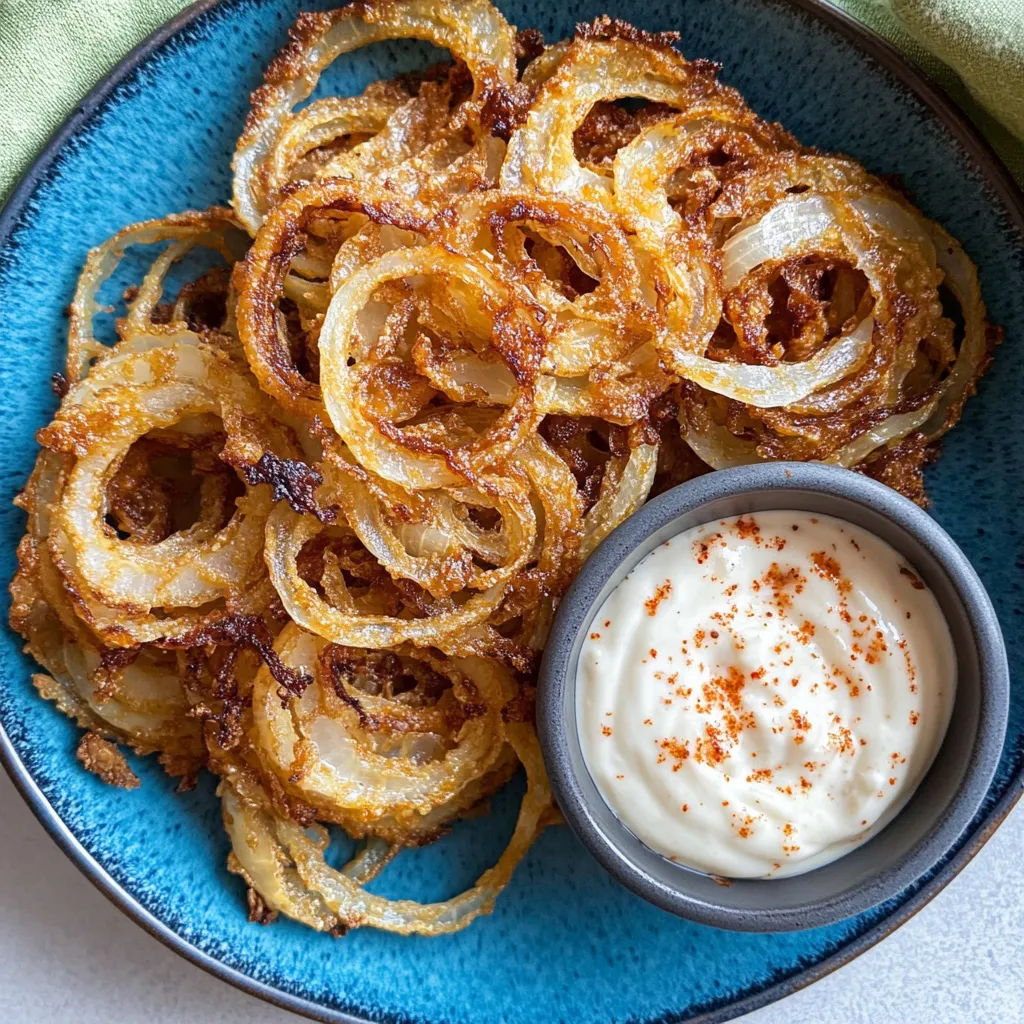
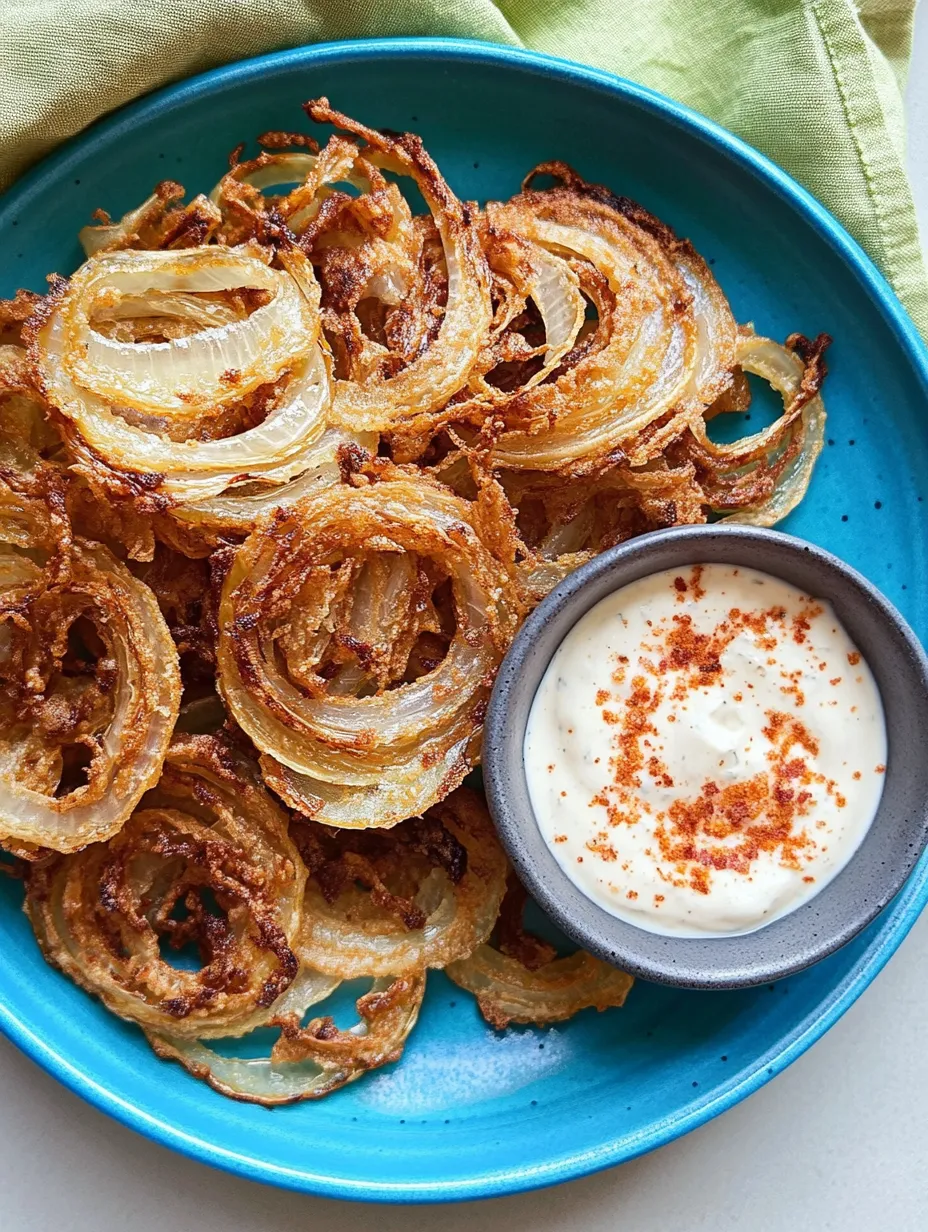
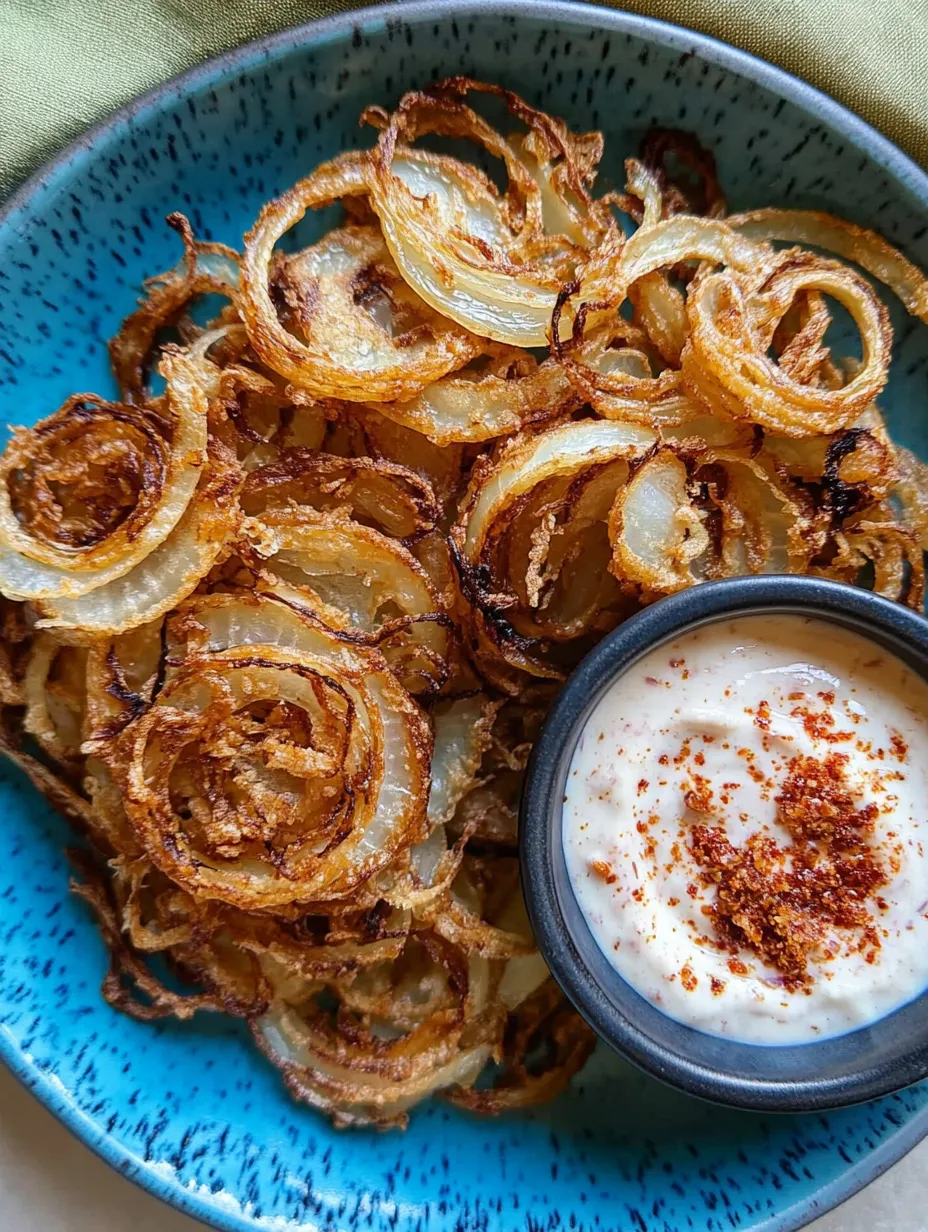
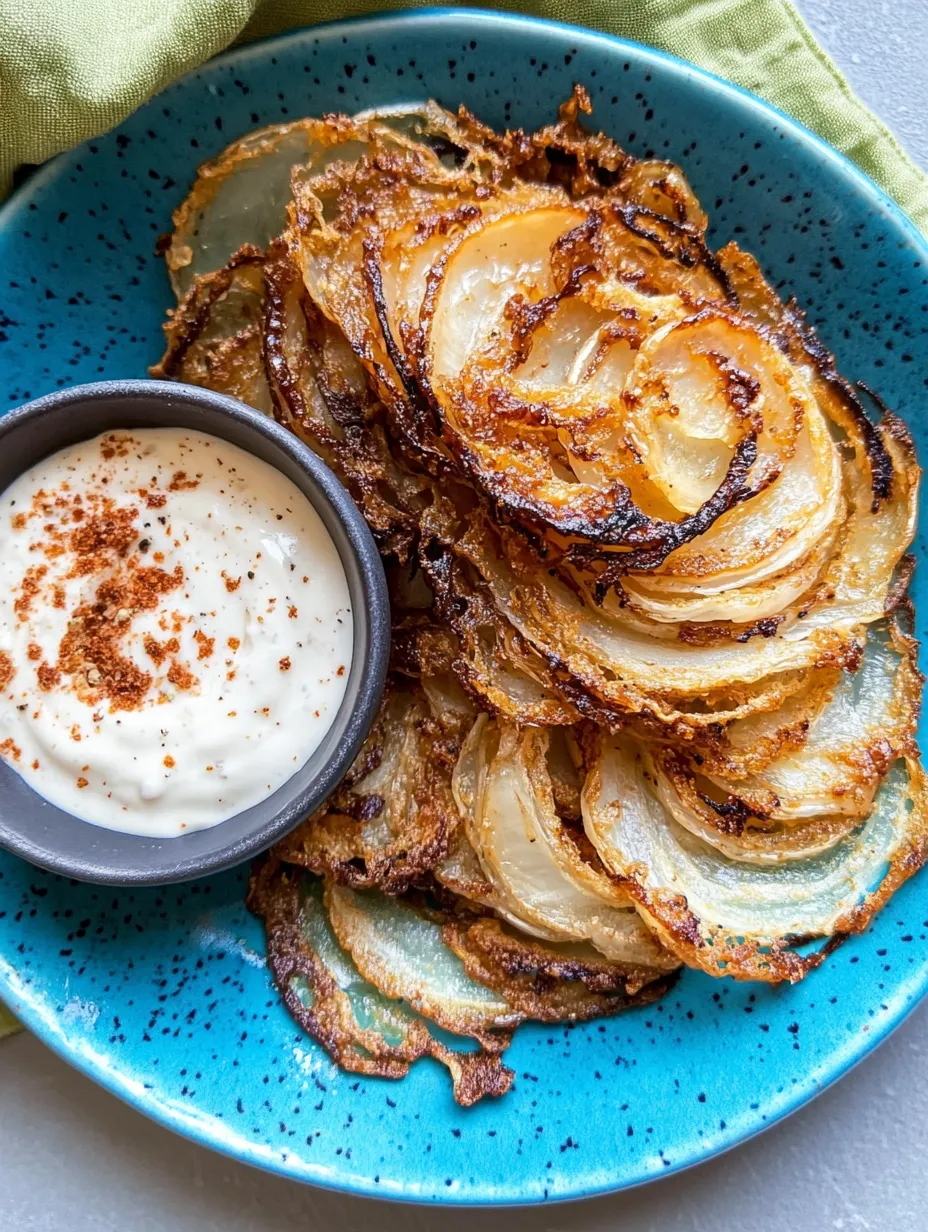
Thinly sliced onions transformed into crispy, golden chips deliver the classic onion ring flavor experience without the carbs, breading, or deep frying. These two ingredient onion ring chips combine the natural sweetness of caramelized onions with the savory richness of parmesan cheese to create an irresistible snack that satisfies intense cravings with minimal effort. The simple baking method creates perfect crispness while allowing the natural flavors to concentrate, resulting in a sophisticated yet simple treat that vanishes quickly from serving plates.
Guilt Free Indulgence
I rediscovered the joy of onion rings through this recipe when transitioning to lower carb eating. My husband who typically reaches for potato chips somehow managed to finish the entire first batch before I could even sample them myself. Their appeal crosses all dietary preferences with the simple, honest flavors that everyone recognizes and loves.
Essential Elements
- Fresh onions: These vegetables provide the foundation structure and distinctive flavor. Select medium to large yellow onions for the ideal balance of sweetness and size, creating rings large enough to maintain their shape during preparation and baking.
- Parmesan cheese: This aged cheese creates the crispy exterior and adds rich umami depth. Choose freshly grated varieties rather than pre packaged for superior melting quality and flavor development during baking.
- Olive oil: This healthy fat helps the seasonings adhere while promoting perfect browning. A light application prevents sogginess while encouraging the natural caramelization process that enhances the onions' inherent sweetness.
- Simple seasonings: Basic salt, garlic powder and paprika enhance natural flavors without overwhelming. This restrained approach allows the pure onion flavor to remain the star while adding subtle complexity to each bite.
 Pin it
Preparation Method
- Begin With Precision Slicing
- Start by peeling your onions and slicing them into perfect 1/4 inch rounds using a mandoline slicer for consistent thickness. This precision cutting ensures even cooking throughout each chip while maintaining the classic ring structure. Take care to keep the concentric rings intact when transferring to your work surface, as maintaining this structure creates the distinctive onion ring appearance in the finished chips.
- Create Proper Baking Surface
- Line a medium baking sheet with parchment paper to prevent sticking and facilitate easy removal after cooking. The parchment also helps absorb excess moisture released from the onions during baking, which contributes to superior crispness in the finished chips. Position your oven rack in the middle position and preheat to exactly 350°F for optimal cooking environment.
- Apply Cheese Foundation
- Sprinkle a thin, even layer of freshly grated parmesan cheese across the parchment paper, creating small mounds approximately the size of your onion rings. This cheese base will melt and crisp around the onions, creating both structure and flavor. For variety, consider substituting portion of the parmesan with mozzarella to create a more elastic texture with milder flavor.
- Position Onion Rounds
- Carefully place each onion round directly onto the parmesan piles, centering them so the cheese extends slightly beyond the onion edges. This positioning allows the cheese to crisp around the onion, creating a solid structure that holds together when cooled. Separate rings by at least one inch to allow proper air circulation and prevent steaming between chips.
- Apply Minimal Moisture
- Using a pastry brush or olive oil sprayer, apply the thinnest possible coating of olive oil to the exposed onion surfaces. This sparing application provides just enough moisture to help seasonings adhere while promoting caramelization without creating sogginess. Take care not to oversaturate, as excess oil prevents proper crisping.
- Season With Restraint
- Lightly sprinkle the tops of each oiled onion round with a careful combination of salt, garlic powder, and paprika. The paprika contributes both color and subtle smoky notes while garlic powder enhances the savory quality without overwhelming the natural onion flavor. Apply seasonings from several inches above to ensure even distribution across all chips.
- Add Final Cheese Layer
- Apply a second light sprinkle of parmesan directly over the seasoned onions, creating a complete cheese encasement that seals in moisture while developing perfect exterior crispness. This dual cheese application ensures the onions remain tender inside while creating the satisfying crunch that defines perfect chips.
- Transform Through Heat
- Bake in the preheated oven for 18-20 minutes, watching carefully during the final minutes to prevent burning. The perfect chip develops deep golden edges with lighter centers as the onions caramelize and the cheese crisps. Proper doneness shows slight browning at the thinnest portions while maintaining the distinctive ring structure.
- Allow Proper Setting
- Once removed from the oven, allow the chips to cool on the baking sheet for 3-5 minutes before attempting to move them. This critical resting period allows the melted cheese to firm up, creating structural integrity that prevents breaking when handled. The chips will continue crisping slightly during this cooling phase.
My mother always said the best recipes are often the simplest ones. When I first attempted these chips, I discovered that less really is more when it comes to the oil application. My first batch used too much and remained soggy, but reducing to just the lightest coating created that perfect crisp texture that makes these completely addictive.
Serving Suggestions
Elevate these simple chips with thoughtful serving ideas that showcase their versatility. Create a sophisticated snack board by arranging them alongside other low carb nibbles like olives, cheese cubes, and sliced meats for a beautiful presentation that encourages grazing. For casual entertaining, serve warm chips with a side of cool tzatziki sauce that provides refreshing contrast to the warm, savory chips. When serving as appetizers, consider complementary dips like spicy sriracha mayo or cool herbed sour cream that enhance the flavors without overwhelming the delicate chips. For a complete low carb meal, serve alongside grilled meats and a fresh salad for a satisfying dinner that maintains dietary goals without sacrificing flavor.
 Pin it
Creative Variations
This versatile base recipe welcomes thoughtful modifications to create new experiences. Develop Italian inspired chips by incorporating dried oregano, basil, and a pinch of red pepper flakes into the seasoning mix. Create ranch flavored versions by adding dried dill, chives, and a touch of buttermilk powder to the cheese before baking. Transform the flavor profile with smoky notes by incorporating smoked paprika and a tiny pinch of ground chipotle for depth and subtle heat. For cheese variations, experiment with aged gouda, asiago, or pecorino romano which offer different flavor intensities and melting properties. Create loaded onion ring chips by sprinkling crispy bacon bits and chives over the chips immediately after removing from the oven while the cheese is still slightly soft.
Storage Strategy
Preserve the exceptional texture of these chips through proper storage techniques, though they rarely last long enough to require it. For immediate enjoyment, serve fresh from the oven after the brief cooling period when texture and flavor are at their peak. For short term storage, place completely cooled chips in a paper towel lined container at room temperature for up to two days, where they maintain reasonable crispness if kept away from humidity. Before serving stored chips, refresh their texture by placing on a baking sheet in a 300°F oven for 3-5 minutes, which restores much of the original crispness. These chips do not freeze well as the texture becomes compromised upon thawing, so preparation should be planned for near term consumption rather than long term storage.
 Pin it
I discovered this recipe during a particularly strict phase of low carb eating when I desperately missed the comfort foods of childhood. What began as a simple experiment has become one of my most requested contributions to gatherings. The ability to create something so satisfying from just two primary ingredients reminds me that sometimes the most remarkable culinary experiences come from the simplest combinations prepared with care rather than complexity.
Frequently Asked Questions
- → Can I use a different type of cheese?
- Parmesan works best because it crisps up nicely, but you can also try with shredded cheddar, Monterey Jack, or a Mexican blend. Just know that these might be a bit oilier than parmesan, so you may need to drain them on paper towels after baking.
- → What if I don't have a mandoline slicer?
- A sharp knife works too - just try to cut the onion slices as evenly as possible at about 1/4 inch thickness. If they're too thick, they won't crisp up properly; if too thin, they might burn before the cheese is done.
- → Can I make these in an air fryer?
- Yes! Arrange them in a single layer in your air fryer basket (you'll need to work in batches). Cook at 375°F for about 6-8 minutes, checking frequently toward the end to prevent burning.
- → How do I store leftovers?
- Store cooled chips in an airtight container at room temperature for 1-2 days. They might lose some crispness over time. You can crisp them up again with a quick 2-minute reheat in a 350°F oven.
- → Why didn't my chips get crispy?
- This usually happens if the onion slices are too thick or if there's not enough cheese. Make sure your onion slices are about 1/4 inch thick, and that you have a good even layer of cheese underneath. Also, let them cool completely - they crisp up more as they cool.