
 Pin it
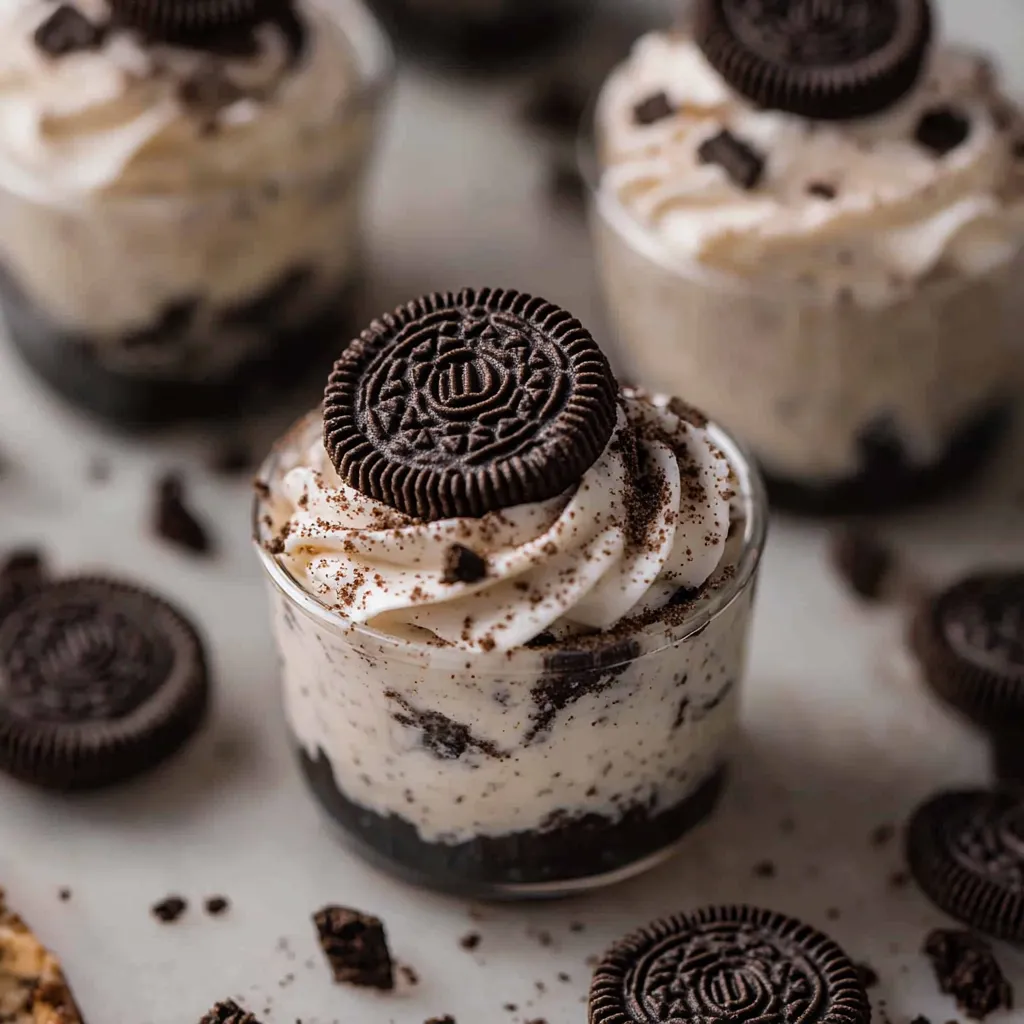
Turn ordinary ingredients into a delightful, velvety dessert with this Oreo No-Bake Cheesecake Cup. It's now my favorite quick fix when I want to wow everyone without spending hours in the kitchen.
I whipped these cups up during my kid's party when our oven suddenly quit working. Everyone loved them so much the children didn't even ask about the traditional birthday cake they were supposed to have.
Ingredients
- Cream cheese: let it sit at room temp for that perfectly smooth, lump-free mix
- Cool Whip: gives you that airy, light no bake cheesecake feel without whipping cream yourself
- Powdered sugar: blends in completely for just the right amount of sweetness
- Vanilla extract: brings that cozy flavor that works so well with tangy cream cheese
- Oreo cookies: deliver both the sturdy base and that beloved cookies and cream taste
Simple Preparation Steps
- Create the Cookie Foundation:
- Break down Oreo cookies by putting them in a ziplock bag and tapping with a rolling pin until you get rough crumbs. Add about 1½ to 2 tablespoons of crushed cookies to the bottom of six small dessert containers. Pick containers that hold at least ¾ to 1 cup so everything fits nicely.
- Whip Up the Creamy Filling:
- Mix the room temperature cream cheese with powdered sugar using an electric mixer until everything looks smooth and creamy without any bumps. This usually takes around 2 minutes at medium speed. Mix in the vanilla extract with a quick beat just to blend it in.
- Mix in Cool Whip and Cookies:
- Gently stir the Cool Whip into your cream cheese mix with a rubber spatula, using soft motions to keep it fluffy. After that's done, softly mix in the leftover crushed Oreos, spreading them evenly while keeping the mixture light.
- Layer and Cool:
- Divide the creamy filling among your dessert cups, lightly pressing it onto the cookie base. Stick them in the fridge for at least 30 minutes, though an hour works better to let everything set up and the flavors come together.
 Pin it
Our family really enjoys when I grab the special Oreo flavors for holidays. The Christmas peppermint ones always get everyone at the table giggling as they notice each other's slightly blue minty lips.
Custom Variations
You can switch this dessert up so many ways. Go for Mint Oreos with a touch of peppermint extract for something cool and refreshing. Golden Oreos make a lighter vanilla foundation that tastes amazing with some fresh berries. I personally love using birthday cake Oreos best because they add fun colorful sprinkles all through the dessert.
Serving Ideas
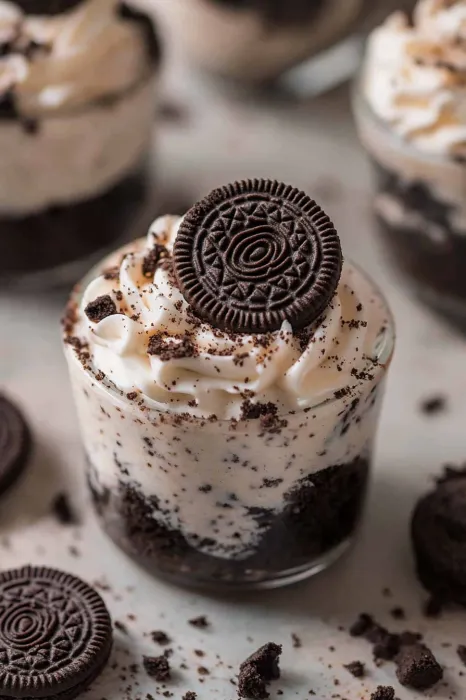
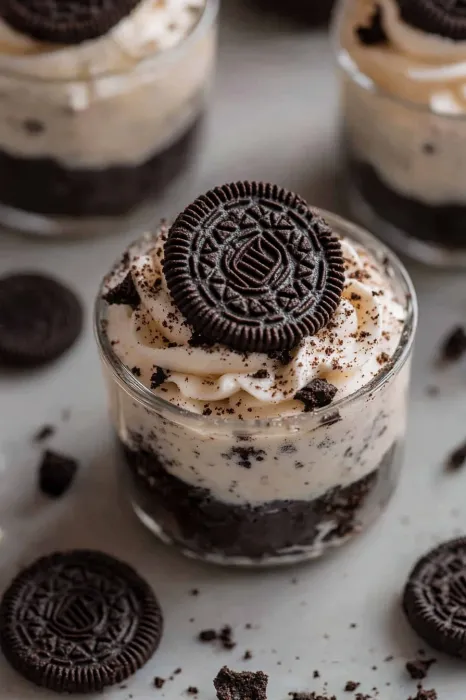
Make it fancy by adding a dollop of whipped cream and sticking half an Oreo cookie upright on top. When friends come over, I put these in clear glasses so everyone can see the pretty layers. They're perfect for parties too since guests can easily grab their own without needing to cut slices.
Keeping It Fresh
These treats stay good in the fridge for up to 3 days if you cover them with plastic wrap. They actually taste even better after chilling about 4 hours because the cookies get slightly soft and the flavors mix together more. Don't try freezing them though—the Cool Whip gets weird and grainy when it thaws out.
 Pin it
Frequently Asked Questions
- → Is it okay to use a different cookie type?
Of course! Feel free to try graham crackers, chocolate wafers, or even shortbread cookies instead.
- → How long should I let them chill?
A good hour in the fridge will do the trick, but you can easily make them the day before.
- → Can whipped cream replace Cool Whip?
Yep, fresh whipped cream works great! Adjust the sweetness to match your preference.
- → Can it be made in one big dish?
Totally! Use a bigger dish, layer everything, and just scoop it out to serve.
- → How can I change up the flavors?
You can switch it up with different Oreo flavors, like peanut butter, mint, or even toffee crunch.