
 Pin it
This homemade vanilla ice cream transforms simple ingredients into a luscious, creamy dessert that rivals any store-bought version. The beauty lies in its simplicity with no eggs, no cooking, and just five ingredients that come together in an ice cream maker for that perfect old-fashioned texture.
I first made this recipe during a summer heatwave when my family was craving something cool and sweet. The looks of pure joy on their faces when they tasted that first spoonful convinced me that homemade ice cream would become our summer tradition for years to come.
Ingredients
- Heavy cream: Provides the rich, luxurious mouthfeel essential for premium ice cream quality
- Whole milk: Balances the heaviness of the cream while maintaining creaminess look for grass-fed for best flavor
- Sugar: Sweetens while also contributing to proper freezing texture regular granulated works perfectly
- Salt: Enhances all the flavors and creates balance use just a dash for optimal results
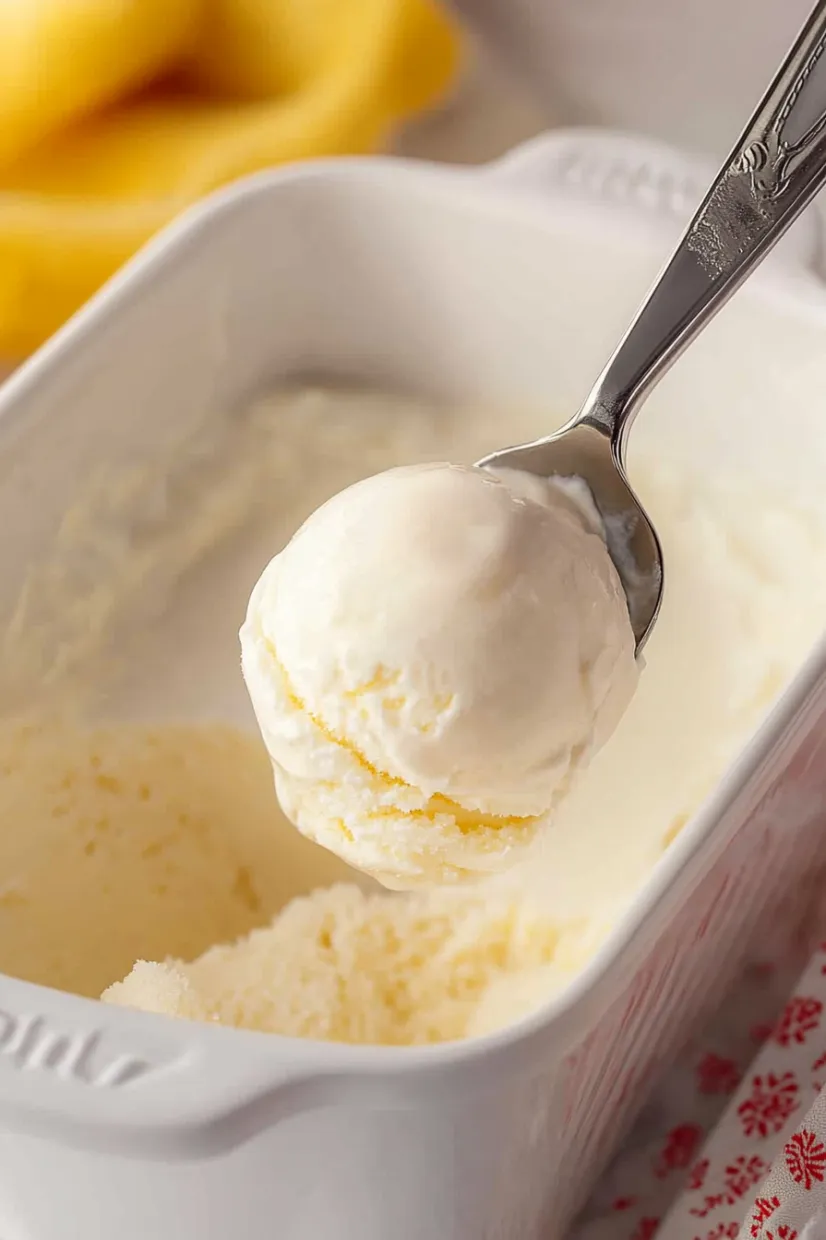
- Vanilla bean paste: Offers visual specks and intense flavor choose a quality brand for best results
Step-by-Step Instructions
- Prepare the Base:
- Combine heavy cream, whole milk, sugar, salt, and vanilla bean paste in a large bowl and whisk thoroughly until the sugar completely dissolves. This simple step creates the foundation for perfectly smooth ice cream, so take your time whisking to ensure no sugar granules remain.
- Chill the Mixture:
- Refrigerate your cream mixture for at least 30 minutes, though longer is better. This crucial step ensures the mixture is properly cold before churning, which helps create smaller ice crystals and ultimately produces creamier ice cream. I often prepare mine the night before for best results.
- Assemble the Ice Cream Maker:
- Follow your specific ice cream maker's instructions for assembly. Most machines require the freezer bowl to be frozen solid for 24 hours beforehand, so plan accordingly. Proper assembly ensures efficient churning and consistent freezing.
- Churn the Ice Cream:
- Pour the chilled mixture into your ice cream maker and churn according to manufacturer directions, typically 30-40 minutes. During this process, air incorporates into the mixture while it simultaneously freezes, creating that signature ice cream texture. The mixture will expand and thicken noticeably.
- Final Freezing:
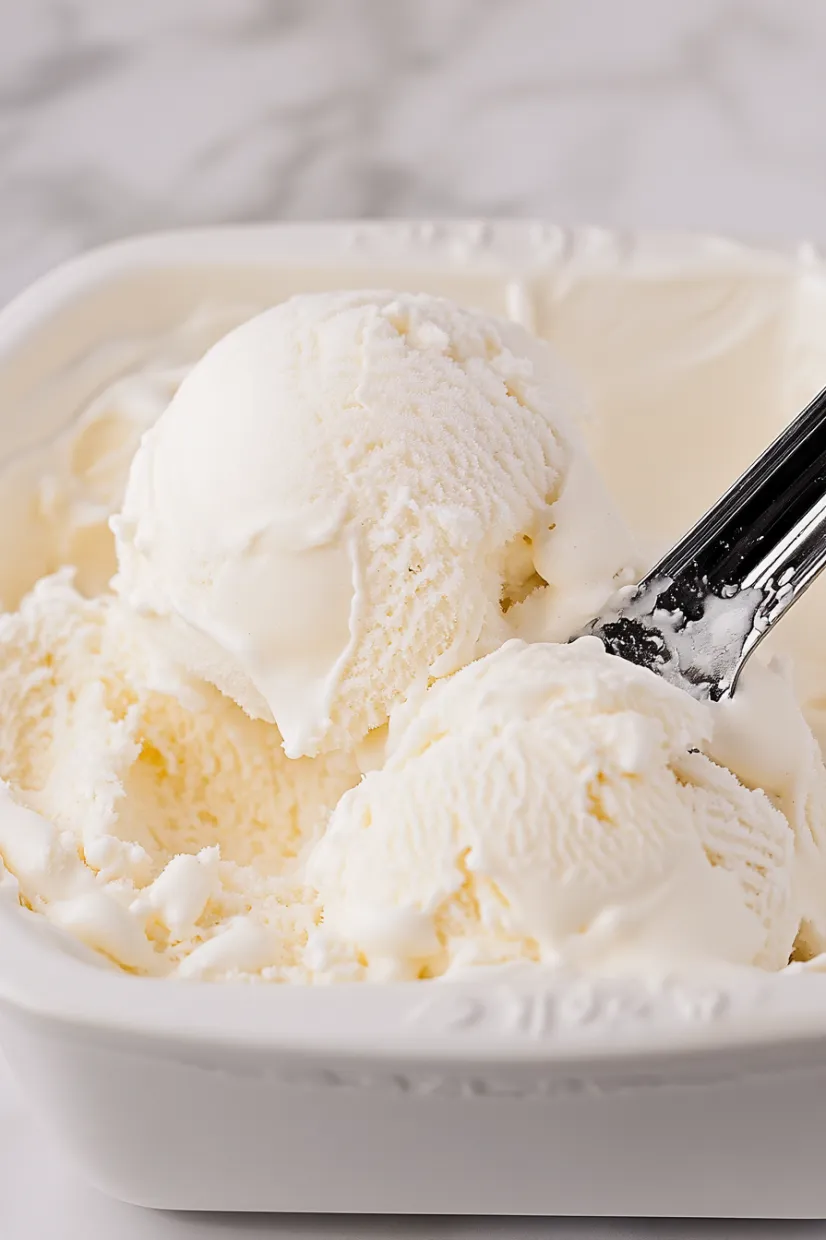
- For soft serve consistency, enjoy immediately after churning. For traditional scoopable ice cream, transfer to an airtight container and freeze for 6-8 hours or overnight. The patience required for this final freeze yields perfectly scoopable ice cream with an ideal texture.
 Pin it
Vanilla bean paste is my absolute favorite ingredient in this recipe. While more expensive than extract, those tiny black specks throughout the ice cream create such a beautiful visual that instantly signals homemade quality. My daughter always says she can taste the love in those little black dots, and I think she might be right.
Flavor Variations
This vanilla base serves as the perfect canvas for countless flavors. For fruit versions, add either 1½ cups of mashed fresh fruit for a chunky consistency or 1 cup of fruit puree for a smoother result. Berries work wonderfully, but dont overlook stone fruits like peaches or plums when in season. The natural sweetness of ripe fruit means you might need to adjust your sugar slightly.
 Pin it
Make Ahead and Storage Tips
Homemade ice cream maintains its best texture for about 2 weeks in the freezer. Store in a shallow, airtight container rather than a deep one to minimize freezer burn. Placing plastic wrap directly on the surface before putting the lid on provides additional protection. If your ice cream hardens too much during storage, allow it to sit at room temperature for about 10 minutes before scooping.
Troubleshooting Common Issues
If your ice cream turns out icy rather than creamy, several factors could be at play. Ensure your freezer bowl was completely frozen, your mixture was thoroughly chilled before churning, and you didnt overfill the machine. Using full-fat dairy products is essential for creaminess. For extra insurance against iciness, some home ice cream makers add 1-2 tablespoons of vodka which doesnt affect flavor but lowers the freezing point for creamier results.
Serving Suggestions
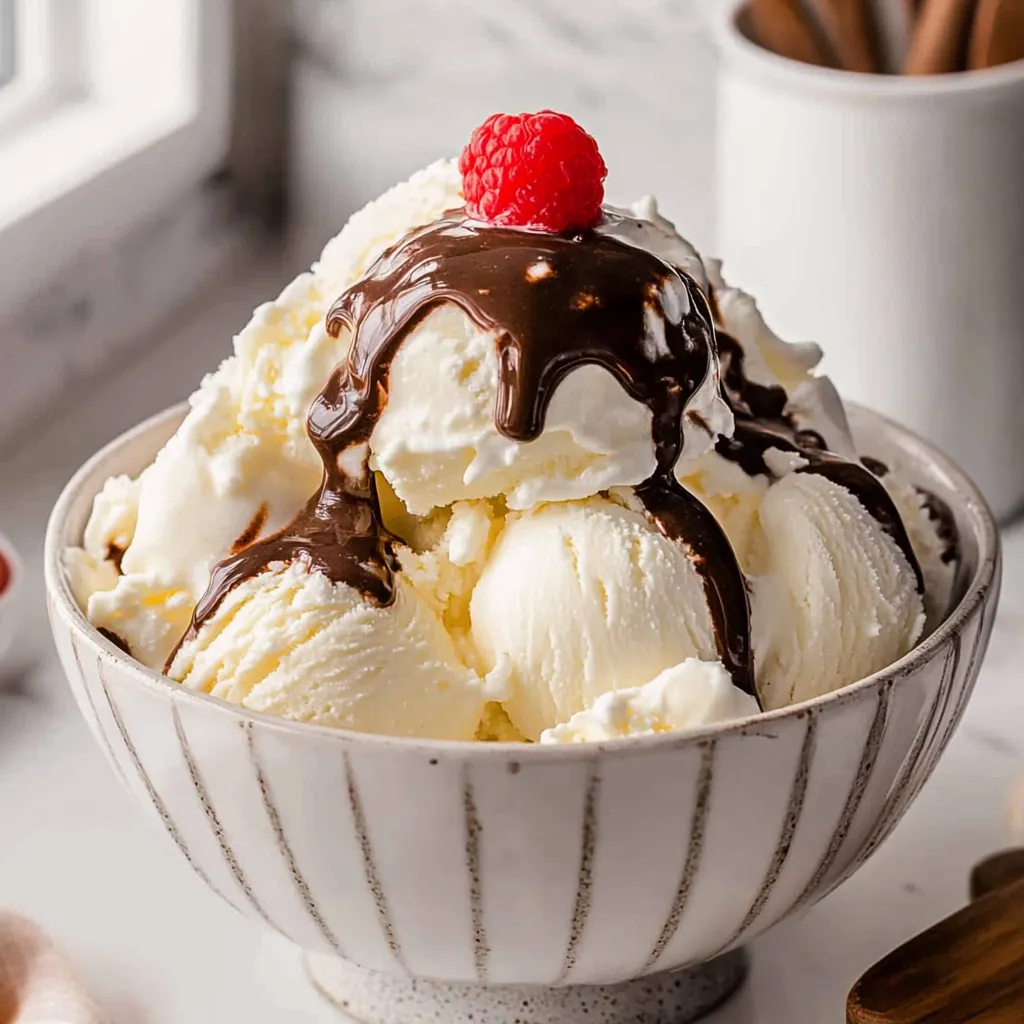
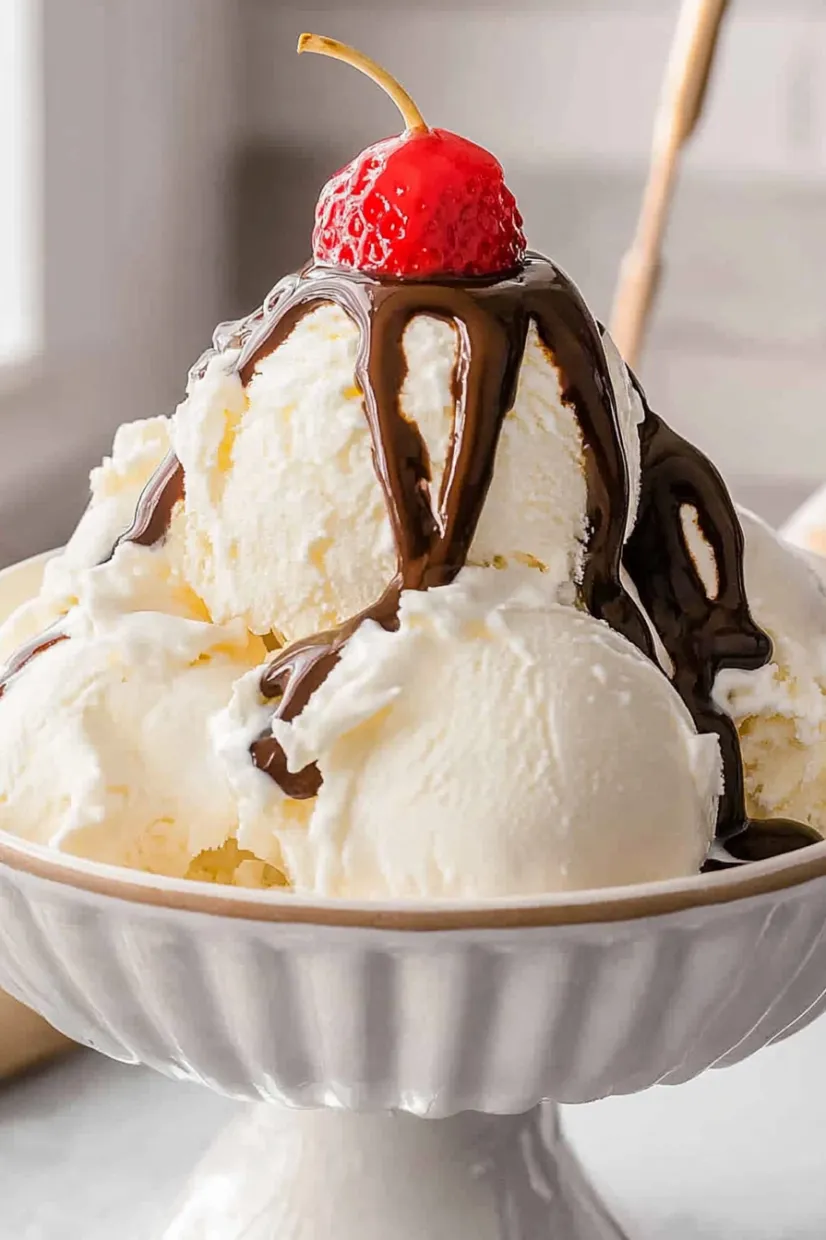
While delicious on its own, this vanilla ice cream pairs beautifully with warm desserts like apple pie or brownies. For a simple but elegant dessert, drizzle with high-quality olive oil and flaky sea salt, or top with seasonal berries and a sprig of mint. Create an ice cream sandwich using homemade chocolate chip cookies, or serve in waffle cones with a variety of toppings for a DIY sundae bar.
 Pin it
Frequently Asked Questions
- → Can I make this ice cream without an ice cream maker?
An ice cream maker is strongly recommended for the best texture and to avoid large ice crystals. Alternative methods may not achieve the same creamy consistency.
- → Can I add different flavors to this ice cream?
Yes! You can add fresh fruit, chocolate syrup, melted chocolate, cocoa powder, or extracts like almond or peppermint to create unique flavors.
- → How long should I freeze the ice cream for firmer consistency?
For firmer ice cream, transfer it to an airtight container and freeze for 6-8 hours or overnight. This will give it a scoopable texture.
- → Why is vanilla bean paste used in the recipe?
Vanilla bean paste adds a rich, authentic vanilla flavor and small flecks of vanilla bean for an elevated taste and appearance.
- → What can I use as a substitute for vanilla bean paste?
You can use vanilla extract as a substitute. Adjust the quantity to taste, keeping in mind that paste delivers a more concentrated flavor.