
 Pin it
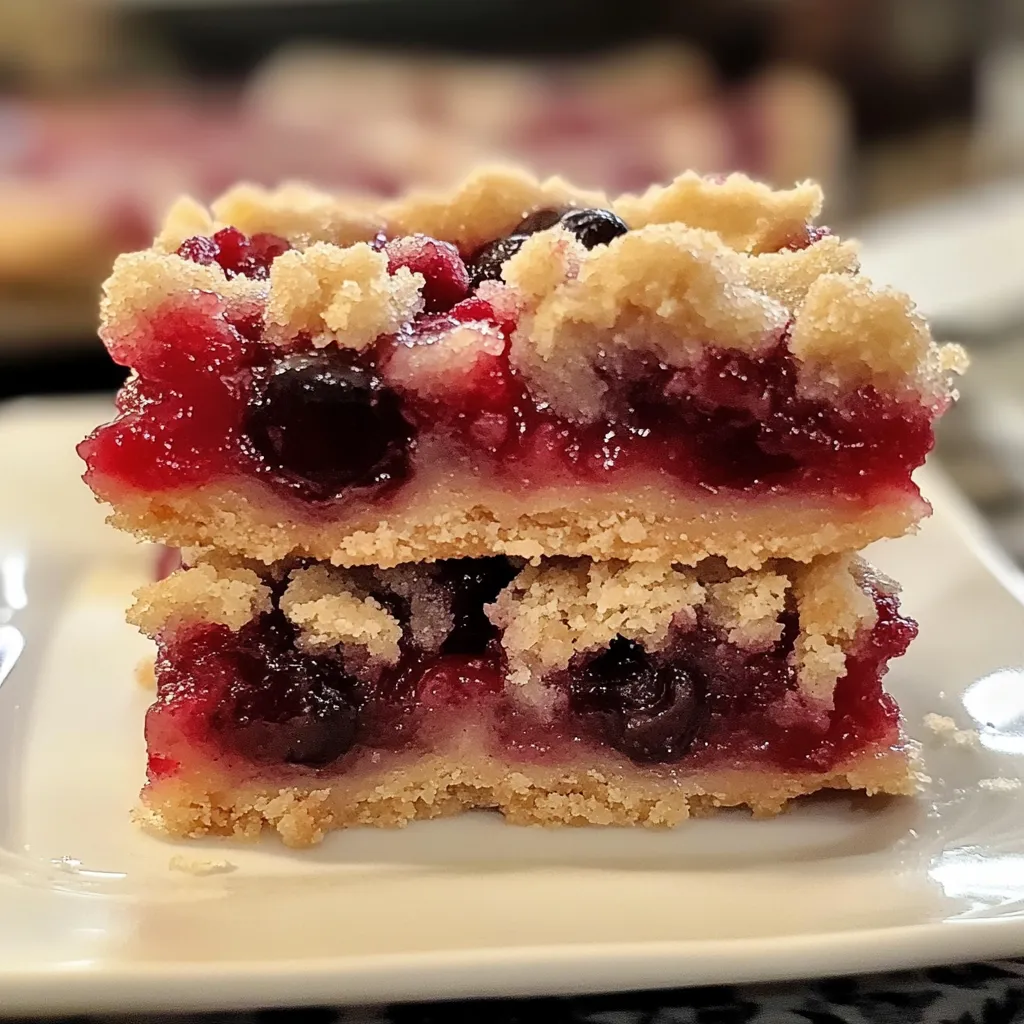
This cherry pie bar recipe transforms classic cherry pie into convenient, portable bars perfect for gatherings or weeknight treats. The buttery shortbread crust provides the ideal foundation for the sweet cherry filling, while the crumb topping adds wonderful texture and the almond glaze brings everything together with a subtle flavor boost.
I first made these bars for a neighborhood potluck when I was short on time but needed something special. They disappeared within minutes and three neighbors requested the recipe before I even left the party.
Ingredients
- All purpose flour: Forms the foundation of both the crust and crumb topping creating that perfect tender shortbread texture
- Granulated sugar: Provides just the right sweetness without overpowering the cherry flavor
- Baking powder: Gives a slight lift to the crust making it less dense than traditional shortbread
- Salt: Balances the sweetness and enhances all the flavors look for kosher salt for best results
- Butter: Must be room temperature to properly incorporate ensure it's soft but not melting
- Egg: Binds the crust ingredients together and adds richness
- Cherry pie filling: Provides convenience and consistent results choose a quality brand for best flavor
- Almond extract: Enhances the cherry flavor with a subtle nutty note that makes these bars special
- Powdered sugar: Creates a smooth glaze that sets beautifully opt for sifted sugar to avoid lumps
- Milk: Thins the glaze to drizzling consistency whole milk produces the richest result
Step-by-Step Instructions
- Prepare Your Oven and Pan:
- Preheat your oven to exactly 375°F ensuring it reaches full temperature before baking. Line your 13x9 pan with parchment leaving some overhang on the sides for easy removal later. If using butter to grease instead apply a thin even layer to all surfaces.
- Create The Crust Mixture:
- Combine your dry ingredients in your stand mixer bowl whisking them briefly by hand first ensures even distribution. Add the butter gradually about a tablespoon at a time allowing each piece to incorporate before adding the next. This slow addition creates the perfect crumbly texture resembling coarse sand.
- Finish The Dough:
- Add the egg and mix just until the dough starts coming together but still appears somewhat crumbly. Overmixing at this stage will result in a tough crust so stop as soon as the egg is incorporated throughout.
- Form The Base Layer:
- Take between half and two thirds of your dough mixture and press it firmly into your prepared pan. Use the flat bottom of a measuring cup to create a smooth even surface paying special attention to the corners where crust often becomes too thick.
- Prebake The Crust:
- Bake the crust for 10 to 12 minutes watching carefully for the surface to become matte and just barely golden around the edges. This partial bake ensures the bottom crust doesnt become soggy from the cherry filling.
- Prepare The Filling:
- While the crust bakes gently stir half a teaspoon of almond extract into your cherry pie filling. This seemingly small addition transforms the flavor profile completely enhancing the natural cherry taste without overwhelming it.
- Add The Filling Layer:
- Spread your enhanced cherry filling over the warm crust using an offset spatula to create an even layer. The warmth from the crust helps the filling settle into a uniform layer.
- Create The Crumb Topping:
- Take your remaining dough and crumble it evenly over the cherry layer. Varying the size of the crumbles from small pebbles to larger chunks creates a more interesting texture and appearance.
- Complete The Baking:
- Return the pan to the oven and bake for 25 to 30 minutes. Look for a golden brown top and bubbling filling around the edges these visual cues indicate the bars are fully baked regardless of exact timing.
- Cool Completely:
- Allow the bars to cool entirely on a wire rack. This cooling period is crucial for proper setting and will take at least two hours. Cutting warm bars results in a messy appearance and filling that runs.
- Create The Glaze:
- Whisk together powdered sugar milk and the remaining almond extract until smooth. Adjust consistency by adding milk a few drops at a time the ideal glaze should ribbon off the whisk but not be watery.
- Finish With Glaze:
- Drizzle the glaze artfully over the cooled bars using a spoon or fork to create thin streams across the surface. Allow the glaze to set completely before cutting into bars for cleanest results.
 Pin it
The first time I served these bars to my family my youngest daughter declared them better than traditional cherry pie because she could eat them without a fork. Now they've become our traditional dessert for summer picnics and outdoor gatherings where convenience matters as much as taste.
Perfect Storage Solutions
These cherry pie bars store beautifully at room temperature for up to 3 days when kept in an airtight container. For longer storage refrigerate for up to a week though the crust may soften slightly. If you want to freeze them place cooled unglazed bars in a single layer then wrap tightly in plastic wrap followed by aluminum foil. They'll maintain quality for up to 3 months frozen. Thaw at room temperature and add fresh glaze before serving for best results.
Simple Substitutions
While cherry filling creates the classic experience this versatile recipe works beautifully with other fruit fillings. Blueberry pie filling offers a delightful alternative with the same almond extract enhancement. For apple filling consider adding cinnamon to both the crust and glaze. Strawberry or peach fillings pair better with vanilla extract instead of almond. For a homemade touch replace canned filling with 2½ cups of fresh fruit mixed with ⅓ cup sugar and 2 tablespoons cornstarch simmered until thickened.
Serving Suggestions
These bars are perfectly delicious on their own but can be elevated for special occasions. Serve slightly warmed with a scoop of vanilla ice cream for an impressive dessert. For brunch gatherings pair with coffee particularly almond flavored varieties. During summer months add a handful of fresh cherries alongside for presentation and texture contrast. For holiday platters dust with sparkling sugar before the glaze sets for a festive appearance.
 Pin it
The History Behind The Bars
Cherry pie bars represent a uniquely American adaptation of traditional European fruit bars and slices. They gained popularity in midwestern farm communities during the 1950s and 60s when convenience baking became fashionable. The addition of almond extract reflects the classic pairing found in European cherry desserts particularly those from regions where both cherries and almonds grow abundantly. This recipe honors that tradition while simplifying the process for modern bakers creating a perfect blend of convenience and timeless flavor.
Frequently Asked Questions
- → Can I substitute almond extract in these bars?
Yes, you can replace almond extract with vanilla extract if you prefer a slightly different flavor.
- → How can I make the crumb topping larger?
To create larger crumb pieces, squeeze the mixture lightly in your hands before sprinkling it over the filling.
- → Can these bars be made ahead?
Absolutely. You can prepare these bars up to two days in advance and store them in an airtight container.
- → What dietary restrictions do these bars accommodate?
These bars are vegetarian but contain dairy, wheat, and eggs, which might not suit all dietary needs.
- → What is the best way to store these cherry bars?
Store the bars in an airtight container at room temperature for up to two days or in the refrigerator for longer freshness.