
 Pin it
This cheesy South American bread delight has transformed our family meals with its irresistible pull-apart texture and gooey centers. I'm constantly doubling the batch now because they disappear within minutes of coming out of the oven!
I first made these buns during a weekend when we were craving something comforting yet different from our usual bread. The moment my children bit into the warm, cheese-filled centers, these buns became our new family tradition.
Ingredients
- Warm milk: Activates the yeast perfectly and creates a tender crumb in the finished buns
- Active dry yeast: The leavening agent that gives these buns their fluffy texture
- Sugar: Feeds the yeast and adds subtle sweetness that balances the savory cheese
- All-purpose flour: The foundation of our dough provides structure while remaining tender
- Salt: Enhances all flavors and strengthens the gluten network
- Unsalted butter: Adds richness and helps create that golden brown exterior
- Large egg: Provides structure and richness to the dough
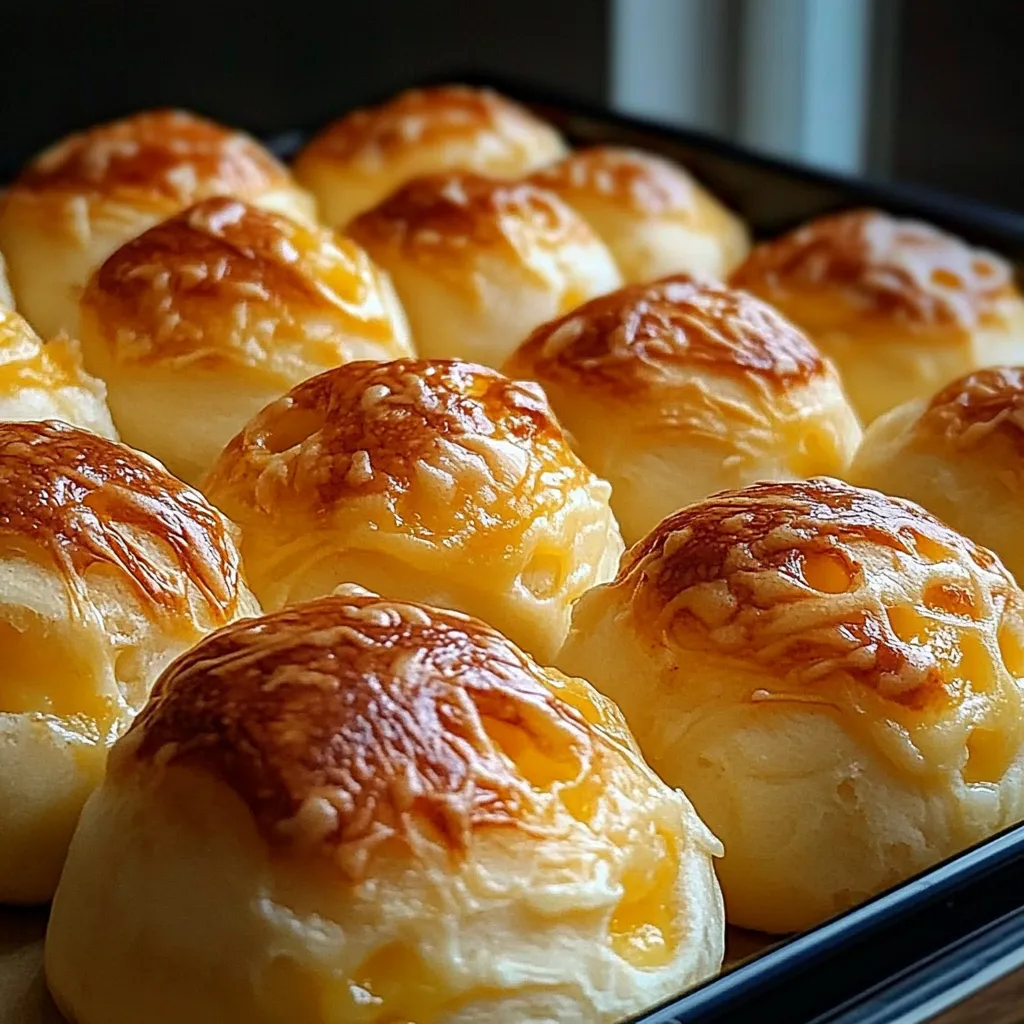
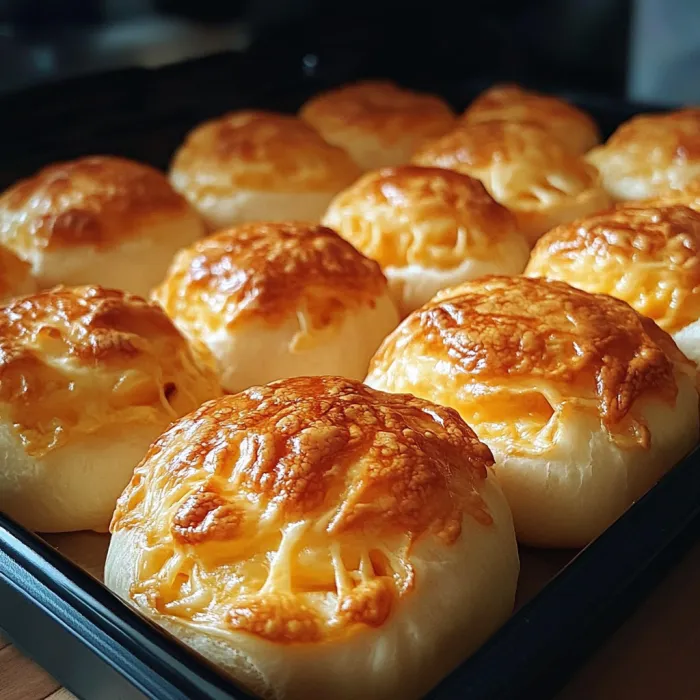
- Grated cheese: The star ingredient I recommend using a combination of sharp cheddar for flavor and mozzarella for that perfect stretchy pull
Step-by-Step Instructions
- Activate the Yeast:
- Combine warm milk (must be around 110°F to properly activate without killing the yeast), sugar, and active dry yeast in a bowl. Let this mixture sit undisturbed for 5-10 minutes until it becomes noticeably frothy and bubbly. This step ensures your yeast is alive and will give you properly risen buns.
- Create the Dough Base:
- Whisk together flour and salt in a large mixing bowl to evenly distribute the salt. Create a well in the center like a volcano crater. Pour your activated yeast mixture, melted butter, and egg into this well. Mix everything together using a wooden spoon until it comes together into a shaggy dough. The texture should be slightly tacky but not sticky enough to coat your fingers.
- Develop the Gluten:
- Transfer your dough to a lightly floured work surface and knead for 8-10 minutes. This lengthy kneading process develops the gluten which gives the buns their wonderful texture. The dough is ready when it feels smooth and elastic like an earlobe and bounces back when lightly pressed with a finger.
- First Rise:
- Place your kneaded dough in a lightly greased bowl and cover with a clean kitchen towel. Let it rise in a warm, draft-free area for about 1 hour. The dough should visibly double in size. In winter months, I turn my oven on for 1 minute, then off, and place the bowl inside this slightly warm environment.
- Shape and Fill:
- After the first rise, gently punch down the dough to release air bubbles. Divide it into 12 equal portions. I use a kitchen scale for precision. Flatten each piece into a disc about 4 inches across. Place a generous tablespoon of grated cheese in the center of each disc. Fold the edges up and over the cheese, pinching firmly to seal completely.
- Second Rise:
- Place the filled buns seam-side down on a parchment-lined baking sheet, leaving at least 2 inches between each. Cover them with a towel and allow to rise for another 30 minutes until puffy and expanded.
- Bake to Perfection:
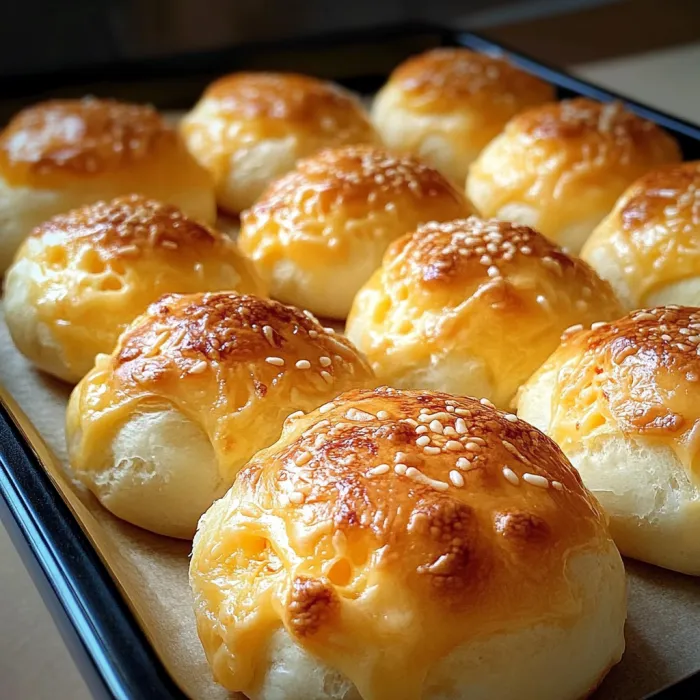
- Preheat your oven to 375°F. Just before baking, brush the tops with milk or beaten egg for a gorgeous golden finish. Bake for 15-20 minutes, watching carefully during the final minutes. The buns should be deeply golden on top and cheese may be deliciously oozing from some seams.
- Cool Slightly:
- Allow the buns to cool on the baking sheet for 5-7 minutes. This brief cooling period helps the cheese set slightly while ensuring the buns remain warm enough to enjoy at their melty best.
 Pin it
My absolute favorite part of this recipe is watching everyone's face when they pull apart their first bun and the cheese stretches dramatically between pieces. It never fails to bring smiles around our table, especially when I use my children's favorite cheese blend of sharp cheddar and smoked gouda.
 Pin it
Storage Solutions
These cheese buns maintain their quality at room temperature for about 2 days when stored in an airtight container or bag. For longer storage, refrigerate them for up to 5 days. To recapture their fresh-baked glory, simply warm them in a 325°F oven for about 5-7 minutes. The cheese will remelt and the exterior will regain its slight crispness. If frozen, thaw overnight in the refrigerator before reheating, or reheat from frozen by adding a few extra minutes to the warming time.
Cheese Selection Guide
The type of cheese you choose dramatically influences the final flavor of these buns. For traditional South American flavor, use a combination of mozzarella and a mild white cheese like queso fresco. For sharper flavor, aged cheddar works wonderfully but can become slightly oily when melted. I find the perfect combination is one that balances meltability with flavor. Try mixing Monterey Jack for creaminess with Gruyère for depth, or use mozzarella with Parmesan for that perfect stretch with umami richness.
Global Variations
These cheese buns have cousins around the world. In Brazil, they're similar to pão de queijo, though those traditionally use tapioca flour for a chewier texture. In Colombia, pandebono incorporates cornmeal for a unique flavor profile. Eastern European cultures make similar breads using farmers cheese. You can honor these traditions by experimenting with different cheese combinations or flour blends. Adding a tablespoon of cornmeal or using part bread flour can create interesting texture variations that pay homage to the global nature of cheese-filled breads.
 Pin it
Frequently Asked Questions
- → What type of cheese works best for these buns?
Mozzarella, cheddar, or a combination of your favorite cheeses are great options as they melt well and add delicious flavor.
- → Can I add herbs or spices to the dough?
Yes, you can incorporate herbs like rosemary or thyme, or spices like chili flakes to the dough for extra flavor.
- → How do I store leftover buns?
Store leftover cheese buns in an airtight container at room temperature for up to 2 days or in the fridge for up to a week. Reheat in the oven for best results.
- → Can I freeze baked cheese buns?
Absolutely! Freeze the buns in a freezer-safe bag for up to 3 months. Reheat in a warm oven to retain their freshly baked charm.
- → What can I serve with these buns?
Baked cheese buns pair wonderfully with salads, soups, scrambled eggs, or even a simple cup of coffee or tea.