
 Pin it
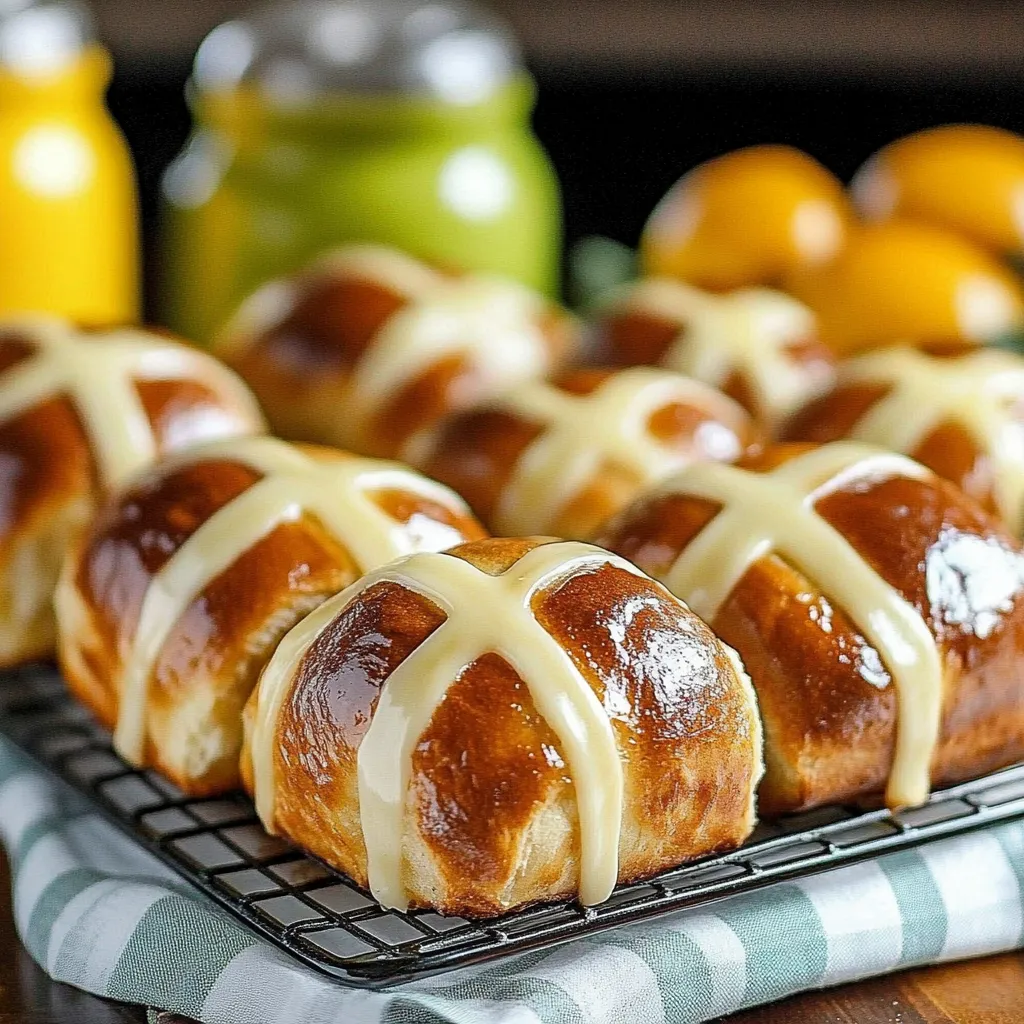
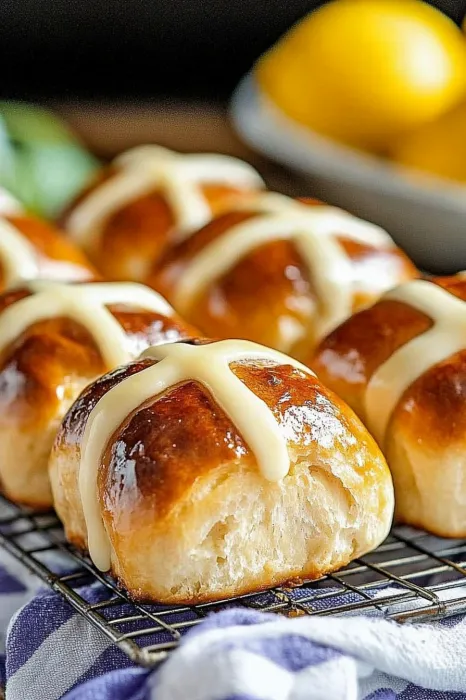
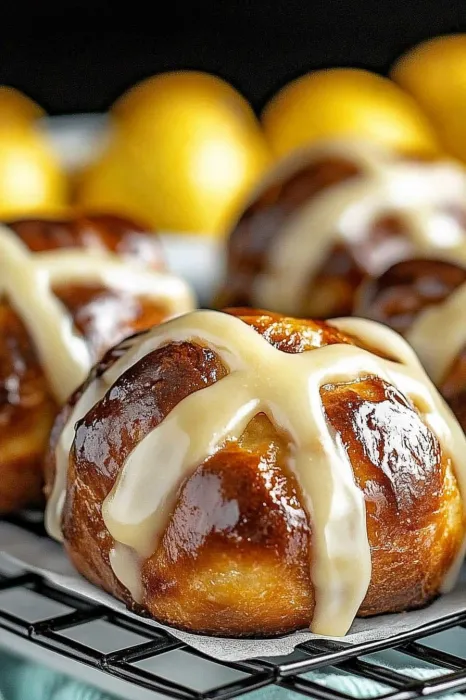
Baking up a batch of hot cross buns each spring just feels special. The centers are super soft with bursts of golden raisins and a hint of cinnamon floating through the air. Every warm bun gets a sweet crisscross of vanilla icing up top—something I can't wait to do when this season rolls around.
I grew up baking these with my little ones on gloomy days. We'd press our noses to the oven glass and their excitement for the icing crosses was contagious. Now, every time I make them I'm swept right back to those snug family moments.
Inviting Ingredients
- Milk: Use a bit to get your icing just right for piping—whole or 2% both work
- Vanilla extract: Adds that delicious warmth throughout the icing—use the pure kind for best flavor
- Icing sugar: For a smooth icing shell—sift it first if it's clumpy
- Water: A splash thins the egg wash so your buns brown up nicely
- Egg yolk: Saved from earlier to brush on top for a shiny finish
- Sultana or golden raisins: They pop with sweetness—go for plump ones, or soak if they’re dry
- Pure vanilla extract: Brings everything together and adds a cozy aroma—pick the real deal if you can
- Large egg white: Builds up the crumb so it’s tender and rich
- Large egg: Adds lightness and helps buns hold their shape—make sure it’s room temp
- Butter: For that irresistible richness—melt it gently and cool before mixing in
- More sugar: A little extra so every bite hits the sweet spot
- Cinnamon: The heart of the flavor—ceylon is wonderful if available
- Salt: Makes everything pop a little more—use fine sea salt so it melts right in
- Flour: Base of the dough—unbleached all-purpose gives great texture
- Active dry yeast: Gets your buns rising high—make sure it’s still fresh
- Sugar: Gives the little boost yeast needs and rounds out the sweetness
- Lukewarm water: Wakes up the yeast—should feel just comfortably warm, not hot
Foolproof Steps
- Finish with Crosses:
- Pop the icing into a piping bag or a sandwich bag with a tiny snip in the corner. Pipe lines across each bun in both directions to mark the cross—then let them set up with a sweet shell.
- Make the Glaze:
- Stir icing sugar, vanilla, and milk together until it’s thick but will flow through your piping bag. If you need it thinner, add the tiniest bit more milk at a time—it should be pourable, not runny.
- Bake:
- Fire up your oven to 350 F. Slide the pan onto the center rack once it’s hot. Let the buns bake around 30 to 35 minutes till they’re golden and the smell is heavenly. Cool them at least 15 minutes so they don’t get gummy inside.
- Egg Wash:
- Whisk that extra yolk with a spoon or so of water then brush all over the dough balls. This is what gives a gorgeous color and shine.
- Second Rise:
- Loosely cover your pan and set aside for another hour. The buns will puff up lots—proper time here means they’ll be super soft.
- Shape the Buns:
- Spread a bit of butter or oil in a 9x13 pan, tip out the dough, and gently split it into 12 little balls. Round them in your palms and space evenly across the pan.
- First Rise:
- Move the dough back into its bowl and drape a towel over top. Let it sit in a comfortably warm spot 30–40 minutes so it about doubles. It’ll get nice and airy.
- Add the Raisins:
- Work in the raisins gently by folding them through so you don’t break them. Take your time so every bun ends up with a handful.
- Form the Dough:
- Pour in the yeast mixture, cooled melted butter, the egg, egg white, and vanilla. If using a mixer, use its dough hook for 5 minutes. Otherwise mix with a strong spoon, then knead by hand on a floured countertop about 10 minutes till soft but just tacky. Add flour in tiny amounts if it’s extra sticky.
- Mix the Dry Ingredients:
- Dump salt, cinnamon, flour, and sugar into a big bowl and stir up well. That way the flavor’s spread throughout the dough.
- Activate the Yeast:
- Start by swirling sugar into warm water then sprinkle yeast on top. Don’t stir. Just wait 15 minutes till it gets bubbly and frothy—this means the yeast is ready for action.
 Pin it
Honestly—sultanas are what make these buns so good. Every bite is juicy. Once, my youngest tossed in dried cranberries by accident. Now we actually do both sometimes, and it makes every batch pop with color. Years later, our first time baking them together is still one of my happiest kitchen memories.
Best Way To Store
Pop them in an airtight box on the counter and they’re good for three days. For longer, just freeze once totally cooled—tightly wrapped they’ll hang out in the freezer a month. When you’re ready for more, warm in a 300 F oven about eight minutes and they’re as good as new.
Simple Ingredient Swaps
No sultanas handy? Use regular raisins, chopped apricots, or currants. Dairy avoiding? Just use non-dairy margarine and a splash of plant milk in the icing. Change up the spices, too—a sprinkle of nutmeg or allspice alongside cinnamon really makes them yours.
Fun Ways to Serve
These fit in perfectly on Easter morning, but really—any weekend breakfast with tea or coffee is made better with one. Leftovers are awesome split and toasted, then piled with salted butter, a slick of honey, or even a little creamy cheese.
 Pin it
Bit of History
Hot cross buns go way back with roots in British springtime and Good Friday get-togethers. That crisscross isn’t just for looks—it's a little nod to old traditions and families sharing a meal. What started as buns full of spices have mellowed over time into these subtly sweet, soft treats you see everywhere now.
Frequently Asked Questions
- → What’s the trick to fluffy buns?
You let your dough rise two times, once after kneading then again after they're shaped. That’s how you get the airiness everyone loves.
- → Can I switch out raisins for something else?
Totally. Try dried cranberries, currants, or even chopped candied peel if you like a different flavor spin.
- → What’s up with the piped glaze?
The icing goes on after the bake and makes that classic cross. It’s also a sweet little finish on top.
- → When’s the dough ready to put in the oven?
You’ll know it’s good when the buns have swollen up big, and bounce back a bit when you poke 'em.
- → Can I prep these ahead and finish later?
Yep! Shape the dough, toss in the fridge overnight, then bake and glaze in the morning to enjoy them fresh.