
 Pin it
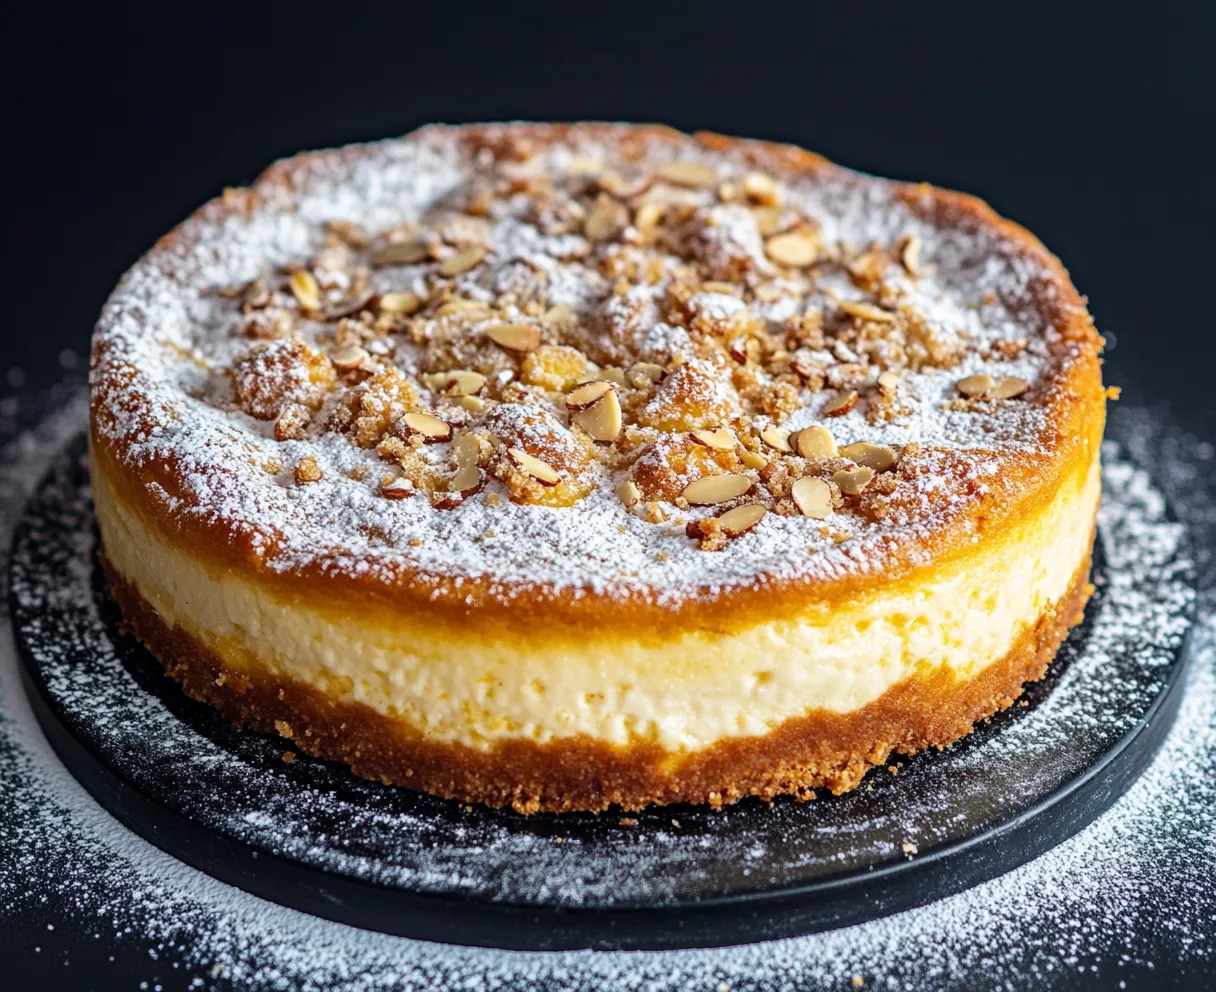
This fluffy, indulgent quark snow cake turns basic items into a knockout treat that perfectly pairs a buttery base with a fluffy, cloud-like top. The middle pudding layer creates a silky center that makes every bite of this cake totally mouthwatering.
I whipped up this cake when friends suddenly said they were dropping by for coffee, and I've kept making it ever since. The way that snowy meringue top looks always gets oohs and aahs, even though it's super easy to put together.
Ingredients
For the Dough
- 1 egg: gives the base its texture and richness
- 200g flour: forms the solid foundation needed for this layered dessert
- ½ packet baking powder: lets the base puff slightly while staying firm enough for the layers above
- 100g butter: brings that can't-beat-it rich taste try to grab European style if you can
- 80g sugar: cuts through the tangy filling without making the bottom too sweet
For the Filling
- 250g sour cream: adds smoothness and a gentle tang
- 100g sugar: gives just enough sweetness without drowning out the dairy flavors
- 3 egg yolks: bring richness and help everything set up
- 1 packet vanilla sugar: boosts the flavor profile bourbon vanilla works wonders here
- 200ml whole milk: helps create that perfect pudding-like middle
- 450g low fat quark: the star ingredient that makes this cake special you can swap in cottage cheese if needed
- 1 packet vanilla pudding powder: keeps the filling firm and adds extra smoothness
- A little oil: for greasing the pan so nothing sticks
For the Meringue Topping
- 3 egg whites: create that fluffy snow-like top they'll whip better at room temperature
- 40g sugar: keeps the meringue standing tall with just the right sweetness
Step-by-Step Instructions
Prepare the Base
- Step 1:
- Mix all your dough stuff in a big bowl, working the butter into the dry ingredients until you've got something that looks like breadcrumbs. Toss in the egg and keep kneading until you've got a nice smooth ball that sticks together. Press it into a greased 26cm springform pan, making a little rim around the edges about 1cm high. Make sure it's spread out evenly so it bakes the same all over.
Create the Filling
- Step 2:
- Throw all your filling ingredients in a big bowl and whisk like crazy to get rid of any lumps, especially from that pudding powder. You want it smooth enough to pour but not runny. Gently pour this mix over your dough base, taking care not to mess up the crust. Use a spatula to smooth the top so it's nice and even.
First Baking Stage
- Step 3:
- Stick your cake into the hot oven and bake for exactly 50 minutes at 180°C. The middle should mostly set up but still jiggle a tiny bit in the center. Don't leave it in too long or you'll end up with a dry, cracked filling nobody wants that.
Prepare and Add Meringue
- Step 4:
- When your cake is almost done with its first bake, grab those egg whites and beat them in a super clean bowl until soft peaks form. Slowly add sugar while you keep beating until the peaks get stiff and shiny. You'll know it's ready when you can flip the bowl upside down and nothing falls out. Pull the cake from the oven and carefully spread your meringue over the hot filling, making pretty peaks with the back of your spoon.
Final Baking
- Step 5:
- Pop the cake back in the oven for another 10 minutes so the meringue can set and turn light brown. Keep an eye on it because meringue can go from perfect to burnt in no time. You want those peaks lightly golden but the rest should stay soft and gooey underneath.
 Pin it
This cake takes me back to my grandma's kitchen, where she'd often bake something like this for our Sunday get-togethers. The vanilla pudding mix might seem like cheating, but it makes that perfect old-school dessert texture that reminds me of being a kid every time I take a bite.
Storage Tips
Keep this cake in the fridge and try to eat it within 2-3 days. The meringue will slowly soak up moisture from the filling, so it'll change from crispy to soft as time goes on. That's not bad, just different! To keep the meringue crispy as long as possible, leave the cake uncovered for the first few hours while it cools, then cover it loosely with foil instead of plastic wrap.
Seasonal Variations
Switch up this cake throughout the year with seasonal goodies. In summer, mix 200g of fresh berries into the filling before you bake it. When fall comes around, add a teaspoon of cinnamon to the base and toss some chopped nuts on the meringue before the final bake. During winter holidays, splash some rum in the filling and grate in some orange zest for a festive twist that goes great with afternoon coffee.
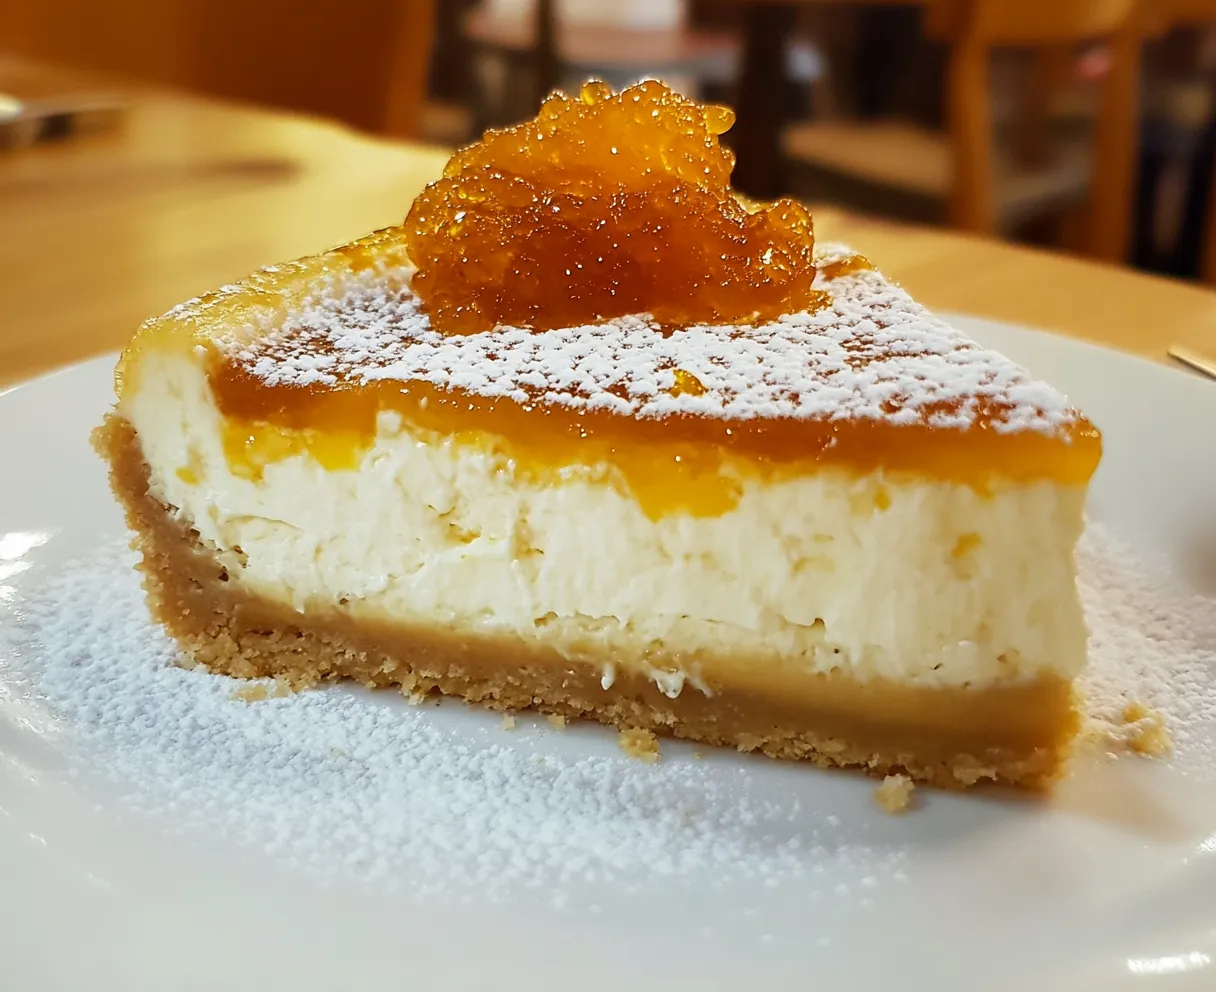
Serving Suggestions
This cake is fantastic on its own, but you can dress it up with simple add-ons. A light sprinkle of powdered sugar right before serving makes it look even more snowy. For a fancier dessert, serve it with some fresh berries or a small scoop of vanilla ice cream. When it's part of a coffee spread, pair it with a medium roast that won't fight with the gentle flavors.
 Pin it
Frequently Asked Questions
- → Can I swap quark out for something else?
Sure thing! Try cottage cheese or thick Greek yogurt as a handy substitute.
- → What kind of pudding powder should I grab?
Stick with a cook-style vanilla pudding powder to keep the texture just right.
- → How do I get meringue super stiff?
Make sure to use a clean, dry bowl with no yolk traces. Whip the whites while slowly adding sugar.
- → Can I make this without gluten?
Of course! Replace regular flour with a gluten-free baking mix that works for cakes.
- → What’s the best way to keep leftovers fresh?
Refrigerate the cake in a covered container for up to three days for maximum freshness.