
 Pin it
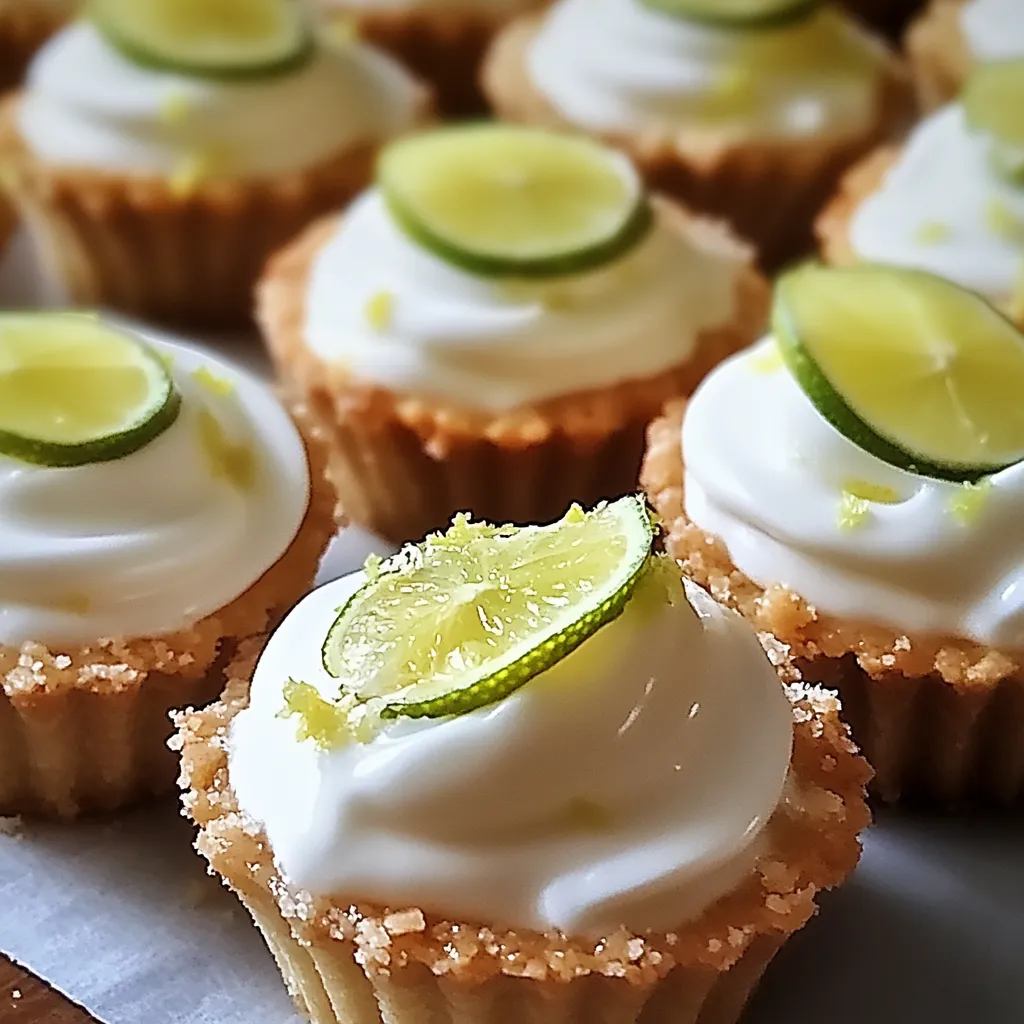
This creamy, tangy no-bake mini key lime pie recipe has become my summer go-to dessert whenever temperatures rise and turning on the oven feels like torture. The combination of zesty lime flavor and cool, velvety texture creates the perfect refreshing treat that always disappears quickly at gatherings.
I first created these mini key lime pies for a backyard barbecue during a heatwave last summer. My family was skeptical about a no bake dessert but ended up fighting over the last one and now request them for every summer gathering.
Ingredients
- Graham cracker crumbs: Provide the perfect crunchy base that complements the creamy filling. Look for boxes of premade crumbs to save time or crush your own for a fresher taste.
- Unsalted butter: Binds the crust together while adding rich flavor. Make sure it's fully melted for proper binding.
- Granulated sugar: Sweetens the crust and helps it hold together.
- Sweetened condensed milk: Creates that signature silky texture and balanced sweetness. Do not substitute with evaporated milk.
- Fresh key lime juice: Delivers authentic tangy flavor. Regular lime juice works well too if key limes aren't available.
- Lime zest: Intensifies the citrus flavor throughout the filling. Use only the green part, avoiding the bitter white pith.
- Heavy whipping cream: Must be very cold to whip properly and creates the light, mousse like texture.
- Powdered sugar: Stabilizes the whipped cream and adds just enough sweetness.
Step-by-Step Instructions
- Prepare the Graham Cracker Crust:
- Combine the graham cracker crumbs, melted butter, and sugar in a medium bowl until the mixture resembles wet sand. The texture should hold together when pressed between your fingers but not be overly greasy. If too dry, add a bit more melted butter one teaspoon at a time.
- Form the Individual Crusts:
- Divide your graham cracker mixture evenly among mini tart pans or a lined muffin tin. Use the back of a measuring spoon to firmly press the crumbs into the bottom and up the sides. Apply firm pressure to ensure the crust will hold together when serving. Chill the crusts for a full 15 minutes to help them set.
- Create the Key Lime Base:
- In a large bowl, whisk together the sweetened condensed milk, lime juice, and lime zest until completely smooth and slightly thickened. The mixture will begin to thicken naturally as the acid from the lime juice reacts with the condensed milk. This takes about 2 minutes of whisking.
- Whip the Cream to Perfection:
- In a separate clean, chilled bowl, beat the cold heavy cream and powdered sugar starting on low speed, gradually increasing to high until stiff peaks form. This typically takes 3 to 4 minutes. The cream should stand up straight when you lift the beaters.
- Fold with Care:
- Gently fold half of the whipped cream into the key lime mixture using a rubber spatula. Use a light hand and cut through the center, then sweep around the edges to maintain as much air as possible. Once incorporated, fold in the remaining whipped cream until no white streaks remain.
- Fill the Crusts:
- Spoon or pipe the key lime filling into each prepared crust, filling to just below the rim. Use the back of a spoon to create a smooth, even surface. Work quickly as the filling will continue to set as you work.
- Chill Thoroughly:
- Refrigerate the mini pies for at least 2 to 3 hours, though overnight is even better. This allows the filling to set completely and the flavors to meld together beautifully.
 Pin it
You Must Know
- These mini pies contain no raw eggs, making them safer for everyone including pregnant women and children
- Each serving delivers a perfect balance of sweetness and tanginess that cleanses the palate
- The recipe can be easily doubled for larger gatherings without any adjustments
The secret to my version is adding extra lime zest directly into the whipped cream before folding. My grandmother taught me this trick years ago, and it distributes tiny bursts of lime flavor throughout each bite that makes guests wonder what my secret ingredient might be.
Make Ahead Options
These mini key lime pies actually benefit from being made a day in advance. The flavors meld together and intensify overnight, creating an even more vibrant lime flavor. You can prepare them up to 2 days ahead and store them covered in the refrigerator. I recommend adding any fresh garnishes like whipped cream or lime slices just before serving for the best presentation.
Storing and Freezing
These treats will keep well in the refrigerator for up to 4 days when stored in an airtight container. For longer storage, you can freeze them! Place the completely chilled pies on a baking sheet and freeze until solid, about 2 hours. Then wrap each individually in plastic wrap and store in a freezer safe container for up to 1 month. Thaw overnight in the refrigerator before garnishing and serving.
Creative Variations
While traditional key lime pie is a classic for good reason, this versatile recipe welcomes creative twists. Try adding a layer of white chocolate between the crust and filling for added decadence. Experiment with different crust options like crushed gingersnaps or coconut cookies for complementary flavor profiles. For a boozy adult version, add 1 tablespoon of tequila to the filling and call them margarita pies! During berry season, I love topping these with fresh raspberries which pair beautifully with the lime.
 Pin it
Frequently Asked Questions
- → How do I make the crust for mini lime pies?
Combine graham cracker crumbs, melted butter, and sugar, then press the mixture into tart pans or a muffin tin. Chill before filling.
- → What type of lime is best for these pies?
Fresh key lime juice is preferred for its tangy flavor, but regular lime juice works as a substitute.
- → How do I ensure the filling sets properly?
Allow the filled pies to chill in the refrigerator for 2–3 hours or until the filling becomes firm.
- → Can this recipe be made gluten-free?
Yes, substitute regular graham cracker crumbs with a gluten-free version for the crust.
- → How far in advance can I prepare the pies?
You can make these pies a day ahead and store them in the refrigerator until ready to serve.