
 Pin it
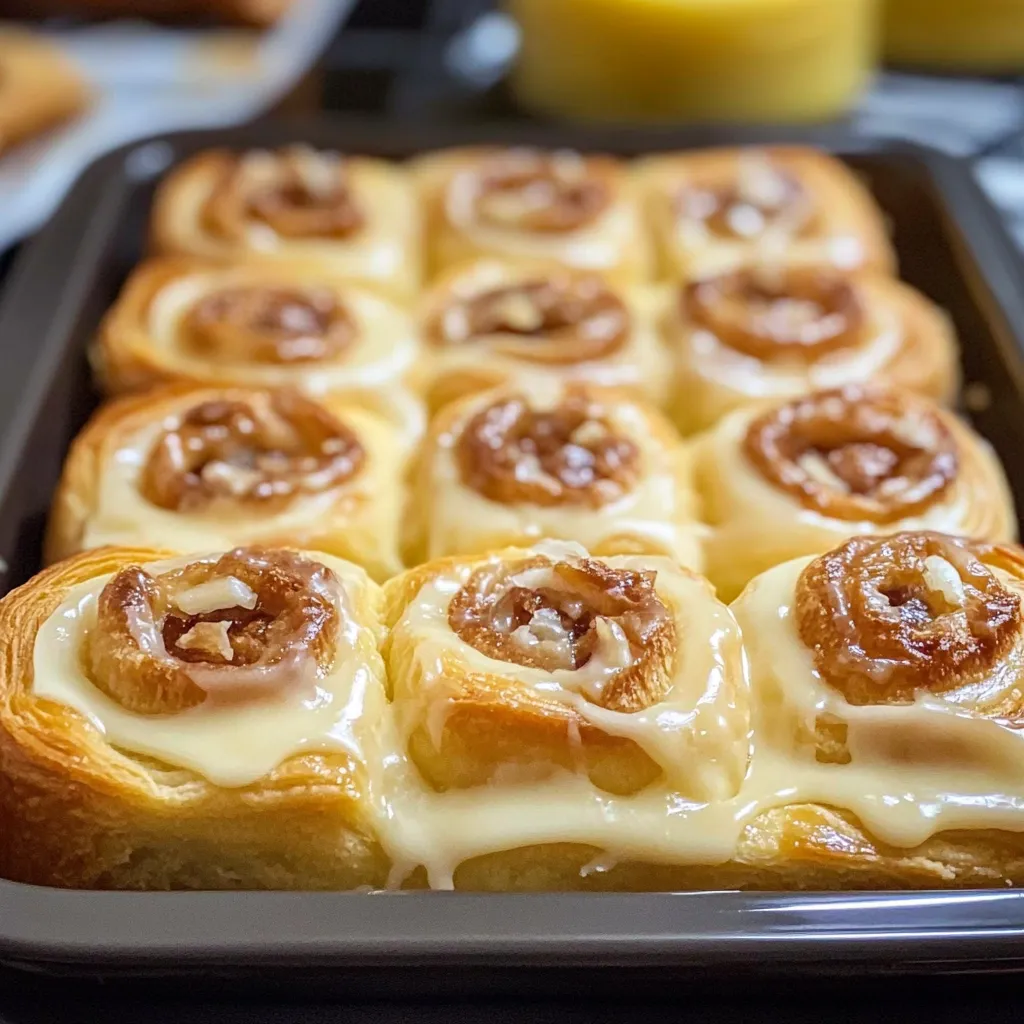
This heavenly King's Hawaiian Cheesecake Danish transforms ordinary sweet rolls into an indulgent treat that's part breakfast, part dessert, and completely irresistible. The creamy cheesecake filling nestled inside buttery Hawaiian rolls creates a delightful contrast of textures that will have everyone reaching for seconds.
I first made these danishes when hosting an impromptu morning gathering with friends. The combination of warm spices and creamy filling received so many compliments that it's now my go-to recipe whenever I need something special without spending hours in the kitchen.
Ingredients
- King's Hawaiian sweet rolls: These pillowy soft rolls provide the perfect sweet base for our danish
- Room temperature cream cheese: Ensures a smooth, lump-free filling that bakes evenly
- Melted butter: Creates that irresistible golden exterior and carries the warm spices
- Brown sugar: Adds a caramel-like depth that granulated sugar alone cannot achieve
- Ground cinnamon and freshly grated nutmeg: The warm spice combination that makes these rolls truly special
- Granulated sugar: Balances the tanginess of the cream cheese for the perfect filling
- Large egg: Provides structure to the filling and creates that custard-like quality
Step-by-Step Instructions
- Prepare the baking dish:
- Melt 1 tablespoon butter and coat the bottom of your 9×13-inch baking dish. This prevents sticking and adds flavor to the bottom of each roll.
- Create pockets in rolls:
- Arrange rolls in the buttered dish and carefully cut an X into each roll about ⅔ of the way down without cutting through the bottom. These pockets will hold your delicious cheesecake filling.
- Make the butter mixture:
- Combine melted butter, brown sugar, cinnamon, and nutmeg in a bowl until well incorporated. Pour this aromatic mixture evenly over all the rolls, allowing it to seep into the cuts.
- Prepare the filling:
- Beat room temperature cream cheese until smooth, then mix in granulated sugar and beaten egg until completely combined. The mixture should be silky smooth with no lumps.
- Fill the rolls:
- Transfer cream cheese mixture to a piping bag with a large tip or use a zip-top bag with a corner snipped off. Carefully pipe filling into each X-cut roll, ensuring the filling gets inside rather than just sitting on top.
- Bake to perfection:
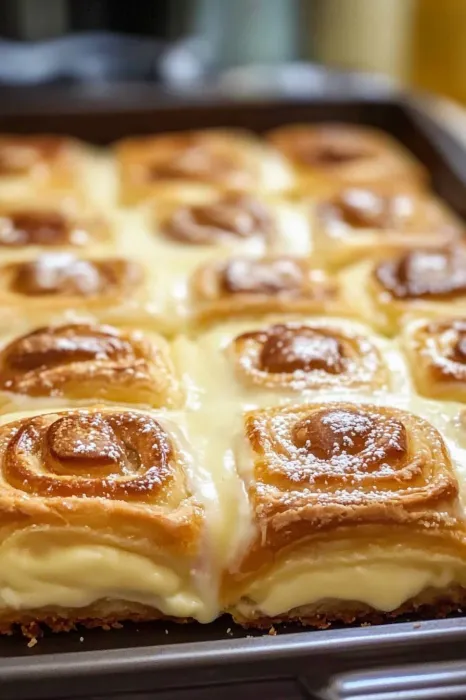
- Bake uncovered at 375°F for 12-15 minutes until the rolls turn golden brown and the filling reaches 145°F. For softer rolls, stick to the lower end of the baking time.
- Cool slightly before serving:
- Allow the danishes to cool for a few minutes before serving as the filling will be extremely hot right out of the oven.
 Pin it
You Must Know
These danishes are incredibly versatile and can be served for breakfast, brunch, or dessert
Each roll contains a perfect portion of cheesecake filling for individual servings
The recipe can easily be doubled for larger gatherings
My family particularly loves the contrast between the slightly crisp, buttery exterior and the creamy, warm filling. I've found that using freshly grated nutmeg makes a world of difference compared to pre-ground—it's my secret ingredient that always gets people asking for the recipe.
Make-Ahead Options
These danishes can be prepared up to the filling stage the night before. Simply cover with plastic wrap and refrigerate overnight, then bake fresh in the morning. Allow an extra 2-3 minutes of baking time if starting from cold.
Flavor Variations
While the classic version is amazing on its own, you can customize these danishes with different flavor profiles. Try adding a tablespoon of orange zest to the filling for a citrusy twist, or incorporate mini chocolate chips for a more decadent treat. A teaspoon of almond extract in the filling creates a bakery-worthy variation that pairs beautifully with the cinnamon.
Serving Suggestions
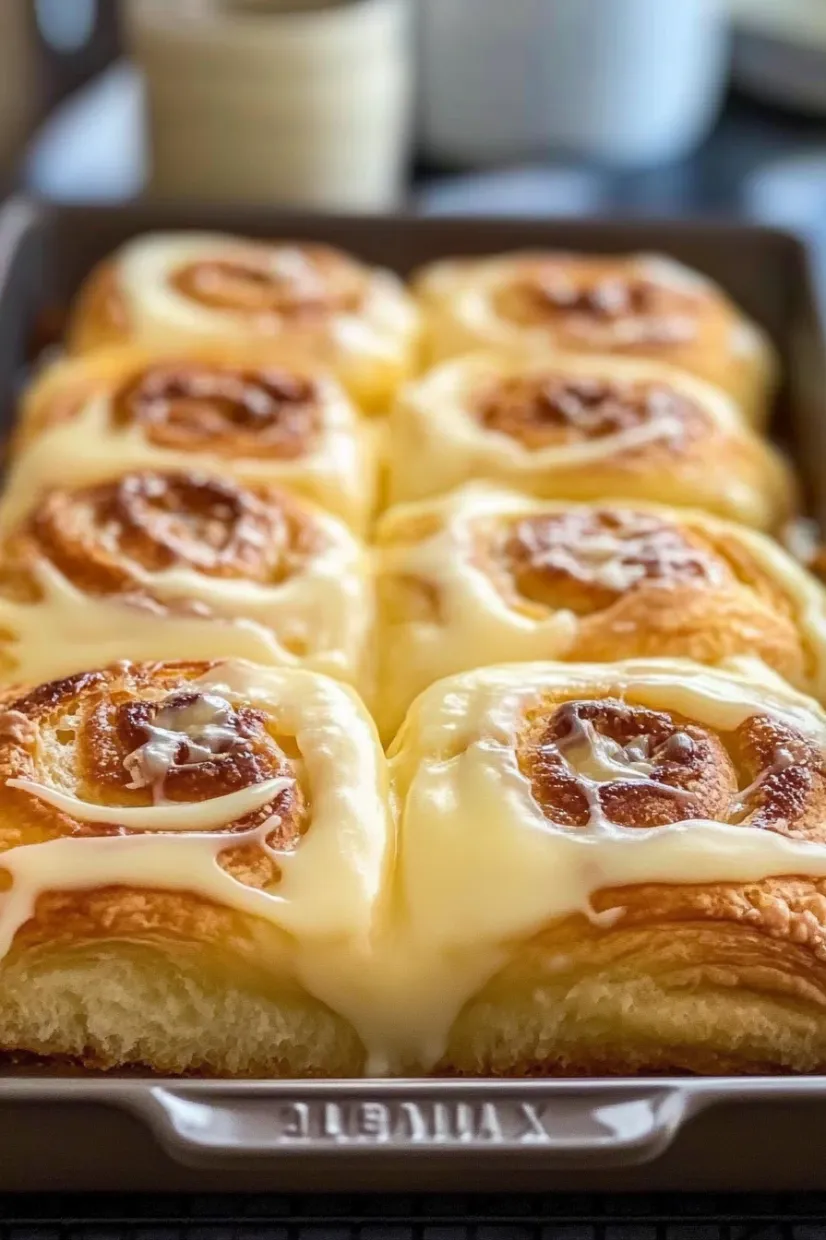
These danishes are delicious on their own, but for an extra special presentation, consider drizzling them with a simple glaze made from powdered sugar and milk. For brunch, serve alongside fresh berries and coffee. As a dessert, a scoop of vanilla ice cream transforms them into a warm-meets-cold delight that's utterly irresistible.
Storage and Reheating
Leftover danishes should be stored in an airtight container in the refrigerator for up to 4 days. To reheat, place them in a 300°F oven for 5-7 minutes until warmed through. Avoid microwave reheating if possible, as it can make the rolls tough and the filling runny.
 Pin it
Frequently Asked Questions
- → How do I ensure the rolls bake evenly?
Spread melted butter evenly in the baking dish and ensure the rolls are spaced consistently. Rotate the pan halfway through baking for even browning.
- → Can I use a different type of bread?
Yes, you can substitute Hawaiian rolls with brioche or dinner rolls, but the flavor will differ slightly.
- → What’s the best way to fill the rolls without a piping bag?
Use a zip-top bag with the corner snipped off or a spoon to carefully fill the cuts in the rolls.
- → How long can I store the leftovers?
Store leftover pastries in an airtight container in the refrigerator for 3 to 4 days.
- → Can I make this ahead of time?
Yes, you can prepare the filling and cut the rolls in advance. Assemble and bake just before serving for the best results.