
 Pin it
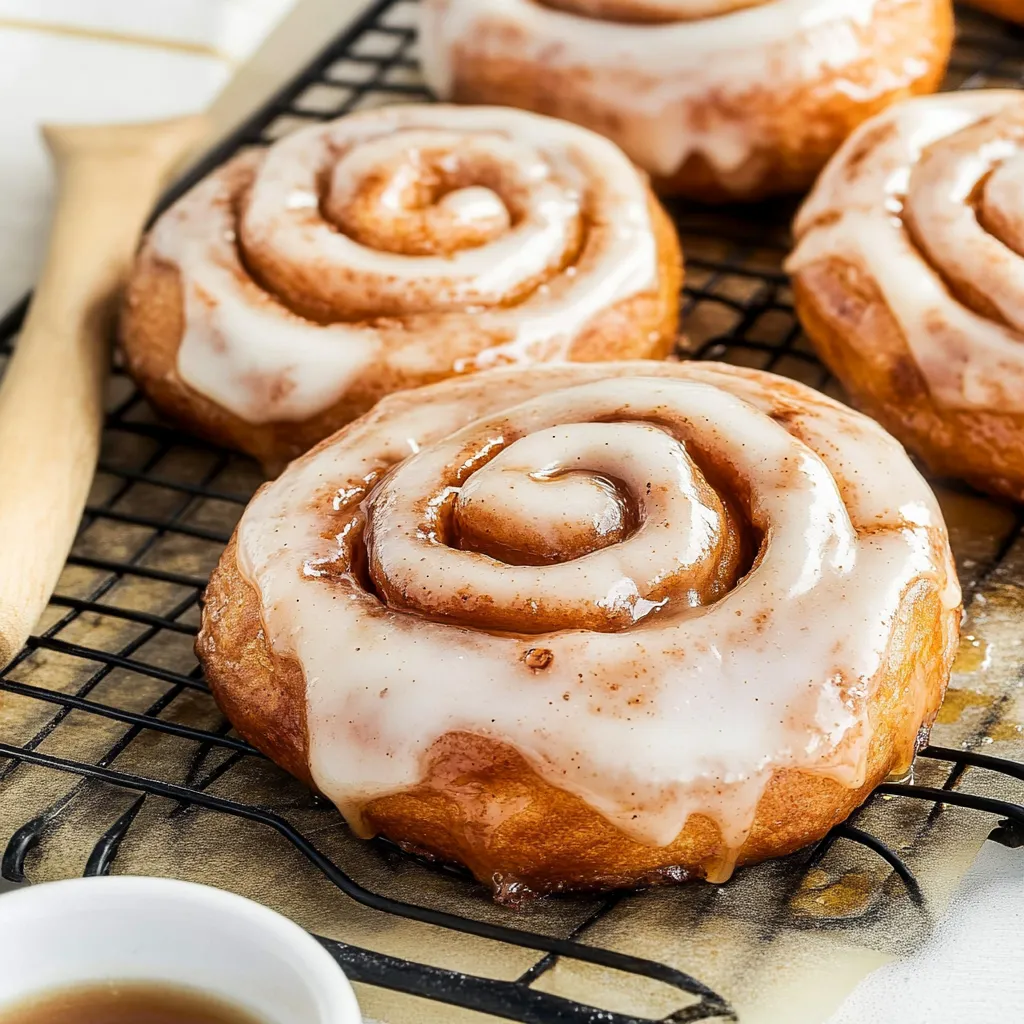
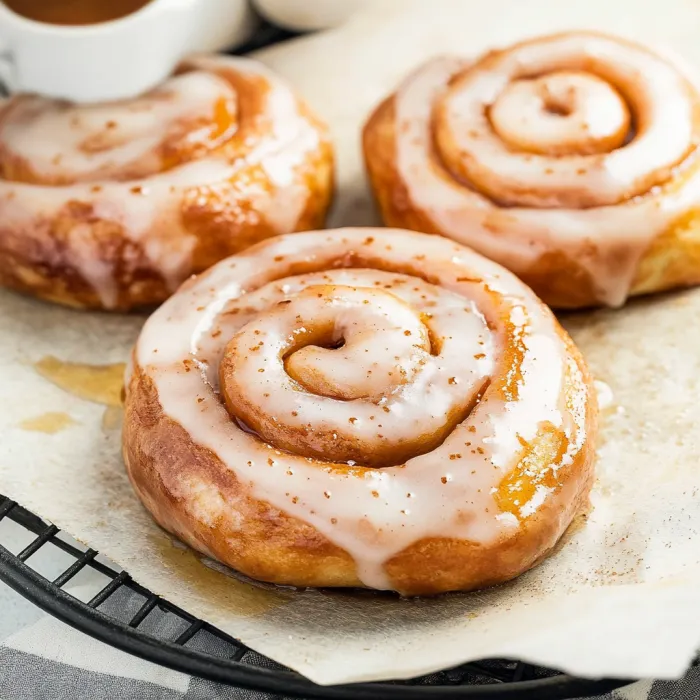
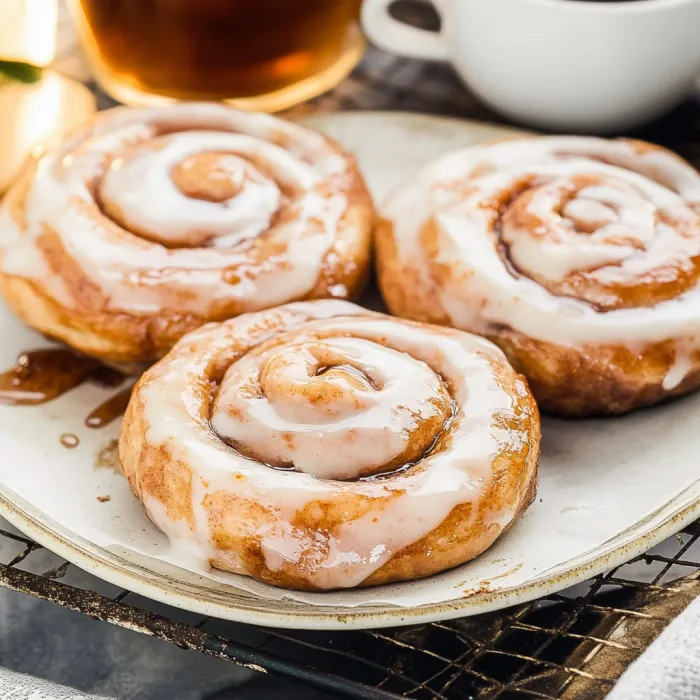
This homemade honey bun recipe transforms a beloved convenience store treat into something truly extraordinary with its soft, pillowy texture and sticky-sweet glaze. The process may take a few hours, but the reward is bakery-quality honey buns with that unmistakable melt-in-your-mouth quality you crave.
I stumbled upon this recipe during a snowstorm when my kids were craving something sweet but all stores were closed. What started as desperation has become our Sunday morning tradition, with everyone gathering around as I dip each warm bun into that irresistible glaze.
Ingredients
- All purpose flour: Creates the perfect structure for these pillowy buns
- Granulated sugar: Just enough sweetness in the dough without overwhelming
- Instant yeast: Ensures reliable rising without the need for proofing
- Honey: The star ingredient that adds moisture and that distinctive flavor
- Shortening: Melted shortening creates tenderness you cannot achieve with butter alone
- Cinnamon: Essential warming spice that pairs perfectly with the honey
- Powdered sugar: Creates that smooth glossy finish we all love from classic honey buns
Step-by-Step Instructions
- Prepare the dough:
- Start by whisking your dry ingredients thoroughly to ensure even distribution of the yeast and salt. The warm water temperature is crucial here around 105°F to 115°F anything hotter will kill your yeast while too cool will prevent proper activation.
- Create the wet mixture:
- Combining the honey with warm water helps it incorporate more easily. Be sure your melted shortening has cooled slightly before adding it to prevent cooking the egg.
- Mix and knead:
- Allow your stand mixer to do the work for 8 full minutes. The dough will remain slightly tacky but should pull away from the sides of the bowl. This extended kneading develops the gluten for that perfect chewy texture.
- First rise:
- Place in a warm spot for the crucial first rise. A clever trick is to turn your oven on for just 1 minute then turn it off creating the perfect environment for rising dough.
- Roll and fill:
- Take your time rolling the dough to an even 12 by 8 inch rectangle. The cinnamon sugar should cover nearly the entire surface leaving just a small seam for sealing.
- Shape and second rise:
- Cutting with a serrated knife preserves the shape and prevents squishing. The second rise is shorter but equally important for achieving that light texture.
- Fry to golden perfection:
- Maintaining the correct oil temperature is absolutely critical. Too hot and they brown before cooking through too cool and they absorb excess oil becoming greasy.
- Glaze while warm:
- The magic happens when that still hot honey bun hits the glaze creating that characteristic crackling exterior as it cools. Work quickly for best results.
 Pin it
The honey in this recipe is truly transformative. I once substituted maple syrup when I ran out of honey and my family immediately noticed the difference. There is something about honey's floral notes and moisture retention that creates that distinctive honey bun character we all recognize.
Perfecting Your Honey Buns
The key to perfect honey buns lies in the dough consistency. It should be tacky but not sticky after kneading. If it feels too wet, add flour just one tablespoon at a time. Too much flour creates dense buns. The perfect honey bun has a light, airy interior with a slightly chewy texture.
 Pin it
Make Ahead Options
These honey buns are perfect for preparing in advance. You can make the dough the night before, give it the first rise, then shape and refrigerate overnight. In the morning, let them come to room temperature for about 30 minutes, then proceed with the second rise before frying or baking. This cold fermentation actually develops more flavor.
Flavor Variations
While traditional honey buns are perfection, you can customize them in countless ways. Try adding orange zest to the dough for a citrus twist, or mix chopped pecans into the cinnamon filling. For a special occasion version, add a splash of bourbon to the glaze. My personal favorite variation is adding a teaspoon of cardamom to the cinnamon sugar mixture for an exotic twist.
Troubleshooting Tips
If your dough isn't rising properly, your kitchen may be too cool. Create a warm environment by placing the covered bowl near a sunny window or on top of a slightly warm oven. Yeast is temperature sensitive, so never use hot water that exceeds 115°F. When frying, maintain a consistent oil temperature around 365°F for perfect results every time.
Frequently Asked Questions
- → How do I ensure my yeast activates correctly?
Ensure your water is between 105°F-115°F. Too hot will kill the yeast, and too cold won't activate it properly.
- → Can I bake the honey buns instead of frying?
Yes, preheat your oven to 350°F and bake the buns for about 18 minutes until lightly golden brown.
- → How should I store leftover honey buns?
Store them in an airtight container or baggie for up to five days. Reheat in the microwave for 5-10 seconds for best results.
- → Can I freeze homemade honey buns?
Yes, you can freeze them for up to three months. Thaw at room temperature or microwave until warmed.
- → What is the best way to glaze honey buns?
Dip each bun into the glaze while still warm after frying or baking for a perfectly crisp and smooth coating.