
 Pin it
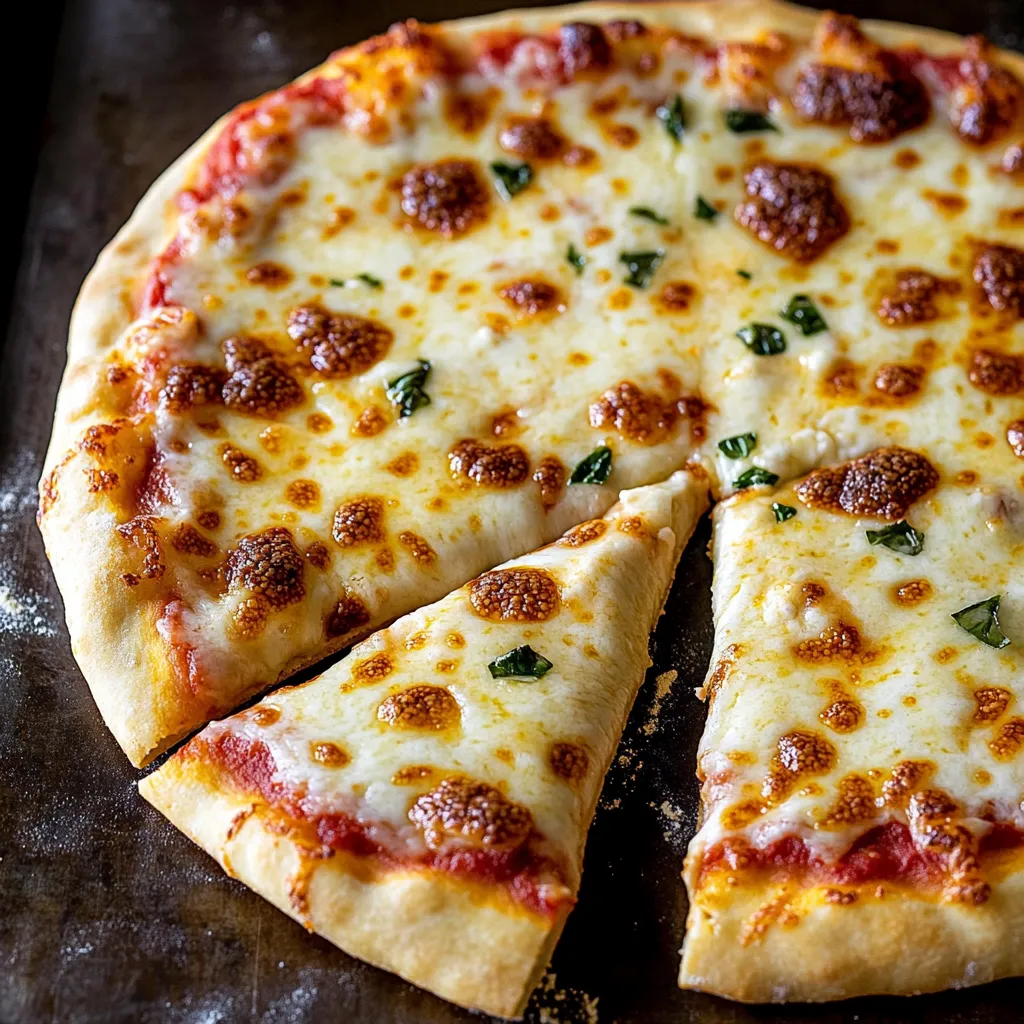
This slow-fermented pizza base yields the definitive NYC-style crust – featuring a slim middle and gorgeously bubbled rims. The extended rise builds rich flavors that set it apart from hurried alternatives. Every mouthful delivers that sought-after mix of crunchy outside and stretchy inside that true pizza fans adore.
I stumbled on this technique while trying to make real pizza-joint flavor at home. Following countless letdowns with fast doughs, this overnight version totally changed our family's end-of-week pizza tradition from decent to mind-blowing.
Components
- Warm water: around 105-110°F so it wakes up the yeast without harming it
- Active dry yeast: just a tiny bit creates the right lift during long cooling
- Honey: feeds your yeast and brings a faint richness to your finished base
- Fine sea salt: boosts taste and makes the gluten stronger
- All purpose flour: makes the ideal feel – pick quality brands for top results
- Olive oil: to brush your containers so nothing sticks during the long chill
Making Your Dough
- Wake up your yeast:
- Mix water, honey, and salt in a small container, then scatter yeast across the top. Wait 5 minutes until it looks a bit bubbly, showing your yeast is good to go. This soft start builds the groundwork for great rising.
- Mix everything together:
- Dump the yeast mix into a hole made in your flour. Stir until it comes together, then work it for just 2 minutes. Unlike many recipes, this needs very little kneading since the long wait builds gluten on its own. It'll feel tacky now – that's exactly right.
- Let it grow:
- Let the dough puff up at normal room temp for 4-5 hours. This first rise starts building flavor and forms the stretchy structure that gives NYC pizza its famous pull. The dough will get visibly fluffy during this time.
- Shape and turn:
- After it rises, cut the dough and do eight soft folds on each chunk. This special folding builds strength without smashing out all those valuable air pockets. You want to make the outside tight while keeping the inside airy for your future crust.
- Sleep on it:
- Put each ball in a lightly oiled container and stick it in the fridge for at least 18 hours. This cold waiting period is when things get good. Yeast works slowly, making complex flavors while the gluten softens, making the dough easier to pull. The feel grows into that perfect mix of chewy but tender.
- Warm it back up:
- Take dough from the fridge an hour before cooking. This key step lets the dough soften and warm, making it way easier to stretch without snapping back. The dough should feel soft and bouncy in your hands.
- Make your base:
- With your knuckles, softly stretch from middle to edge. This old-school method keeps the bubbles while making the trademark thin middle and thicker rim. Don't use a roller – it'll crush all those precious air bubbles that make the texture so great.
- Cook it hot:
- Put your topped pizza onto a hot stone or tray in a 550°F oven. The super-high heat acts like pro pizza ovens, making quick rise, good browning, and that perfect clash between crisp outside and soft inside in just 8-10 minutes.
 Pin it
This base totally upgraded my homemade pizza efforts. After so many failures, I finally got that special chew and flavor I always missed from restaurant slices. My favorite part was when my neighbor from Italy took a bite and said it reminded him of his hometown – that praise meant the world to me.
Keeping It Fresh
The method purposely creates two balls of dough, so you can cook one right away and save the other. The chilled dough actually gets better over 3-4 days as flavors keep growing. If you want to store it longer, pop shaped balls into separate freezer bags. Thaw them in your fridge overnight, then let them sit at room temp before stretching.
Great Combos
This NYC-style base goes really well with classic tomato sauce and regular mozzarella. For something fancier, try making a white pizza with ricotta, mozzarella, and paper-thin garlic, topped with fresh basil after it comes out. The sturdy crust also handles heavier toppings like sausage and bell peppers without getting soggy.
Fixing Problems
When your dough feels too sticky while shaping, don't dump in loads more flour. Just a light sprinkle works fine, and too much can make your crust tough. The dough should feel lively and a bit tacky. If it keeps shrinking back when you stretch it, cover it and wait 10-15 minutes to relax the gluten, then try again.
The Magic Behind Good Pizza
The long waiting time builds complex flavor as enzymes break down starches into sugars. At the same time, gluten proteins form and loosen into just the right structure. The super-hot baking makes gas bubbles grow fast and turns those new sugars brown, giving you those dark spots you see on pizza from the best shops.
 Pin it
Frequently Asked Questions
- → Why let the dough sit overnight?
Leaving the dough overnight develops gluten, making it tastier and giving it a better texture.
- → Can I swap the flour type?
Sure, using bread or 00 flour works too. It might slightly change the feel and finish of the crust.
- → How do I stop sticking?
Sprinkle flour over the dough and your surfaces. Also, dust your pizza peel so it's easier to slide off.
- → Does preheating the oven really matter?
A hot oven makes sure your pizza cooks properly, with crispy edges and an evenly baked crust.
- → Can I freeze leftover dough?
Absolutely, freeze it after it rises once. Just pop it in the fridge the night before to thaw.