
 Pin it
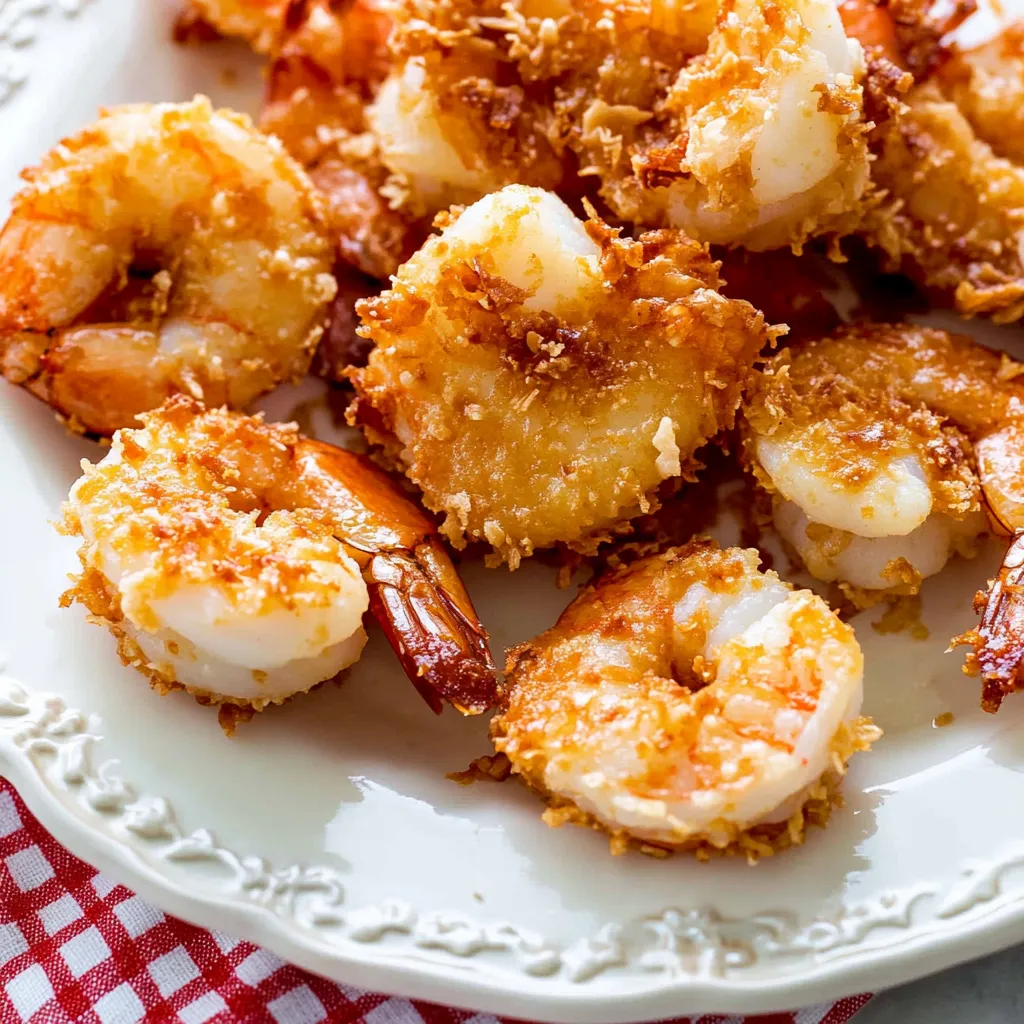
Golden coconut-crusted shrimp deliver the perfect combination of sweet tropical flavor and crispy crunch in every bite. This easy preparation method creates restaurant-quality results that bring beach resort flavors to your kitchen. The contrast between crispy coating and juicy shrimp, paired with spicy-sweet dipping sauce, makes each piece irresistible.
I learned this coating method from a vacation chef and now these have become a signature appetizer for parties and beachy weekends at home. No matter how many I make they always disappear fast.
Essential Ingredients Selection
- Shrimp: Should be large and deveined with tails left on for easier dipping and a more dramatic look at the table
- Coconut: Needs to be sweetened and freshly shredded for maximum aroma and lushness in every bite look for packages that feel moist when tapped
- Panko: Buy the flakiest variety possible to create an audibly crisp shell better than any classic breadcrumb
- Thai chili sauce: Offers a spicy sweetness that matches coconut perfectly choose one with visible chili flakes for freshness
- Oil: Use fresh clear oil for frying such as coconut or light vegetable varieties this keeps the coating golden and clean
Creating Shrimp Magic
- Coating Development:
- Layer your ingredients by dipping each shrimp in the seasoned flour then egg and finally coconut mixed with panko. Press each shrimp lightly to ensure the coconut sticks so every shrimp fries up even and crunchy
- Frying Symphony:
- Heat your skillet with enough oil to reach about one third of an inch up the side. Once the oil shimmers gently lower in the coated shrimp. Cook them in small batches for two to three minutes per side. When done the shrimp should be crisp and golden on the outside while staying juicy within
- Sauce Creation:
- Mix together Thai chili sauce with your fruit preserves to create the dipping sauce. Whisk thoroughly so the sweet and spicy notes blend into a glossy finish and serve in a shallow bowl or on the side for dunking
Pin it
My favorite part of these shrimp is the first bite through crisp coconut straight into the sweet and briny shrimp. I always think back to the first time I made these for my family during a backyard luau and how every plate was emptied.
Perfect Shrimp Partners
Bring island flair to your menu by pairing coconut shrimp with coconut rice. I often add a juicy mango and avocado salad on the side for a pop of freshness. For party spreads arrange shrimp on a platter with a trio of dipping sauces including pineapple curry. When making a main dish I find that crunchy Asian slaw completes the meal beautifully.
Creative Shrimp Adventures
You can alter this recipe for new adventures. Sometimes I stir a touch of curry powder into the flour for warmth or press chopped macadamia nuts into the panko for even more crunch. In summer I serve them next to grilled pineapple rings and they are always a hit at outdoor gatherings.
Keeping Them Crispy
Serve your coconut shrimp immediately after frying for maximum crunch. If storing leftovers keep them in an airtight container but skip the microwave and reheat in a three hundred fifty degree oven. The dipping sauce can live in your fridge for a week and tastes even better on day two.
Throughout my years of cooking coconut shrimp I’ve learned the details of coating and temperature make all the difference. This quick recipe will convince anyone you spent hours in the kitchen so long as you pay attention to each step. The sweet coconut and crisp crust combined with tender shrimp create one of my most requested dishes every time.
FAQs
Can I bake these instead
Yes bake at four hundred degrees for ten to twelve minutes flipping halfway. They will not brown exactly the same but remain delicious
Can I use precooked shrimp
It is best with raw shrimp but cooked can be used just avoid overcooking when pan frying
How do I store leftovers
Keep in refrigerator up to three days. Reheat in three hundred fifty degree oven until crisp and warm
Can I freeze these
You can freeze coconut shrimp for up to two months. Reheat at three hundred fifty degrees for ten minutes until warm
Why keep the tails on
The tails give something to hold for dipping and eating but you can remove them if preferred
Frequently Asked Questions
- → Is baking okay instead?
- You can! Bake at 400°F for 10–12 minutes and flip them halfway. They’re not as crispy but still really good.
- → Can I use shrimp that’s already cooked?
- Raw shrimp works best but pre-cooked is fine. Just don’t fry too long or they’ll end up rubbery.
- → How do I store leftovers?
- They’re good in the fridge for three days. Heat them back up in the oven at 350°F to get them crisp again.
- → Is it okay to freeze?
- For sure! Freeze up to 2 months then bake at 350°F for about 10 minutes or until hot.
- → Why keep shrimp tails on?
- Tails just make grabbing and dipping super simple. If you want, pull them off before breading.