
 Pin it
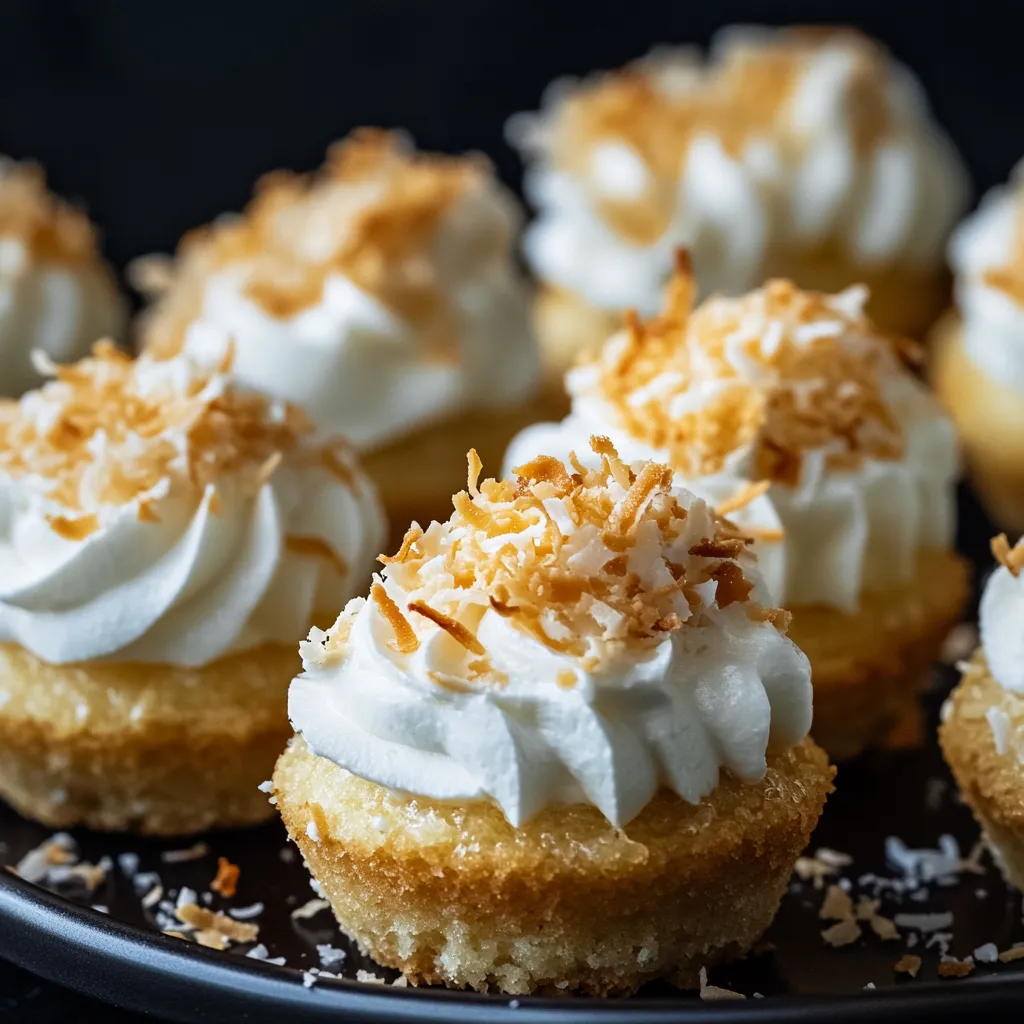
My go-to treat for both summer get-togethers and holiday parties has become these Coconut Cream Cookie Bites. They're tiny hand-held goodies with buttery cookie shells filled with rich coconut pudding that folks grab up in seconds whenever I bring them out.
I first made these little gems for my daughter's graduation when I needed something fancy but easy to pass around to guests. Everyone was asking me for my recipe before they left – that tropical mix of coconut with a hint of rum won them over right away.
Ingredients
For the Cookie Cups
- Butter: Softened to room temp for that melt-in-your-mouth texture and rich taste in the cookie bases
- Sugar and brown sugar mix: Brings sweetness and keeps the cookies moist with the right texture
- Eggs: Hold everything together and add a nice richness
- Rum extract: Adds a grown-up flavor that works amazingly with coconut
- Flour: Gives structure – stick with all purpose for best results
- Baking soda and baking powder: Team up to make them rise just right without getting too puffy
- Salt: Brings out all the other flavors, especially the sweet notes
For the Coconut Filling
- Coconut milk: Use the full-fat canned kind for true flavor and creamy results
- Instant vanilla pudding mix: Makes the perfect texture without any cooking
- Sweetened shredded coconut: Adds bits of texture and boosts the coconut flavor – try toasting it for extra taste
- Whipped cream or Cool Whip: Creates the ideal fluffy topping
Making Your Cookie Bites
- Get Your Pan Ready:
- First, heat your oven to 350°F and spray mini muffin tins really well with non-stick spray. Don't miss any spots or corners since these little cups can stick badly if not greased properly.
- Mix Up Cookie Base:
- In a big bowl, beat your softened butter with both kinds of sugar until it's fluffy and light, about 3 minutes. This puts air in the mix for softer cookies. Then add eggs and rum extract, beating until it looks smooth and silky all the way through.
- Mix Dry Stuff:
- In another bowl, stir together flour, baking soda, baking powder, and salt until they're all mixed evenly. This makes sure your cookies rise evenly without any weird bitter spots.
- Make Your Dough:
- Slowly add the dry mix to your wet ingredients, stirring just until everything comes together. Don't mix too much or your cookies will turn out tough. The dough should feel soft but not so sticky you can't handle it.
- Form Your Cups:
- Roll small half-inch balls of dough between your hands, then push them firmly into each mini muffin cup. Make a small dent in each with your thumb or a measuring spoon because they'll puff up while baking.
- Bake Until Done:
- Put them in the oven for 15-17 minutes until the edges turn golden and the centers feel set. They should feel slightly firm when touched, not soft or doughy.
- Let Them Set:
- Let the cookie cups cool in the pan for at least 20 minutes. This cooling time is super important as it lets them firm up enough to keep their shape. Then use a wooden spoon handle or small spatula to gently push down the middle of each cookie to make room for filling.
- Make Your Filling:
- Mix together the instant vanilla pudding and coconut milk until it thickens up, about 2 minutes. It should be thick enough to pipe but not runny. Put it in a piping bag or use a ziplock with the corner cut off.
- Put It All Together:
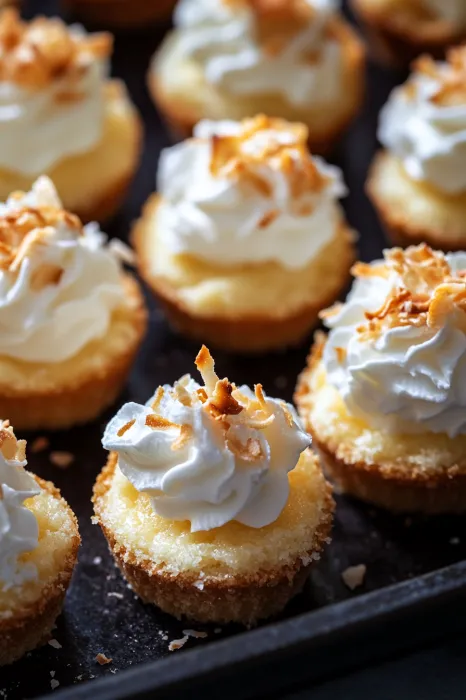
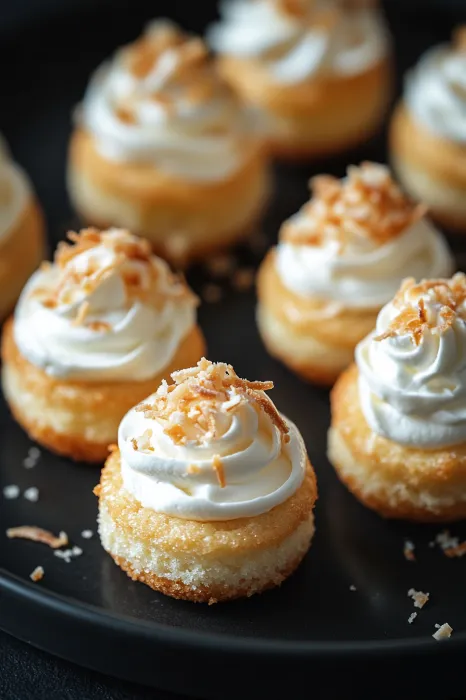
- Squeeze the coconut filling into each cookie cup right to the top. Add a tiny bit of whipped cream on each one and sprinkle lots of toasted coconut on top for extra flavor and a pretty look.
 Pin it
Once I brought these to a potluck just calling them cookie cups. I watched as people who said they hated coconut gobbled them up, then were shocked to find out they actually loved coconut when it's fixed this way. The mix of textures and that creamy filling wins over even the biggest coconut doubters.
Make Ahead Options
These little coconut bites are perfect when you need to plan ahead. You can bake the cookie cups up to three days early and keep them in a sealed container on your counter. The coconut filling can be mixed up a day before and kept in the fridge. When it's time to serve, just fill the cups, add whipped cream and toasted coconut on top. They're great for holiday parties when you don't have much oven space or time.
 Pin it
Storage Tips
After you've filled them, these cookie bites need to go in the fridge because of the dairy in the filling. They'll stay good for up to three days in the refrigerator if you cover them loosely with plastic wrap. The cookie part might get a bit softer from the filling's moisture, but many folks including me actually prefer this texture. It's like when a graham cracker crust gets a bit soft from its filling. For the best look, add the whipped cream and toasted coconut right before you serve them.
Variations Worth Trying
Though I love the coconut cream version best, you can switch up these cookie cups so many ways. Try filling them with chocolate pudding and putting a raspberry on top for a fancy chocolate treat. Lemon curd topped with a tiny bit of meringue makes mini lemon meringue pies. In fall, swap the rum extract for maple and fill with pumpkin mousse for a seasonal snack. The basic cookie cup works great with almost any flavor combo you can think up.
Frequently Asked Questions
- → What's the trick to sturdy crusts?
Use a mini muffin tray and press the dough really well into the sides and base. Wait for the edges to turn golden before removing them.
- → Can I swap coconut milk for something else?
Coconut milk gives the flavor its kick, but whole milk or almond milk can work if you're okay with a different taste.
- → How do I toast coconut easily?
Spread the coconut flakes onto a pan, pop it in the oven at 350°F, and toss now and then as it bakes for about 5-7 minutes.
- → Is it okay to prep the filling early?
Totally! Make it a day in advance, store it in the fridge, and use it when you're ready to assemble everything.
- → What can I use instead of whipped cream?
Try mascarpone, cool whip, or your own sweet, fluffy topping if whipped cream isn’t your thing.