
 Pin it
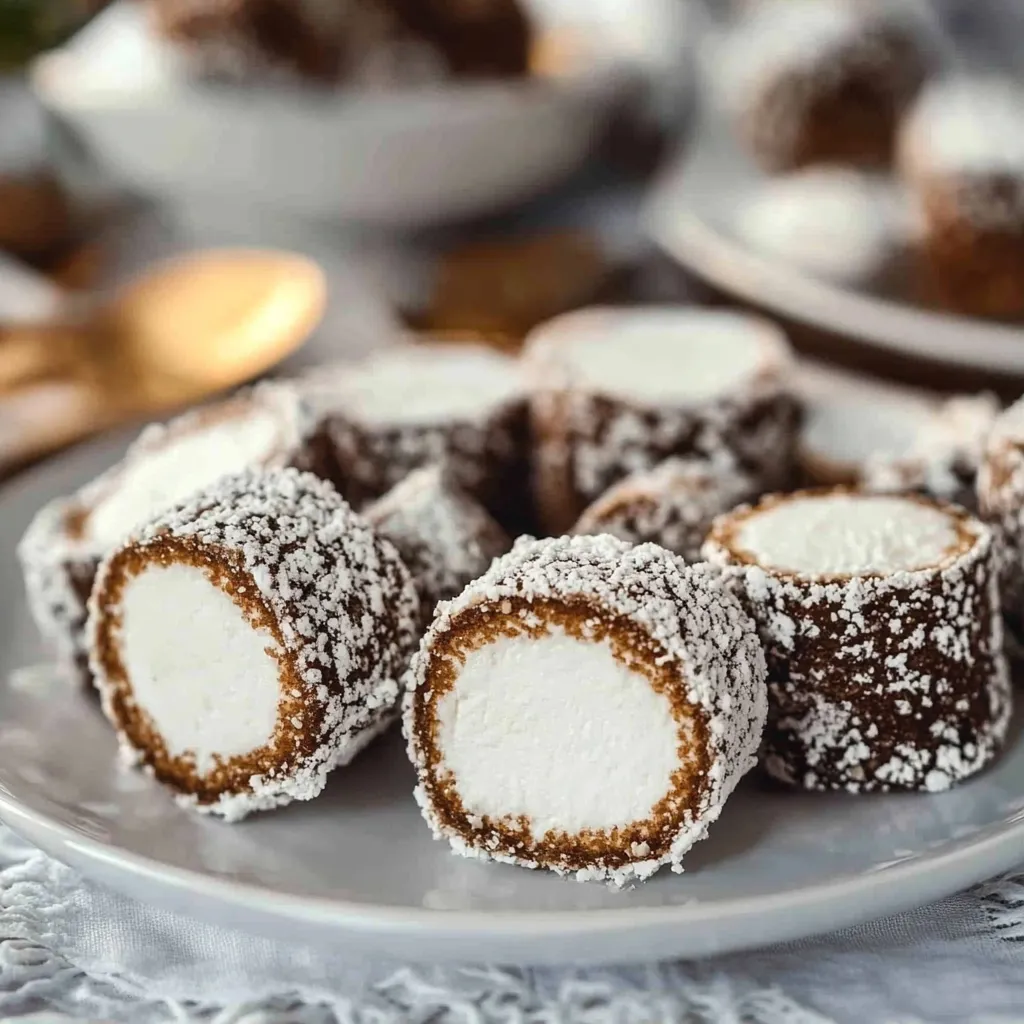
These marshmallow roll cookies take me right back to being a kid They're super chewy and chocolatey with a soft marshmallow hiding inside Always a crowd-pleaser when the family gets together My grandma used to stash them in the freezer so she'd have a treat ready for anyone who popped in unexpectedly
I whipped these up for winter get-togethers years ago They've turned into a holiday regular at our place My kids enjoy rolling each one in coconut—and the gooey inside always makes everyone grin
Dreamy Ingredients
- Jumbo marshmallows: The squishy surprise in the middle Stick with the freshest marshmallows for the softest center
- More unsweetened coconut: For coating each cookie and giving them that extra outside crunch
- Vanilla extract: Rounds out the flavor and brings in a cozy smell Real vanilla packs the most punch
- Melted butter: Adds a rich taste and helps keep the cookies moist Salted is great for a flavor boost
- Sweetened condensed milk: Brings the dough together and keeps everything sweet and smooth Go with a fresh can for easy mixing
- Cocoa powder: The key to that fudgy flavor Go for the best plain cocoa you find for a richer bite
- Unsweetened coconut: Use shredded and unsweetened for a soft chewy bite It helps everything hold together and won't make things sugary
- Graham cracker crumbs: These give structure and a gentle toasted taste For best results use soft fresh crumbs
Easy How-To Steps
- Slice and Share:
- Cut each cookie in half using a serrated knife Let them sit out for around ten minutes to soften up before eating Dig in and enjoy the chewy bite
- Freeze It Up:
- Set the finished cookies on a parchment-covered sheet Freeze until firm Transfer to a container with parchment between layers to keep in the freezer
- Roll in Coconut:
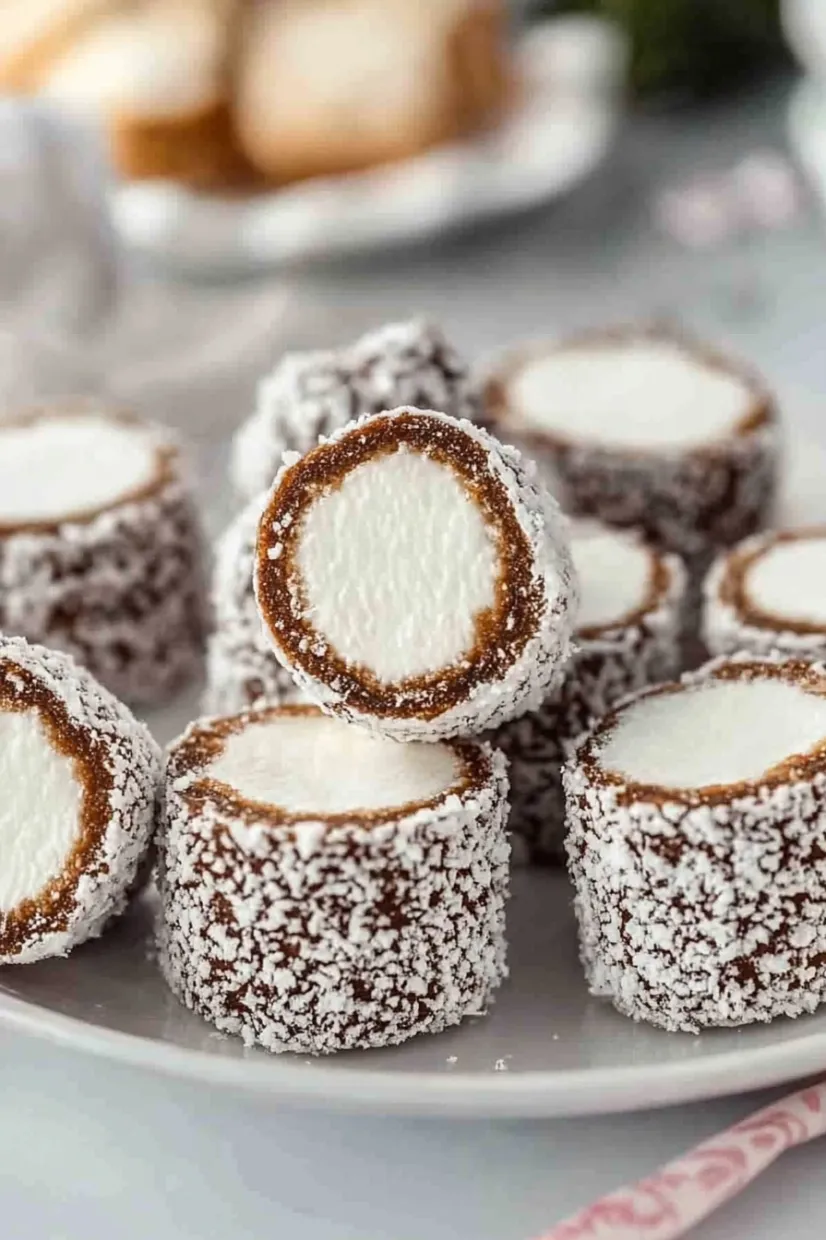
- Roll each treat in extra coconut so the outside gets a good coating on all sides
- Stuff with Marshmallow:
- Pop a jumbo marshmallow on its end in the middle Pull the dough up around it and pinch until it's all wrapped up tight
- Shape Each Piece:
- Wet your hands a bit Scoop out dough with a tablespoon Make it into a ball then press gently in your palm to flatten
- Mix It All:
- Pour the wet mix over the bowl of dry ingredients Stir together until it turns into a thick sticky dough Chill for about twenty minutes so it's less messy
- Make the Wet Part:
- In another bowl beat together your melted butter condensed milk and vanilla Everything should look creamy with no lumps
- Dry Mix First:
- In your biggest bowl blend cocoa graham cracker crumbs and coconut Stir them up so the cocoa gets mixed through evenly
 Pin it
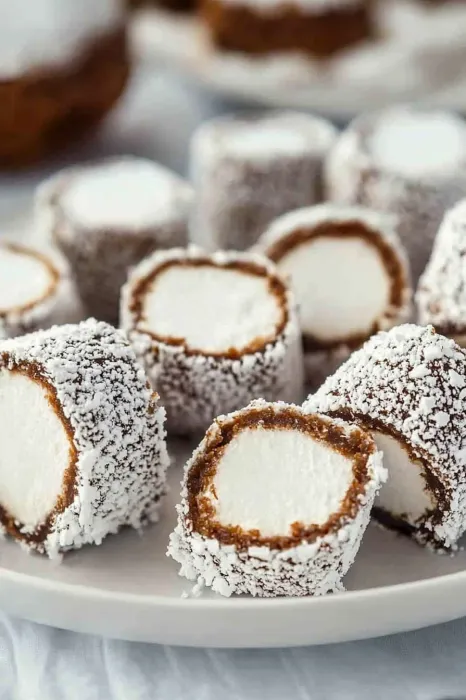
I always think of my cousins when I taste that creamy milk and crisp coconut Everyone tried to grab the ones packed with extra marshmallow in the middle
Keeping Them Fresh
Store these in the freezer for best results Once the cookies firm up just layer them in a container with parchment in between They'll taste great for weeks After freezing let them sit for ten minutes so the middle softens up nicely
Swaps and Changes
No graham cracker? Crushed digestives work too Not a fan of coconut on the outside? Finer chopped nuts are awesome Want a new kick? Mix in a little malted milk powder instead of all cocoa powder
 Pin it
Ways to Serve
These look great on a dessert tray or packed in a gift box Sometimes I drizzle on a bit of melted chocolate at the end to make them extra fancy
Frequently Asked Questions
- → What stops the dough from sticking to my hands?
Just get your hands a little damp with cold water before shaping. That’ll stop the stickiness when you’re rolling things up.
- → Are mini marshmallows okay instead of big ones?
If you don’t have jumbo marshmallows, grab a few minis and smush them in—works just fine for that sweet middle.
- → Do I have to freeze them after making?
Popping them in the freezer helps them hold their shape and makes slicing simple, so you get nice, tidy pieces.
- → Which coconut should I pick to roll these in?
Go for fine or medium shredded coconut. It sticks great and gives your treats that nice look and gentle chew.
- → How long before I can eat them after freezing?
Take them out of the freezer and let them sit for about 10 to 15 minutes. Then they’ll be just the right texture for eating.
- → Can I make these ahead of time?
Yep, pop them in a freezer-safe box, put some parchment between the layers, and they’ll keep for ages without sticking together.