 Pin it
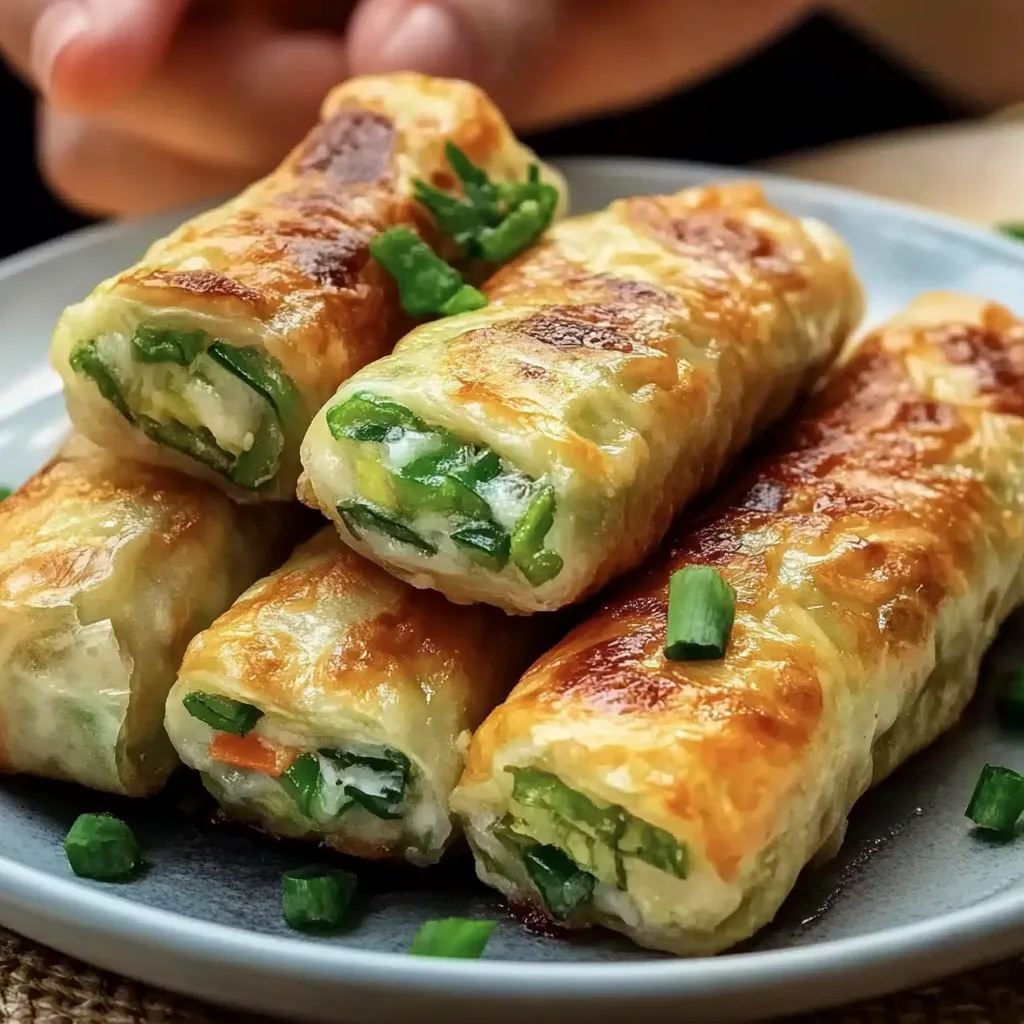
This hearty cheesy baked vegetable rolls recipe transforms simple ingredients into crispy, flavorful bundles that have become my go-to solution for using up extra vegetables in the fridge.
I first created these rolls during a particularly abundant zucchini season when my garden was overflowing. What started as a creative solution to vegetable surplus has become one of my family's most requested dishes, especially when served with the cool cucumber dip.
Ingredients
- Zucchini: Adds moisture and mild flavor while providing vitamins A and C. Choose firm ones without soft spots.
- Carrot: Brings natural sweetness and vibrant color plus beta carotene. Look for bright orange ones with the greens still attached for freshness.
- Potato: Creates structure and heartiness in the rolls. Select starchy varieties like russets for best texture.
- Eggs: Work as the crucial binder that holds everything together. Use room temperature eggs for best mixing.
- Cheese: Provides richness and that irresistible melty goodness. Opt for sharp varieties for maximum flavor.
- Fresh parsley: Brightens the flavor profile and adds color. Choose bunches with perky leaves.
- Garlic: Infuses aromatic depth throughout the rolls. Fresh cloves yield the most potent flavor.
- Oatmeal: Adds fiber and helps absorb excess moisture from the vegetables. Quick cooking works perfectly.
- Flour: Helps bind everything together and creates structure. All-purpose or whole wheat both work well.
Step-by-Step Instructions
- Prepare the vegetables:
- Grate zucchini, carrot and potato using the large holes of a box grater for ideal texture. Place zucchini in a colander, sprinkle generously with salt, and let sit for a full 10 minutes. Then squeeze firmly between your hands or in a clean kitchen towel until no more liquid comes out. This crucial step prevents soggy rolls and concentrates the flavor.
- Create the mixture:
- Combine all grated vegetables in a large bowl with eggs, cheese, minced garlic, chopped parsley, seasonings, oatmeal and flour. Mix thoroughly with your hands, really working the ingredients together until you can form a cohesive ball that holds its shape. The mixture should be moist but not watery.
- Shape the rolls:
- Scoop about 2 tablespoons of mixture into your palms and gently form into a cylinder about 2 inches long. Place formed rolls on a parchment-lined tray. If the mixture feels too wet to hold shape, add another tablespoon of flour. Continue until all mixture is used.
- Cook to perfection:
- Heat olive oil in a large skillet over medium heat until shimmering but not smoking. Place rolls carefully into the hot oil, leaving space between each. Cook for 3-4 minutes until deeply golden, then gently flip and cook another 3-4 minutes. Transfer to paper towels to drain excess oil. For extra crispiness, you can finish them in a 375°F oven for 5-7 minutes.
 Pin it
The garlic is truly my secret weapon in this recipe. I discovered that mincing it super fine and letting it sit with the salt for a few minutes before adding it to the mixture intensifies the flavor throughout the rolls. My grandmother taught me this trick years ago, and I use it in nearly all my savory cooking now.
Make Ahead Magic
These rolls shine as a make ahead option. You can prepare the mixture and shape the rolls up to 24 hours in advance, storing them covered in the refrigerator until ready to cook. This makes them perfect for entertaining or busy weeknights when you need to get ahead on meal prep. The flavors actually develop and improve with a little rest time in the refrigerator.
Clever Substitutions
This recipe welcomes adaptation based on what you have available. Sweet potato can replace regular potato for a nutrient boost and slightly sweeter flavor. Bell peppers add wonderful color and vitamin C when finely diced and added to the mix. For a protein boost, add half a cup of cooked quinoa or finely chopped nuts. The cheese can be any melting variety you prefer from mozzarella to fontina or even a blend.
 Pin it
Serving Suggestions
Transform these rolls into a complete meal by serving them alongside a crisp green salad dressed with lemon vinaigrette. They also pair wonderfully with soup for a warming lunch or dinner. For elegant entertaining, make miniature versions and serve with the cucumber dip as an appetizer. My family particularly loves them with a side of marinara sauce for dipping as an alternative to the cucumber cream.
The Origins Story
These vegetable rolls draw inspiration from Eastern European vegetable fritters called kotlety, traditionally made with leftover vegetables and bread. I learned a version of this recipe from my Polish grandmother who was masterful at transforming humble ingredients into delicious meals during difficult economic times. Her original recipe used breadcrumbs instead of oatmeal, but I modified it for added nutrition and to accommodate modern dietary preferences.
Frequently Asked Questions
- → How do I prevent the rolls from becoming soggy?
Squeeze out as much water as possible from the grated zucchini before mixing with other ingredients. This ensures a firmer texture for your rolls.
- → Can I make this dish gluten-free?
Yes, simply replace the flour and oatmeal with gluten-free alternatives to suit dietary preferences.
- → What other herbs can I use for seasoning?
Feel free to experiment with herbs like thyme, cilantro, or dill to customize the flavor of the rolls.
- → What’s the best way to reheat leftovers?
Reheat the rolls in a skillet over medium heat or in the oven at 350°F until warmed through for the best texture.
- → Can I bake these rolls instead of frying them?
Yes, you can bake them in a preheated oven at 375°F for 20-25 minutes, flipping halfway, until golden brown and crispy.
